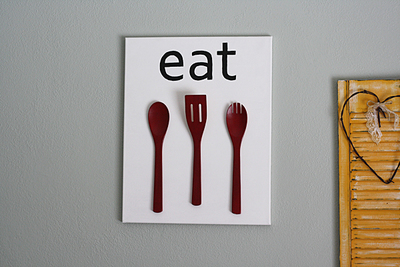
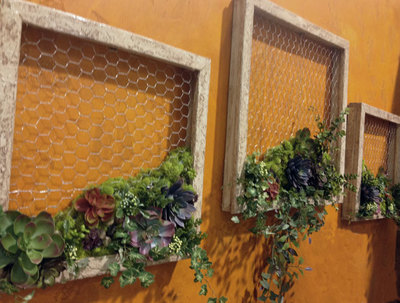
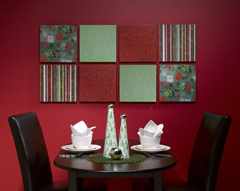
Holiday Wall Art
Get ready for the holidays. Using holiday scrapbook paper and ribbon you can make your very own holiday all art. This will look great when you have your company over.

Materials:
- STYROFOAM™ Brand Foam:
- Sheets, three 12" x 36" x 1"; or eight 12" x 12" x 1" squares
- Ribbon, 1" x 11 yds.
- Holiday scrapbook paper: 12" x 12", eight sheets (heavier weight)
- Thick, white craft glue
- Putty knife
- Straight pins (optional)
- Sawtooth picture hangers, eight; or poster putty
- Optional: If using 12" x 36" x 1" foam sheets, additional supplies include ruler, pencil, serrated knife, old candle, dental floss
Instructions:
- If using 12" x 12" x 1" squares, skip to Step 2. Using ruler and pencil, score foam sheet to create three, 12" x 12" squares. Wax serrated knife with an old candle. Holding foam sheet firmly on a flat surface, extend one end and cut across the score line, using knife like a saw. Or, try dental floss: Stand the sheet on its edge and hold a 20" length of dental floss along the scored line, positioning one hand at the bottom of the board and the other at the top; draw the dental floss down through the foam sheet along the scored line. Repeat for remaining two foam sheets, creating a total of nine, 12" x 12" squares. Save one square for a future use.
- Use putty knife to spread thin, even coat of craft glue on front of foam square. Adhere 12" x 12" paper on foam square and smooth paper with fingers. Repeat to cover all foam squares. (Hint: Papers might appear wavy at first, and will smooth out as the glue dries.)
- Beginning and ending at one lower corner, use glue gun to secure ribbon around edges of each foam square; trim excess, allowing a bit of overlap. (Hint: STYROFOAM™ brand foam is very forgiving. If the paper does not exactly meet the edges of the foam sheet, run the edge of the foam square along a tabletop, compressing the foam.)
- Use level and poster adhesive to secure squares to wall as shown. Or, glue sawtooth picture hanger to back. For additional hold, insert and glue two straight pins through holes in sawtooth picture hanger.
®™* Trademark of The Dow Chemical Company ("Dow") or an affiliated company of Dow
Your Recently Viewed Projects
Thanks for your comment. Don't forget to share!
snuggles61268
Apr 07, 2011
It is just amazing what a little print and texture can do to dress up a wall, this is a wonderful idea for those types of walls that you can't think of any idea on how to decorate them, whether they are not shaped right or they are in a corner that just don't work for anything. Great idea. Thanks!
karmcn
Jan 09, 2010
This has many possibilities. I am going to use either family, vacation or scenery photos. Will cut the styrofoam into 8x10 pieces... Also have pamphlets and flyers from Hawaii vacation that could be incorporated with vacation photos.
Report Inappropriate Comment
Are you sure you would like to report this comment? It will be flagged for our moderators to take action.
Thank you for taking the time to improve the content on our site.