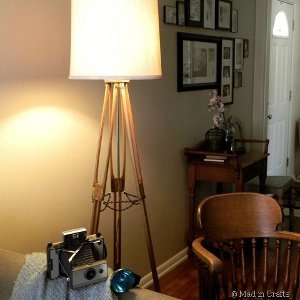
Vintage Tripod Lamp
Looking for a unique gift for the photographer in your life? This Vintage Tripod Lamp from Jessica Hill would be perfect! Made with an old vintage camera tripod, this one of a kind lamp is great for thrifty crafters! If you can find a tripod that's adjustable, you could make it high or low enough to brighten any room in your home. This is a great accent piece with a lot of character!

Materials:
- 1 wooden tripod
- Drill
- Pliers
- Eye hooks
- Chain (3 1-foot chains)
- Lamp to take apart
- Hex nut
- Cord kit
Instructions:
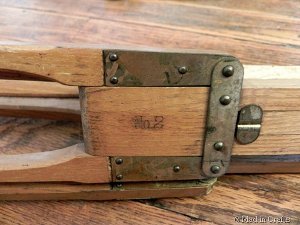
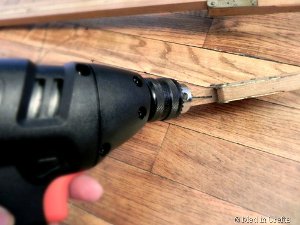
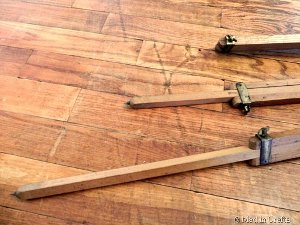
- To ensure the tripod will stand securely, I had to link the three legs together. I started by drilling a guide hole in the legs just below the brass detailing, two on each leg.
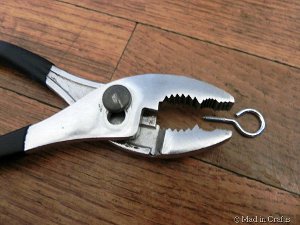
- I used a pliers to open each of six eye hooks just enough to be able to attach a length of chain.
- Then I carefully screwed each eye hook into place.

- The legs of the camera tripod are adjustable, so I could make the lamp as tall as I wanted! After adjusting the length of the legs, I removed them from the circular center of the tripod to make the next steps easier.
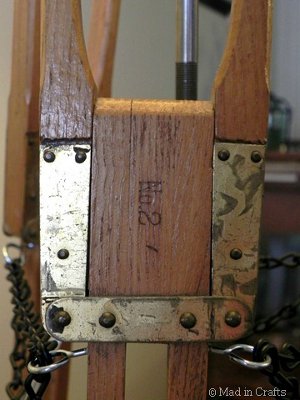
- After removing the hardware from the center of the tripod, I took a threaded post from the center of an old table lamp and put it through the hole.
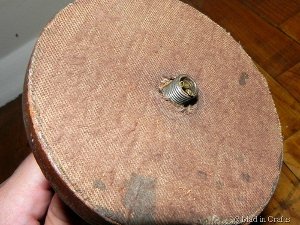
- I secured the threaded post on the underside of the tripod center with a hex nut.

- I bought a cord kit from a home improvement store, which was then inserted into the threaded post and up through the center of the tripod.
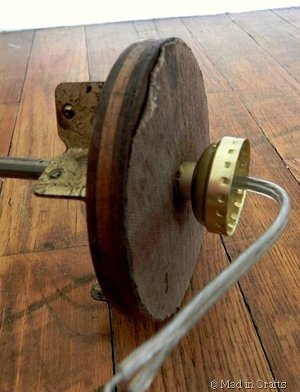
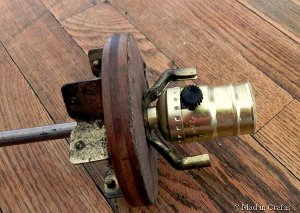
- I salvaged a lamp socket from the old table lamp and screwed it onto the threaded post. Then I pulled the wiring through.
- After reading some great instructions on the Internet, I rewired the electrical cord to the lamp socket.
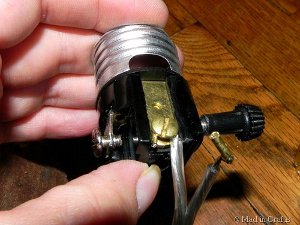
- This is what the lamp socket looks like once it is all put together (with the harp attachment in place).
- To support the legs of the tripod, lengths of chain need to connect each leg to the other two. I asked the saleslady at the home improvement store to cut me three lengths of chain, each a foot long, from the store’s bulk chain aisle.
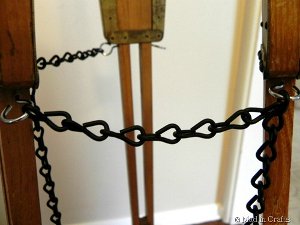
- After reattaching the legs to the center of the tripod, I determined how long each length of support chain should be. This took some trial and error until the lamp was adequately stable.
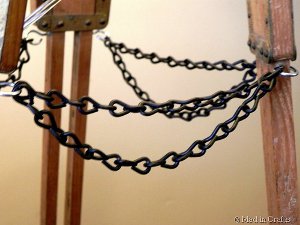
- Originally I thought I would have to cut the the excess chain from each length, but I found that I could just drape the excess back to the first eye hook again. I think it adds another elegant detail to the lamp.
- All the great parts of the original camera tripod are still visible, even in its new life as a floor lamp.
- All that was left to do was to add the harp, lampshade and finial to the base. I reclaimed all those parts from that same unused table lamp that provided the lamp socket, so they were free too!
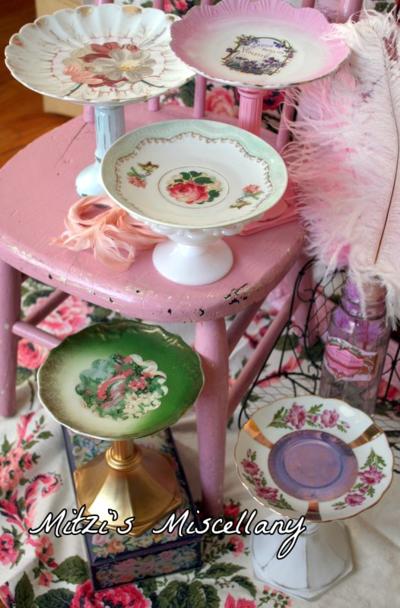
Read NextThrift Store Pedestals
Your Recently Viewed Projects
Thanks for your comment. Don't forget to share!
flowergirl
Sep 05, 2017
I loved how well written this project was so I had to make it. Those vintage tripod stands are hard to find so I just had a lampstand made to look like them. It's an instant conversation starter!
The Cowlady
Mar 04, 2013
Now I'll be on the lookout for a vintage tripod! Just 1 more "gotta try this" projects for my list! Thanks - this sounds too cool!
Linda R
Mar 18, 2012
Very nice project. Your instructions are clear and well done. The photographer must be thrilled to have such a great piece of history!
Report Inappropriate Comment
Are you sure you would like to report this comment? It will be flagged for our moderators to take action.
Thank you for taking the time to improve the content on our site.