


This project was submitted by one of our readers, just like you.
Upcycled Lily Sculpture Made From Used Guitar Strings

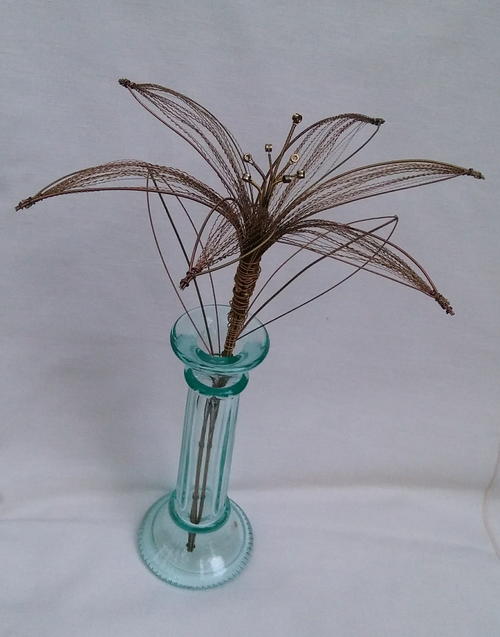
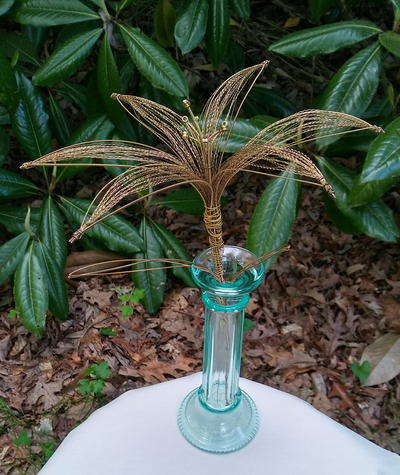
"Look at this beautiful lily sculpture, made from old, worn-out guitar strings! I save all of my old guitar strings, and when I realized I had four sets of them lying around, I decided to turn some trash into treasure during the COVID quarantine. I grabbed some wire and jump rings I had on hand, and made this metal sculpture. If you play guitar or know someone who does, you can probably get your hands on some worn-out strings for free. Old guitar strings make fabulous sculptures, because just one set will have different sizes, colors, and even textures to the different strings. And who doesn't love taking something that was heading to the landfill, and upcycling it to make a stunning piece of art!"
Primary TechniqueGreen Crafting

Materials List
- Four sets of old guitar strings
- Two 10" (25 cm) pieces of stiff wire
- 4 mm and 8 mm jump rings
- Gold florist's wire
- Needle-nosed pliers
- Safety glasses
- Gloves
Instructions
-
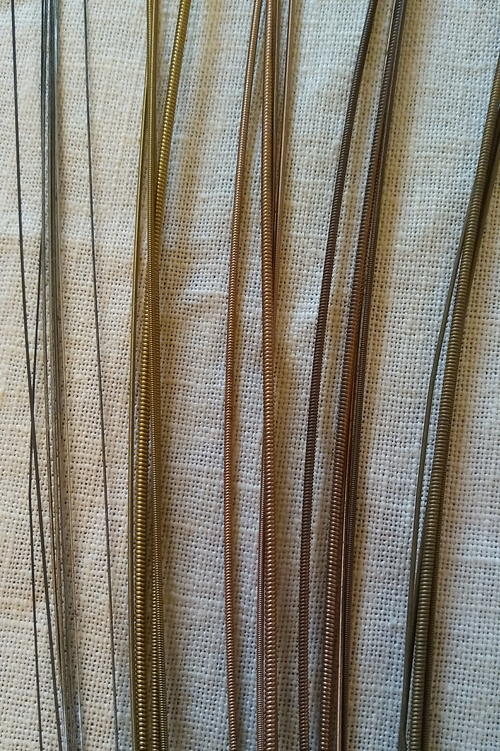
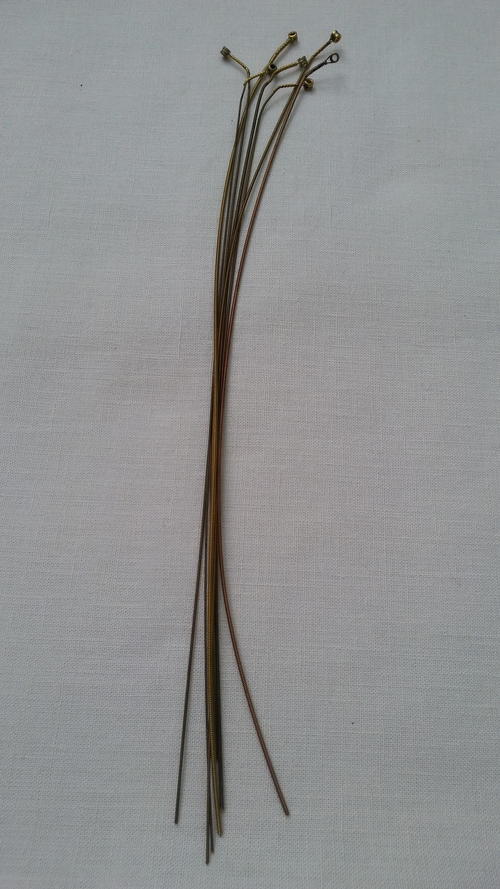
Take a look at the guitar strings I started out with. Each string will have one end with a small metal ball on the tip, and one curly end. See how some of them are thicker, and look like springs? Those are made from a thin wire (the winding) wrapped around a thicker wire.
-
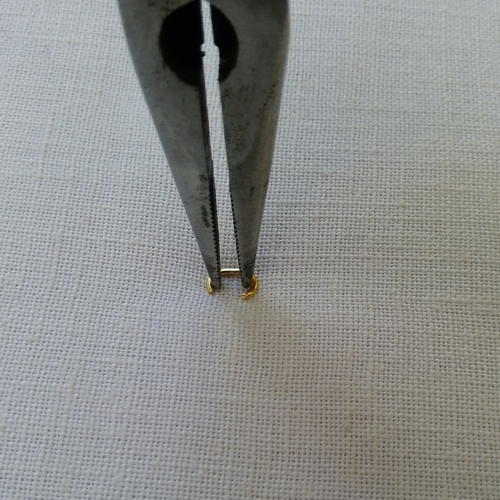
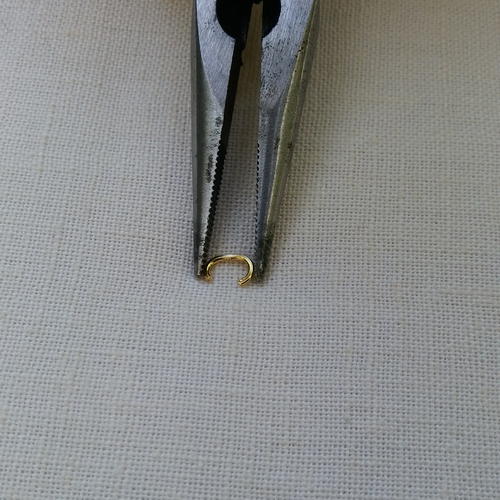
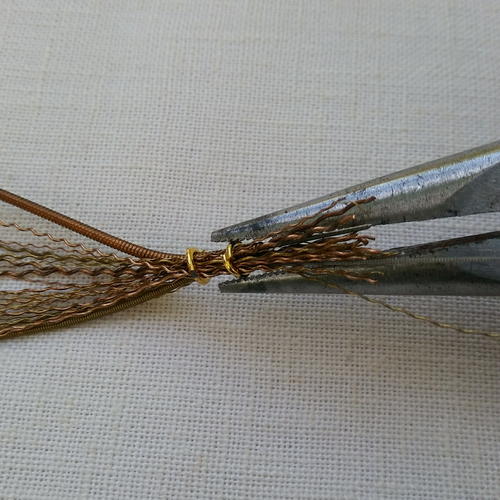
We will be using jump rings as little metal clamps to put the lily together. To do this, put the tip of your pliers inside the jump ring, and gently spread the handles apart. This opens the jump ring up into a "C" shape. Then take the now-open jump ring with the pliers, place the ring around the wires you want to clamp, and squeeze the jump ring shut with the pliers. Make it tight, so that none of the wires in the bundle are loose or wiggly. Clamp two jump rings right next to each other to make your joins extra-secure.
-
Choose seven of the thickest strings to form the center of the flower and the stem. Cut one 13" (33 cm) long, and six 12" (30.5 cm) long sections, all with balls at one end. The balls will form the stamens that peek out of the center of the flower.
-
Now to make the leaves for the lily! Take one 12" (30.5 cm) section of guitar string and bend it in half, creasing it. For the leaf vein, cut a 6" (15 cm) section of a thick string, pull a little bit of the winding off of the end, and then attach the vein at the tip of the leaf by wrapping the winding around the bend in the leaf string. Now clamp all 3 of the loose ends together using jump rings. Make two leaves like this.
-
Grab the 7 guitar strings with balls on the ends that you set aside to form the stem. Add the two 10" pieces of stiff wire to the bundle, and clamp the stem together every couple of inches with 8 mm jump rings. Clamp the leaves to the side of the stem, about halfway up, with more jump rings.
-
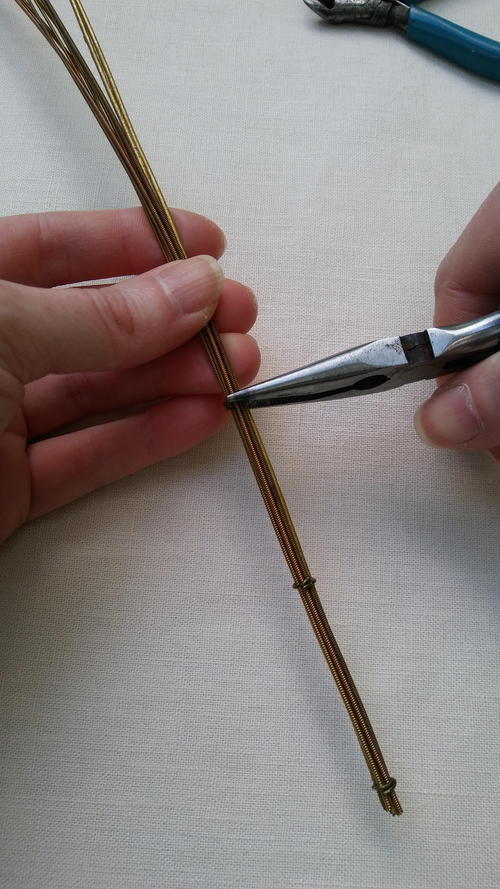
Gather up your remaining guitar string pieces. Remember how the biggest strings are made of thick wires wrapped with very thin wire called the windings? We are going to make the lily petals out of the windings. Be sure to wear your safety glasses (you gotta keep your mom happy) and then take a pair of pliers, grab the thin wire, and pull it off of the end of the thick wire. You will end up with really long pieces of curly wire that you can use in your sculpture. Cut the thin, curly wires into 7" (18 cm) sections.
-
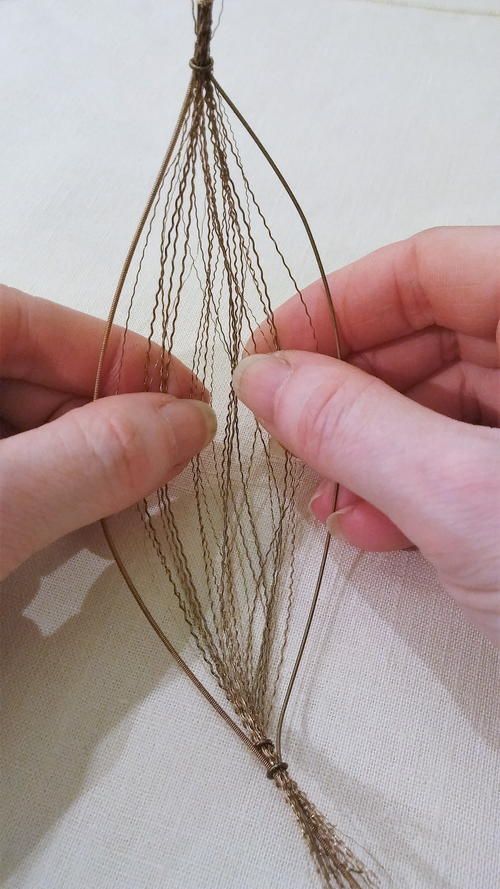
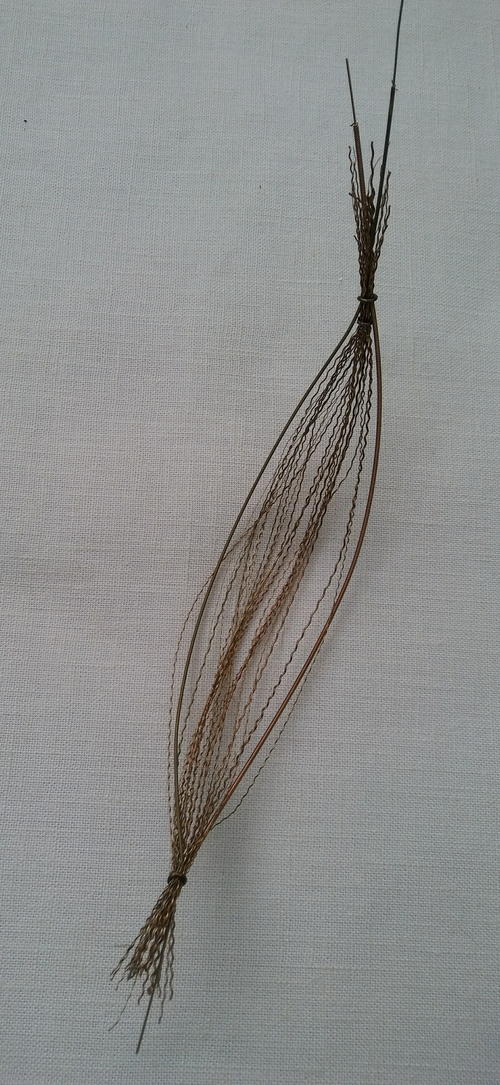
To form the petals, gather up some of the 7" pieces of the windings, along with two 7" sections of mid-size guitar strings, and clamp them together tightly at each end with two jump rings. Then pull the wires outwards from the middle of the cluster and bend them to make a shape that looks like a hammock. I pulled the mid-size guitar strings to the edges of each petal, to give the petals a more defined border. You will need to make 6 petals.
-
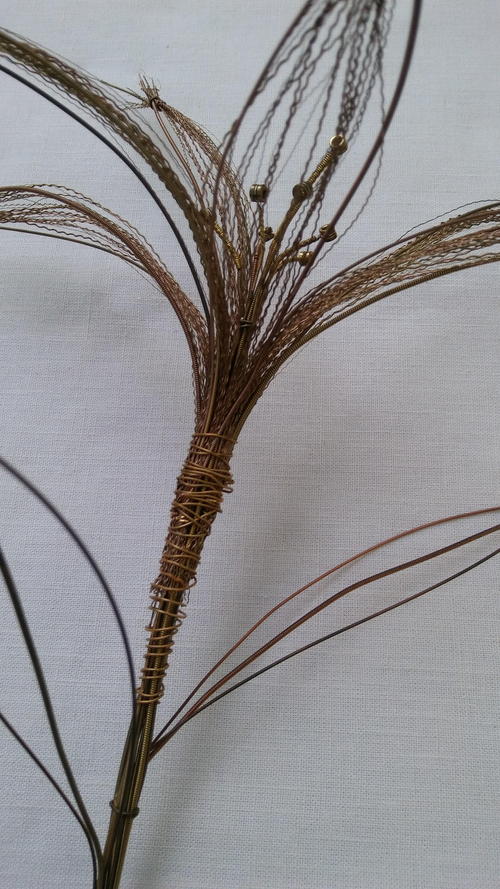
Attach the six petals in a circle around the stem, with the balls on the ends of the strings poking out of the center of the flower. Wrap gold florist's wire tightly around the base of the petals to hold them in place.
-
Now give the petals, stem, and leaves a final bending to make them sit the way you want them. How pretty! A lily that will never wilt, made from recycled materials!
NotesEntry for the Stay Home and Craft Challenge.

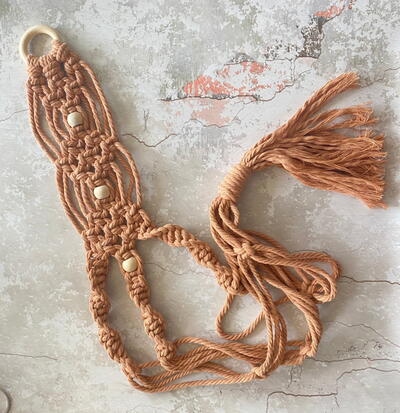
Read NextApricot Macramé Hanging Planter
Your Recently Viewed Projects


Thanks for your comment. Don't forget to share!
Report Inappropriate Comment
Are you sure you would like to report this comment? It will be flagged for our moderators to take action.
Thank you for taking the time to improve the content on our site.