This project was submitted by one of our readers, just like you.
Macrame Curtain

Macrame Curtain
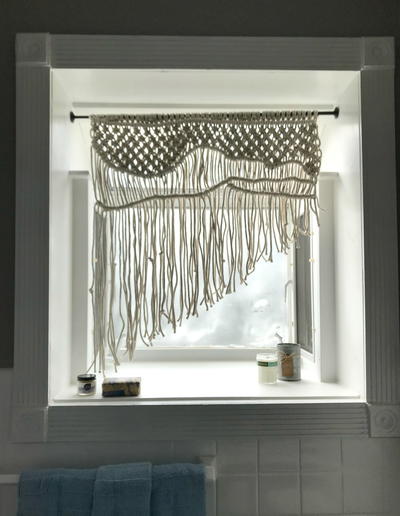
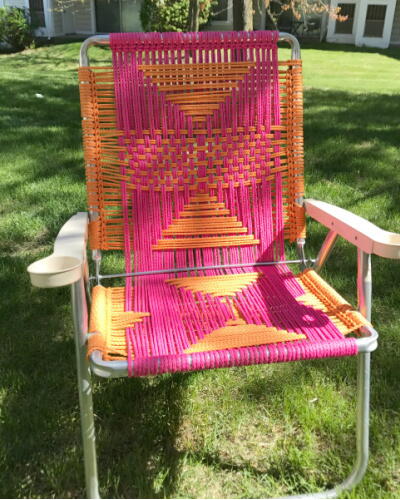
"I’ve received lots of requests for a macrame curtain tutorial, so here’s my first pattern for a simple single window curtain. My son and daughter-in-law just bought a small, 1950s bungalow are infusing it with a bohemian flavored mid-century modern vibe. I’ll be documenting the transformation here on my blog, but their first task was sprucing up the black & white tiled retro bathroom. It’s in great condition, so all it needs is a good cleaning, some fresh linens, and a macrame curtain for the garden window. Once they settle in and fill the window with plants, I’ll take better photos for the final reveal. But for now, let’s talk about this sweet macrame curtain."
Primary TechniqueGeneral Crafts

Materials List
- 480 feet of rope
- tension rod
- scissors
- masking tape
Instructions
-
Cut 48 pieces of rope, each measuring 10 feet. Place a small piece of masking tape around each edge to prevent fraying while weaving. Tie each piece onto the rod using a Lark’s Head Knot. This curtain is made to fit a window 31″ wide; but you can adapt this pattern for a wider window. Just remember to use a total number of cords that are divisible by four; it makes your knotting go smoother.
-
Using a Half Hitch Knot, begin with the first individual cord on the left and make an even row of knots across the entire width. I have both a written and video tutorial for making Half Hitch Knots.
-
Beginning with the first individual cord on the left, make a complete row of Square Knots. Just beneath that row, beginning with the third individual cord on the left, make a row of Alternating Square Knots. Next, beginning with the first cord on the left, make a third row of Alternating Square Knots.
-
Normally, my macrame patterns include row by row instructions. However, this pattern is a bit more free form, and it is easier to work in sections than horizontal rows. It is also more forgiving if you miss a knot or make a small error. Now that you have 3 rows of Square Knots, continue adding more Square Knots and Alternating Square Knots to the left side of the tapestry, creating a round dipping form as shown in the photo below.
-
Next, shift your attention to the right side of the tapestry, and make more rows of Alternating Square Knots to create another irregular shaped section as shown below. It looks strange now, but think of it as making waves.
-
Now that you’ve created the “body” of the design, “trim” the shapes with a curving row of Half Hitch Knots. Begin with the first individual cord on the left, and weave a free-flowing curvy line of Half Hitch Knots, following the edges of the Square Knots.
-
Next, skip a few inches down and make another curvy line of Half Hitch Knots. There are no set rules, just curve it along as you go, using your imagination.
-
Just for fun, I added a third line of Half Hitch Knots, as shown below.
-
Tie a few random knots in some of the cords at different heights. Then place the curtain on the floor, and using masking tape to keep the strands straight, trim the edges to the desired length. I opted for an asymmetrical shape.
-
And that’s it! Once you gain a comfort level making Half Hitch Knots, you will be able to use this technique for lots of free-flowing macrame designs.
NotesFor a pictorial tutorial, go to my blog!

Read NextBohemian DIY Pompom