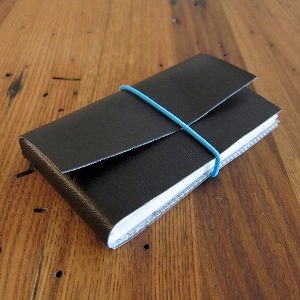
Grab and Go Gift Card Wallet
If you think that leather craft ideas are complicated, you've never seen a project like this before. Make a Grab and Go Gift Card wallet using only four supplies and you'll have a safe spot for all of your gifts. Rather than digging through your wallet or purse, you'll have an easy to spot organizer that will surely make your life easier. This is a no sew craft, making it a quick and easy afternoon project.
Materials:
- Cheap small photo book (brag book) or an old wallet insert (I found the photo book near check out at Michael’s for $1.99)
- Leather or vinyl, a 12″ x 6″ piece is more than enough (You want something with a little weight to it. The vinyl I used was made for car seats.)
- Ponytail elastic, large (the kind that look like they are covered in Fabric, not just a rubber band)
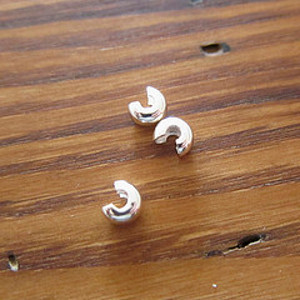
- Crimper cover (find in the craft store with jewelry findings)
- Scissors
- Exacto knife (optional)
- Ruler
- Rotary cutter (optional)
- Strong glue that will work on plastic (I used Hold the Foam which is actually made for styrofoam.)
- Small paintbrush (optional)
- Small punch (I has a small leather punch, but a small hole punch or grommet punch also worked. The hole needs to be big enough for the elastic to go through, but small enough that the crimper cover won’t.)
- Small pliers
Instructions:
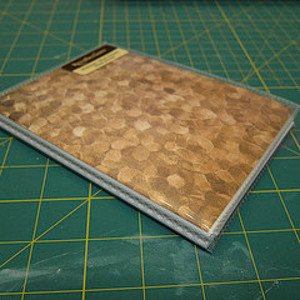
- Remove any stickers from the outside of the photo book. With my book, the design on the cover was just a piece of paper in a pocket, so I removed that too.
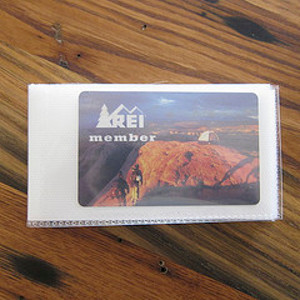
- Slide a card in the photo book for size and cut the book so it is just slightly taller than a typical card size. I found it was easiest to do this with a ruler and sharp exacto knife.
- Cut a piece of leather or vinyl so it is the length of your photo book open and about twice as tall. Err to the bigger side as you can trim in later. I used a rotary cutter to cut the vinyl.
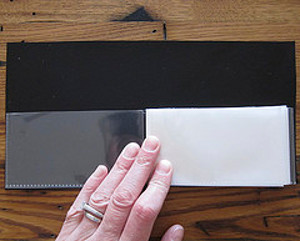
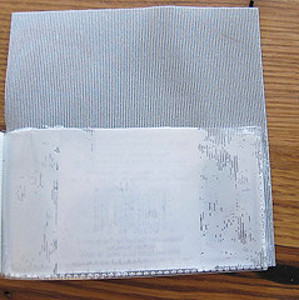
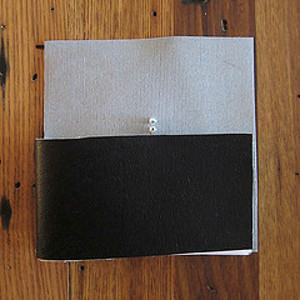
- Glue the leather or vinyl to the outside of the photo book. Open the book, so the slots are facing up, that is the top of the wallet. Line the bottom of the wallet up with one of the long sides of the leather. Make sure to get glue to the edges, a little paintbrush helps with this. Let dry. Trim as needed, but do not trim the vinyl off the top yet.
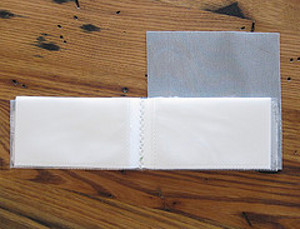
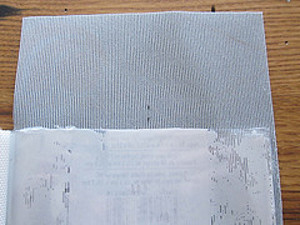
- Mark the middle of the vinyl length-wise above the photo book. Cut down that line and then across the top over the left side of the photo book when open. You have created the top flap and it will look like this when open.
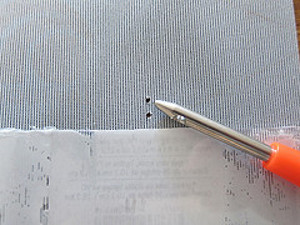
- Mark the middle of the top flat about 1/4″ up from the photo book. Make a second mark about 1/4″ up from that one.
- Use the punch to make holes at these marks.
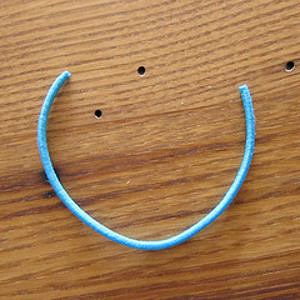
- Cut the ponytail elastic open. I found there was a little space where it had been joined together, a slight indentation, and cut there. It seemed to not fray when I did that. Put the ends through the holes you just made so they are on the inside of the wallet (a loop is on the outside).
- Put a crimper cover on each end and crimp it tightly shut with pliers.
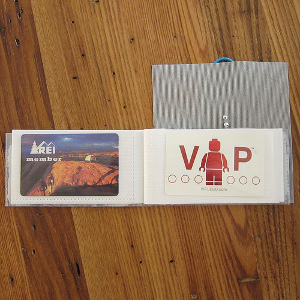
- Fill the wallet with all those club, rewards, gift cards and you are ready to go.
Up Next:
Read NextDollar Store Spice Rack