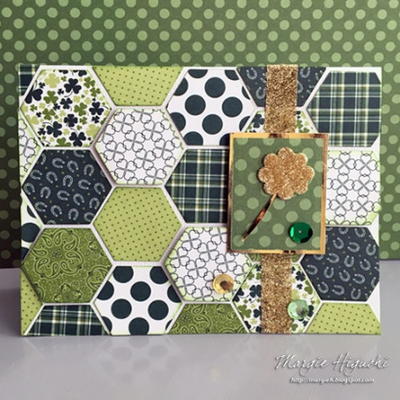
St. Patrick's Day Button Shamrock Card
You'll feel the luck of the Irish after making one of these St. Patrick's Day greeting cards!

Nothing makes you feel quite as lucky as receiving a handmade card, so why not spread the fortune with this clever St. Patrick's Day craft? Decorate this one-of-a-kind card from Scrapbook Adhesives by 3L with quirky buttons, and you'll make any leprechaun smile. Easy enough for beginners, this DIY St. Patty's Day card is something the whole family can join in on. Just get some green card stock, cut it in the shape of a shamrock, and assemble your favorite green buttons. Not even a four-leaf clover will make you feel as happy as this adorable, multi-media craft!
Time to CompleteUnder an hour
Primary TechniquePaper Crafts
Project or Page SizeCard
Type of Paper UsedCardstock

HolidaySt. Patrick's Day, St. Patrick's Day
Project TypeMake a Project
Materials List
- Scrapbook Adhesives by 3L® Adhesive Dots Small
- Scrapbook Adhesives by 3L® Crafty Power Tape
- Cardstock: White, Green, Bright Green
- Buttons: Green, White
- Computer font or stamp
Instructions
-
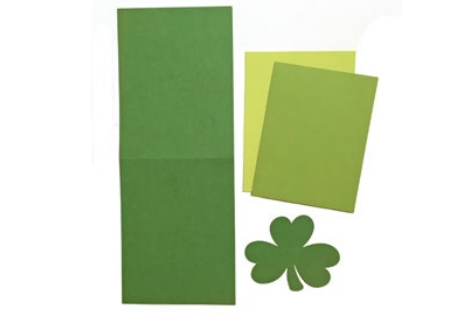
Fold a piece of 4 ¼ x 11-inch green cardstock in half to make a vertical 4 ¼ x 5 ½-inch card base.
-
Cut two card panels: 4 x 5⅛-inch from bright green cardstock and 3 ¾ x 5 -inch with light green cardstock.
-
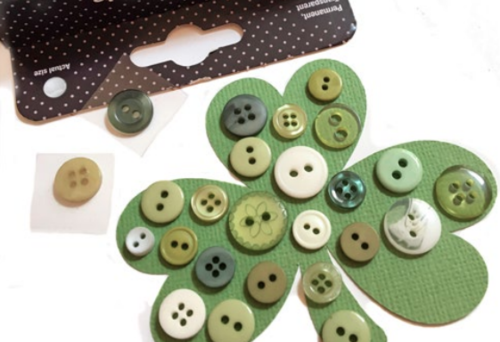
Die-cut or cut a 3 ½ x 2 ¾-inch shamrock shape from green cardstock (the same as card base). This will be the guide for your focal button element of the card.
-
Feed Adhesive Dots Small from the dispensing box one by one. Place an Adhesive Dot with its liner on the back of each button. Press the Adhesive Dot, with the liner still on it, into the button. Remove the clear liner and adhere your button to the shamrock die cut.
-
Work your way around the shamrock shape, using different button sizes and colors to cover the shape.
-
Layer the two card panels from Step 2 and adhere them with Crafty Power Tape. Using the same adhesive, center the layered card panel on to the card base.
-
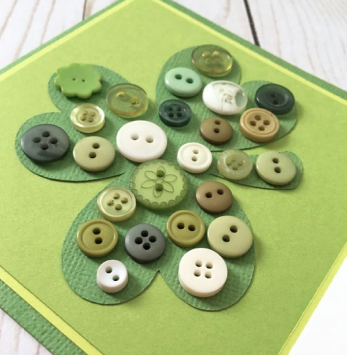
Adhere the button shamrock shape to the card front with Crafty Power Tape.
-
Print or stamp “Happy St. Patrick’s Day” and a shamrock image onto white cardstock. Trim the sentiment strip, adhere onto bright green cardstock cut to 3 ⅝ x 1-inch, with Adhesive Dots Small on the back on each end.
-
Center a small green button on the shamrock image of sentiment with an Adhesive Dot Small to finish.


What is your favorite shade of St. Patrick's Day green to craft with? Let us know below in the comments!
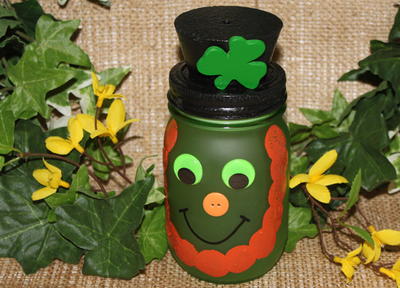
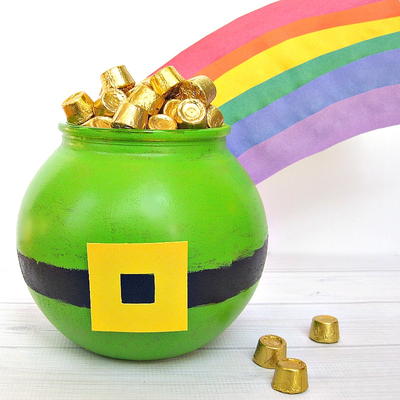
Read NextLucky Leprechaun Mason Jar Crafts