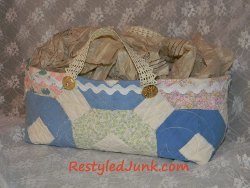
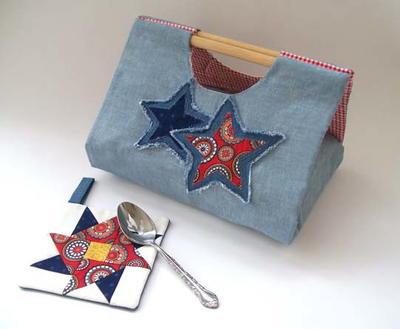
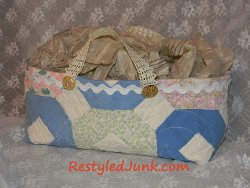
Vintage Quilt Tote
Easy sewing crafts are a great way to use up scraps and breathe new life into old items. Create a Vintage Quilt Tote from Cyndee Kromminga and fill it with small gifts - it's a great option for a birthday or during the holidays. The recipient can keep the gift and the bag, too.
Materials:
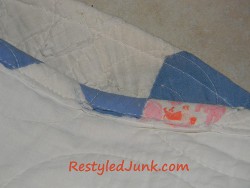
- Old cutter quilt
- Measuring tape
- Scissors
- Straight pins
- Sewing machine
- Vintage trim
- Spray starch and iron (optional)
- Four vintage buttons
- Hand-sewing needle and thread
Instructions:
-
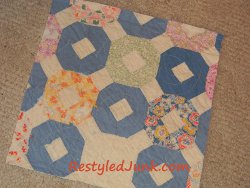
Cut one 15-inch square from an old cutter quilt. If you have a lot of little quilt scraps, piece them together for the size needed. To eliminate bulk from extra seams, sew them together by overlapping the cut edges.
-
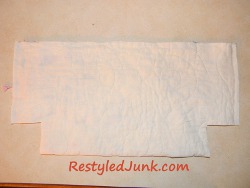
Fold the square in half with the right sides together and the edges matching. Your folded quilt will now measure 7 1/2 inches wide by 15 inches long. Pin the 7 1/2-inch edges together. Sew the pinned edges using a 1/4-inch seam allowance to secure the sides of your tote. Do not turn right side out.
-
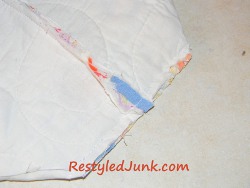
Lay the stitched bag flat on your work surface. The bottom of the bag is the folded edge. Just inside the stitched side seam at each bottom corner, cut out a 2-inch square. Open a corner and squeeze it closed diagonally, matching the points of the square opening. Pin the edges together and sew using a 1/4-inch seam allowance. Repeat on the other corner. This creates a flat, boxed bottom on your tote.
-
Fold a 1/2 inch at the top edge of your tote to the wrong side and pin. Sew 1/8 inch from the cut edge of the pinned hem. Turn the bag right side out.
-
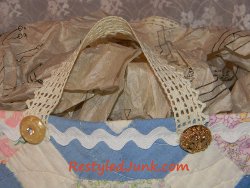
Lay the tote flat on your work surface. Cut two 8-inch lengths of a vintage trim of your choice. If the trim is flimsy, you may want to starch them as they are the tote's handles. Measure to find the center on the top hemmed edge of your tote. Pin each end of one trimmed piece 1 1/2 inches on opposite sides of the center and 1/2 inch below the top edge. The pinned ends will be 3 inches apart. Sew the pinned ends to attach. Flip the tote over and attach the remaining trim in the same way.
-
Choose four miscellaneous buttons from your button collection. Hand sew a button over each handle end.
Read NextFlip Flap Messenger Bag