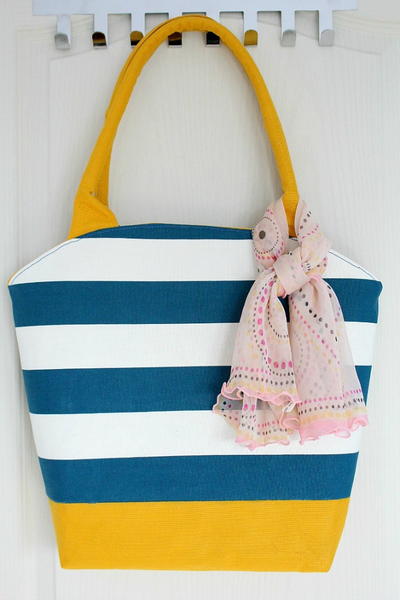
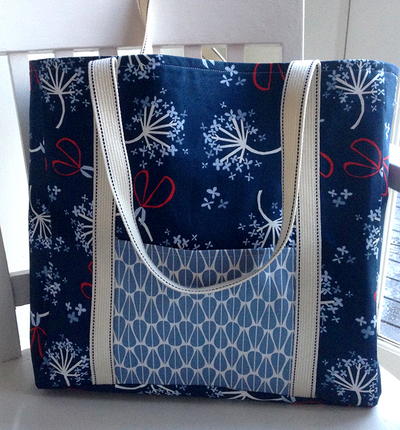
Spring Garden Tote II: Sewing the Outside and Finishing
This is a continuation of the Spring Garden Tote guest project from Dorinda at Flower Girl Designs Collection.
Click here to see the beginning of the tutorial.
Sewing Together the Outside of Tote:
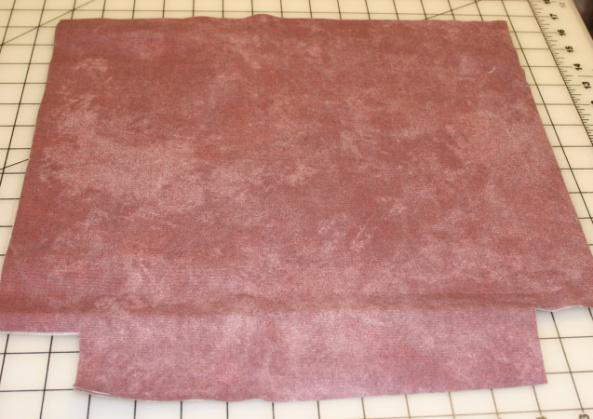
- Place outside fabric cuts, right sides together.

- Sew the sides & bottom, leaving the top and corners open (zigzag or serge seams, after sewing, to make them more secure). You don’t have to worry about lining up the pockets; it was designed so no pockets will have to match at side seams.

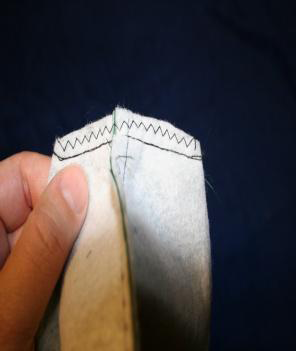
- At the corners match seams (side & bottom) and sew, zigzag or serge all seams to make them more secure. Turn tote right sides out.

Lining- Corners & Sewing Together:
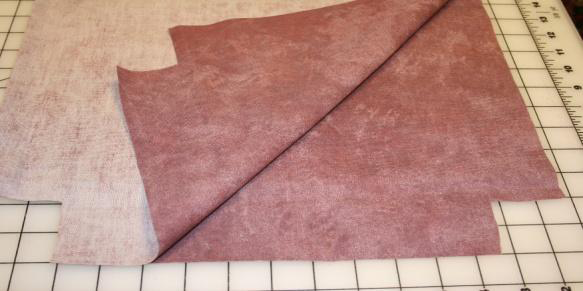
- Take the 2-15” x 15” lining cuts (I used a durable canvas fabric), cut out a 2” x 2” square at each corner on one side.
- Place right sides together, sew sides and at the bottom leave a 3” opening for turning. Leave corners and top open. Then, sew the corners the same as the outside of the tote. (zigzag or serge seams to make them more secure) Leave wrong sides out.
Straps:
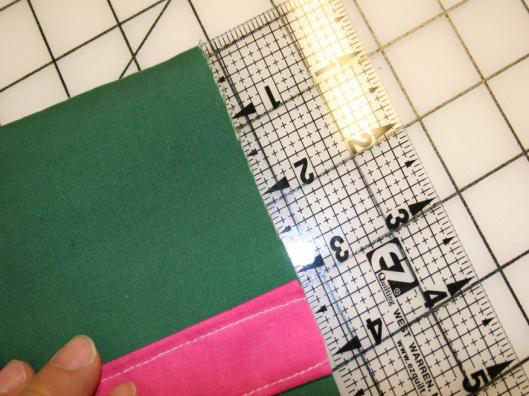
- Take the 2- 4” x 20” strips of fabric for straps, place raw edges to the middle, the long way and press.

- Fold again and press, making a 1” strap. Sew close to both long edges.

- Place the raw edge of one side of the strap to the raw edge of the tote, 3” in from one seam, pin and zigzag in place. Make sure the strap is straight and place it on the same side, other end, 3” in and zigzag in place. Sew the other strap to the other side of the tote the same way.
- Now, both straps are sewed on the tote.

Finishing:
- Take the outside of the tote and place it (right sides together) inside the lining with the 3” opening at the bottom. Pin and sew all around the top of the tote, backstitching over the straps to make them more secure.
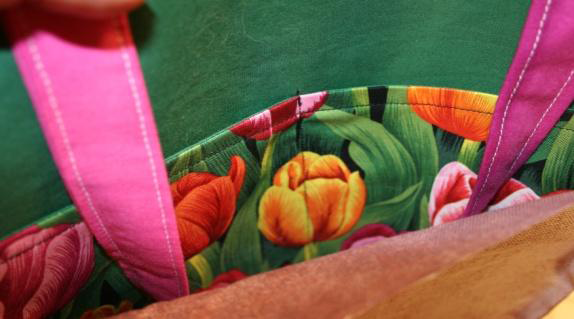
- Turn tote right sides out through the 3” opening. Machine or hand stitch opening closed.
- Press and topstitch all around the top of the tote.

Your Garden Tote is done and ready to use. It looks Great!
.bmp)
Read NextSimple Life Tote Bag Tutorial
Your Recently Viewed Projects
Thanks for your comment. Don't forget to share!
KATHYSKRAFTS MORE
Mar 22, 2010
Where can I get one of those pattern boards with-out spening $100.00 I have looked and I can't find one anywhere. Guess I need to look on line. Any suggestions would br helpful.
Report Inappropriate Comment
Are you sure you would like to report this comment? It will be flagged for our moderators to take action.
Thank you for taking the time to improve the content on our site.