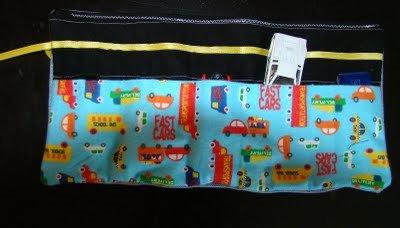
Sewn Toy Car Holder
Keep your son's toy cars organized in this cute Sewn Toy Car Holder by Fawnda Norman. You won't find many sewing patterns online that are as adorable and easy as this one!
Materials:
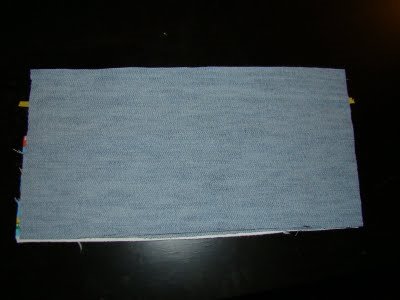
- 3 - 13.5 X 7 inch rectangles of fabric. I used denim from a pair of old jeans, black flannel (for the road), and a car flannel
- ribbon (yellow works great to be part of the road)
- Optional: Fusible fleece
- Sewing machine (with other sewing tools: scissors, thread, etc.
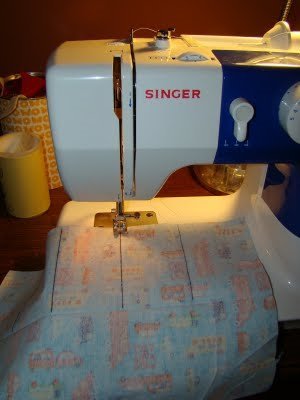
Instructions:
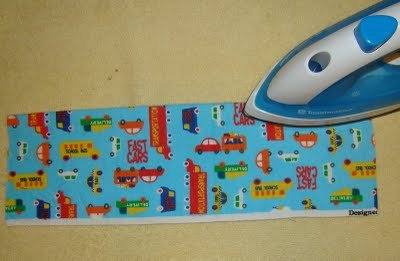
- Iron your fabric. Pick out which one you want to be the pocket, fold it in half and iron across the crease.
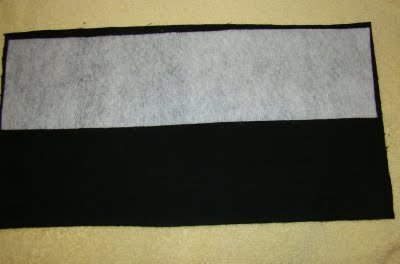
- Optional: I also ironed on the fusible Fleece to the top of the back side of the black flannel. This was to give the "road" a little more stability and cushion.
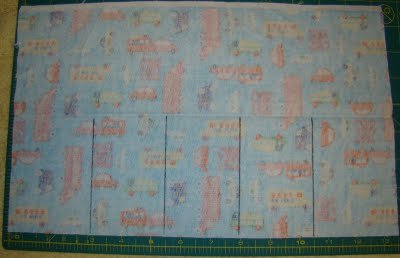
- Open your pocket and on the BACK side make vertical lines up to the crease at 3", 5.5", 8" and 10.5"
- Now we are going to set up our pocket: Place your pocket (folded back down) onto the TOP side of the black flannel.
- Then, flip open the pocket and pin into place on the bottom half.
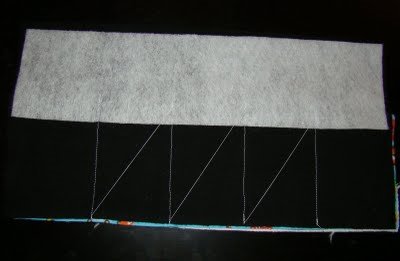
- Sew on your vertical lines that you made, being sure to stop at the fold crease. Make sure to back stitch at the beginning and end of each line.

- Here is what the back looks like:
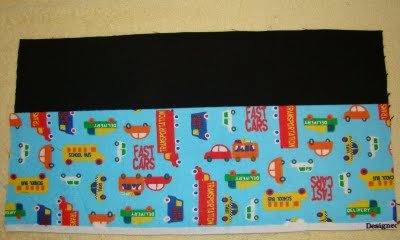
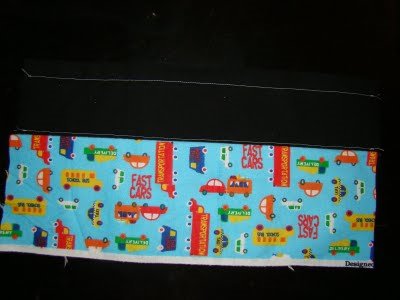
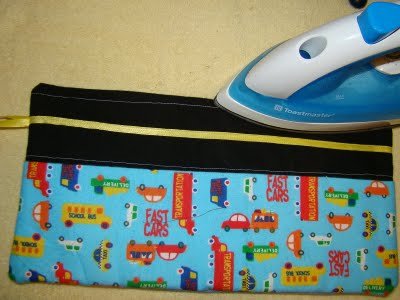
- Flip your pocket down and sew two line across the top of the black flannel to make a road. DO NOT sew on the pocket!
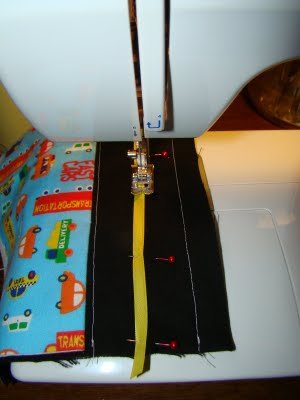
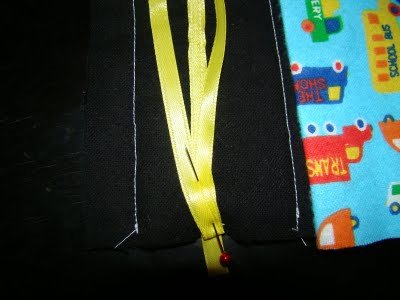
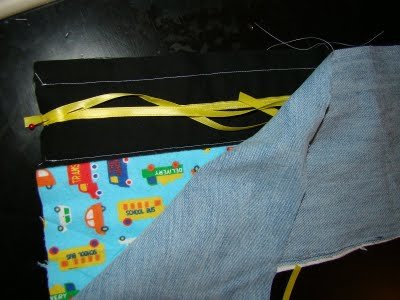
- Place your ribbon on your road. I used a measuring tape to make sure that it was straight across. Pin your ribbon in place.
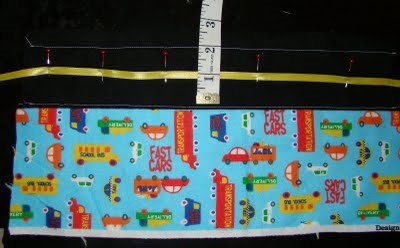
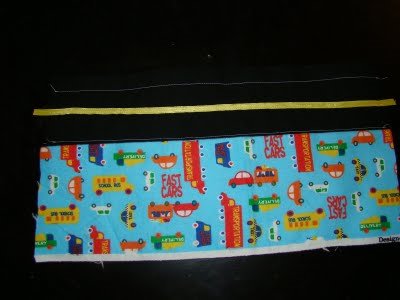
- Sew on your ribbon. I sew down each side.
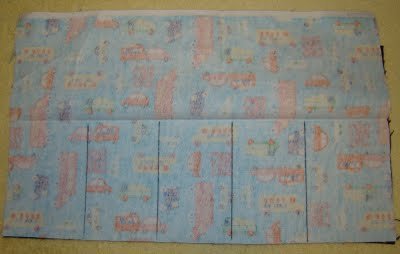
- Here is what it looks like now:
- Cut off a piece of ribbon that is about 32' long and fold it in half. Pen it to where the yellow ribbon on your road is with the length of the ribbon going onto the car roll. (This is going to be our tie)
- Put the denim piece on top of the car roll (Right sides together).
- Make sure that your tie ribbon is on the INSIDE... or it will come out backwards!
- Sew around the outside edge of the car roll, making sure to leave a 3-4 inch opening to flip it right side out.
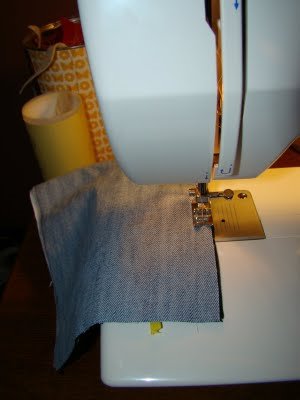
- Flip the car roll right side out and iron on the creases of the seams. Top sew your opening closed and you are ALL DONE!
- Put some cars in it and roll it up and tie it!
Read NextDarling DIY Pillowcase Dress

Thanks for your comment. Don't forget to share!
Weberme
May 03, 2016
What a great idea for traveling long or even short distances in your car. What little boy( or girl even) does not want to take a hand full of cars with him and then does not want to pick them up and bring back in when getting back home. This is so simple and easy to make and keeps them in place in car instead of all over the seats. This is a must have. Anyone use this for traveling?
Report Inappropriate Comment
Are you sure you would like to report this comment? It will be flagged for our moderators to take action.
Thank you for taking the time to improve the content on our site.