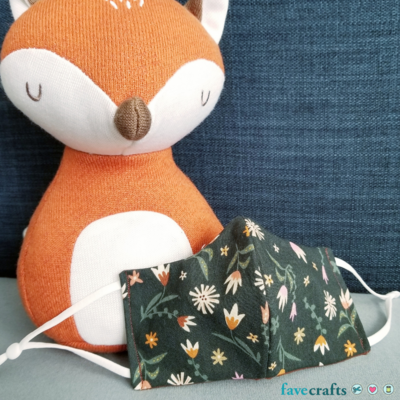
DIY Face Mask for Kids
Make a toddler face mask by following this simple and step-by-step mask tutorial.

The CDC has recommended that children over the age of two can and should wear face masks in areas where COVID-19 infection is possible. While this varies from place to place, it's important to have a child-size mask ready for wearing.
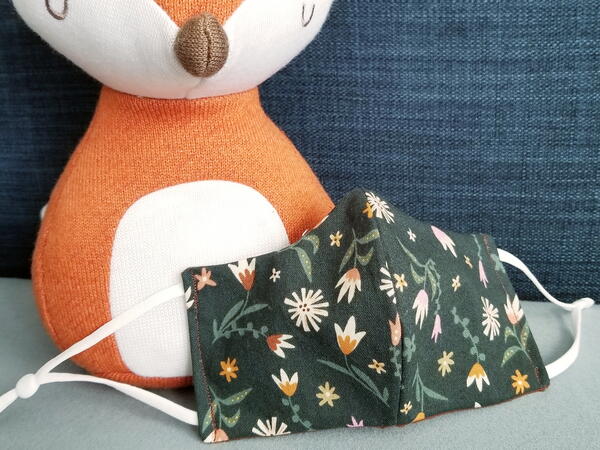
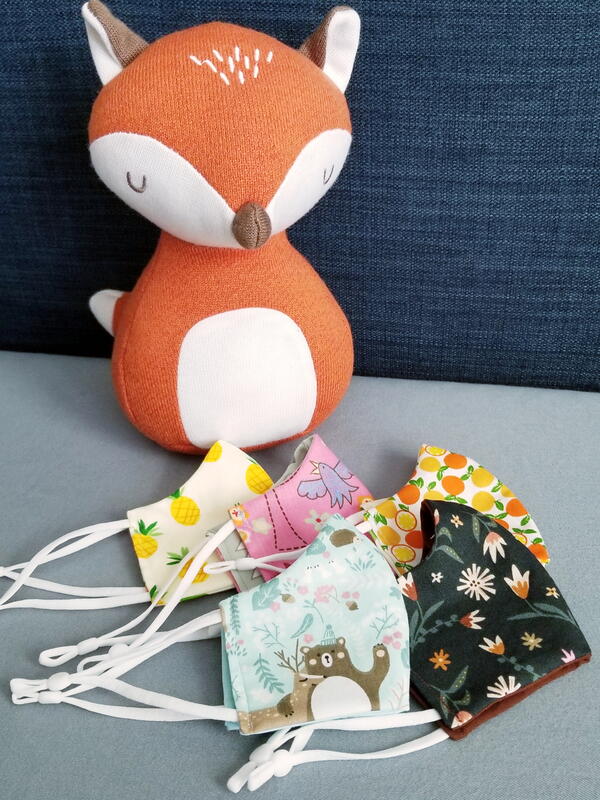
This DIY Face Mask for Kids is one of the most comfortable and stylish homemade masks for children, which makes them more likely to want to wear it when needed.
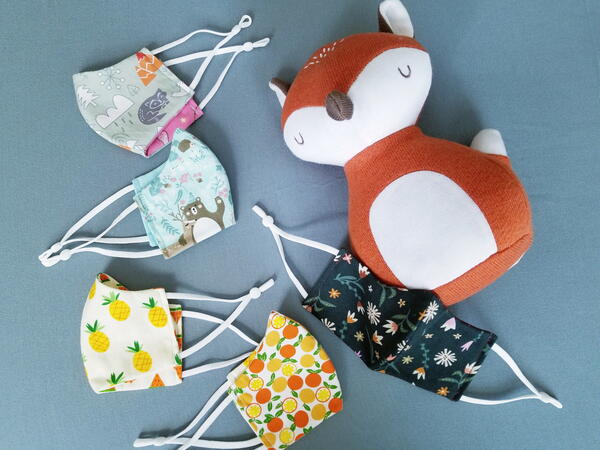
My full tutorial is written out in detail so that beginners can make these kid's masks as easily as someone with years of experience. Plus, you can download free face mask templates in three different styles thanks to AllFreeSewing. All styles are available in multiple sizes, from small child to adult.
The DIY face mask shown in this tutorial is Style B but the process is the same for all three styles. The templates can also be cut slightly smaller or larger depending on the size needed. I needed the smallest mask possible, so I cut the child-size mask template a 1/4" smaller than the template line.
DIY Kid's Face Mask Materials Needed:
- 100% cotton fabric (4 template-sized pieces for a two-layer mask, 6 pieces for a three-layer mask)
- Scissors (or rotary cutter/self-healing mat)
- Sewing machine
- Matching or complementary thread
- Iron/ironing board
- Fabric pins or clips
- Elastic or adjustable earloop bands (elastic should be about 5" for children's sized masks)
- AllFreeSewing face mask template or face mask template of choice
- Filter liner (optional) learn about filters here
- Nose wire (optional)
Read the latest guidelines from the CDC here.
How to Make DIY Face Mask for Kids:
To prepare for mask making, thread your machine and set to a straight stitch. You can technically hand sew these masks, but it will take considerably longer. Simply follow the steps but hand sew any steps that mention a sewing machine. Like machine stitching, hand stitches should be tight and strong.
Skill Level: Easy
Approximate Time to Complete: About 1 hour
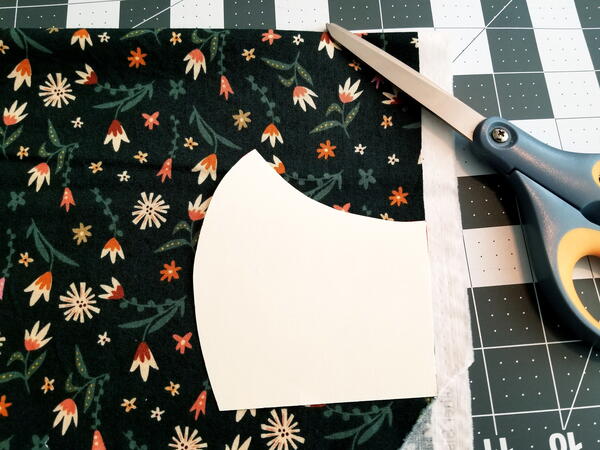
- Print the mask template PDF (or preferred template) in the style and size desired. Cut out the mask template.
Note: Read through the tips and details above and on the template page before printing.
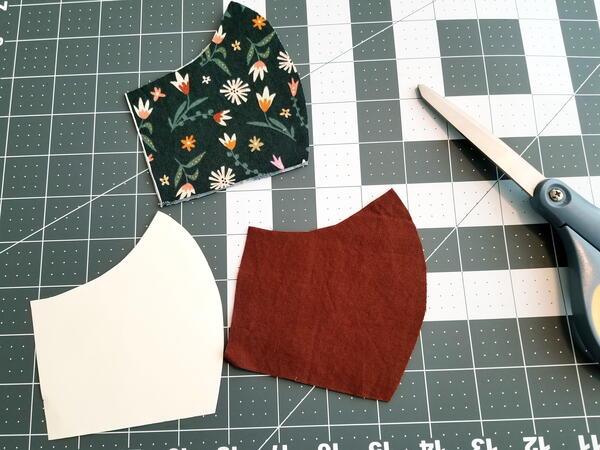
- Using the template of choice, cut out two pieces of fabric for the front side of the mask.
- Cut two more pieces of fabric for the inside of the mask. The inside of the mask can be decorative or solid depending on whether or not you want a reversible mask.
- (Optional) If you would like the mask to have three layers, cut another two pieces. This set will not show.
Note: If the print/pattern is directional or has lines, make sure you are placing the template at the correct angle or right-side-up.
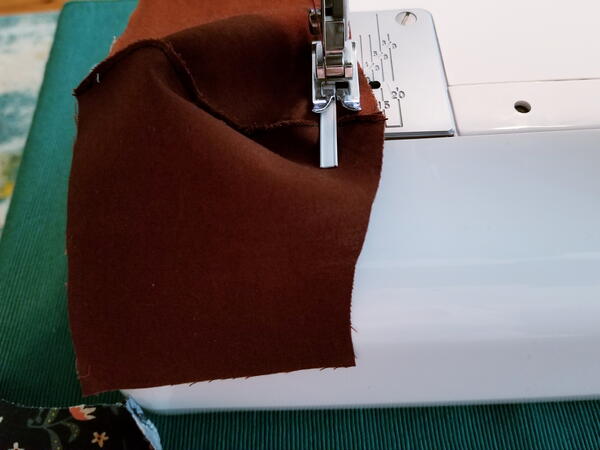
- Place two cut fabric mask pieces right sides together and pin or clip to hold. Sew along the curved edge with a 1/4" to 3/8" seam allowance. Lock the stitches at the start and end.
- Cut excess thread, trim as needed, and clip the curves along the sewn edge. Be careful not to snip the seams. Repeat for all sewn layers.
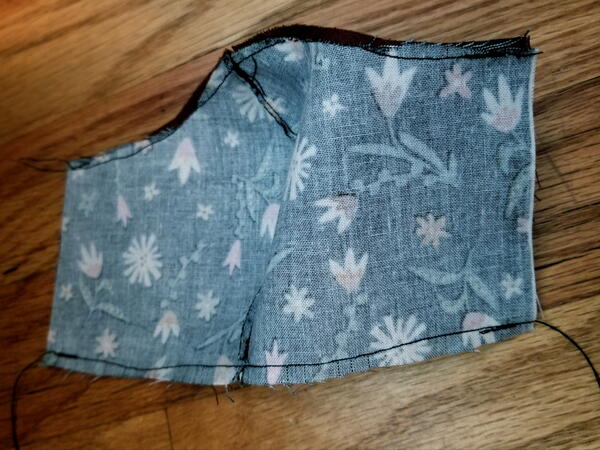
- Open the sewn mask piece and press the seams on the inside to one side for all pieces. If needed, iron the mask pieces to remove any wrinkles.
- Add a filter pocket and nose wire if desired (both are optional but help improve mask protection).
Note: I add my nose wire to the inside/back layer of the mask. If you are sewing a reversible mask, the nose wire stitching will be visible on one side of the mask. Choose a matching thread color that will be the least visible. You can either use your machine or hand stitch the nose wire into the fabric.
- Put the sewn mask pieces right sides together and pin or clip to secure, making sure that the middle seams are aligned. Sew along the top and bottom to attach (again with a 1/4" to 3/8" seam allowance). Lock stitches at the start and end.
- Cut excess thread, fabric, and clip curves along the sewn edges. Again, do not snip the seams.
- Turn out the DIY child face mask so that the right sides are out. Be sure to push out along the sewn edges to push the fabric out all the way. You can do this with your fingers or with a pressing tool.
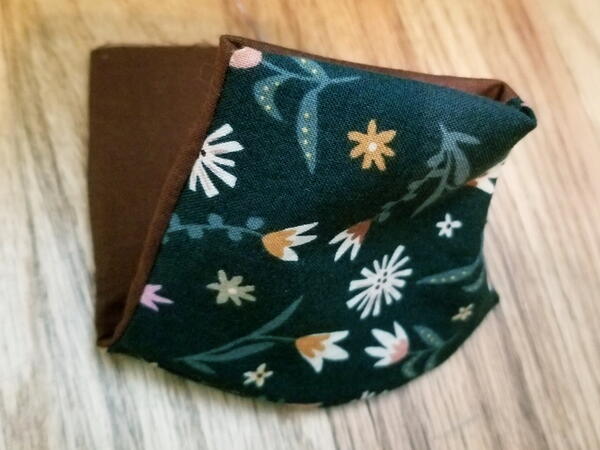
- Press both sides of the mask to flatten seams and remove wrinkles. Pay extra attention to the edges.
- (Optional) To make the mask reversible, push in the raw edges on both sides about 3/8"- to 1/2". Press if needed to keep in place.
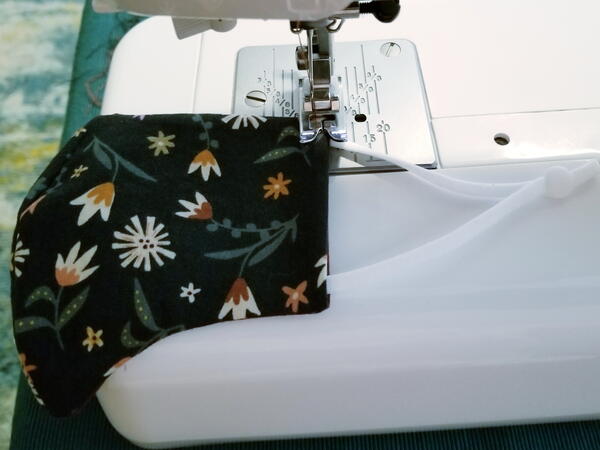
- Cut elastic if needed (should be about 5" for children's sized masks) or earloops. Carefully place the elastic/earloops inside the mask, leaving at least 1/2" inside the mask to be sewn and attached. Pin or clip if desired to hold while sewing.
- Sew on elastic/earloops. Lock stitches at the beginning and end where the earloop is located for extra strength.
Note: This thread will be visible, so be sure it matches your fabric if that's something you're concerned about. It helps add a stylish and professional look when the thread matches/coordinates.
- Clip the excess thread. You're done!
About the Author
Up Next
Read NextMomster Stuffed Animal Pattern