This project was submitted by one of our readers, just like you.
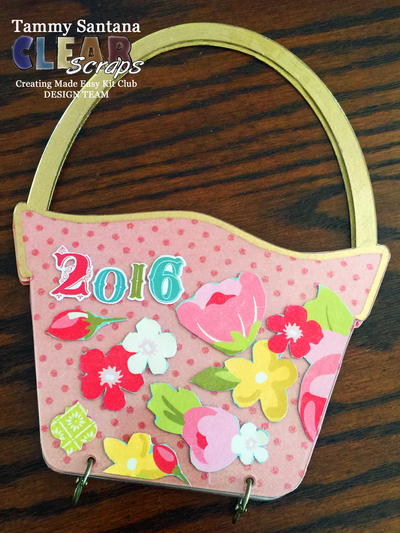
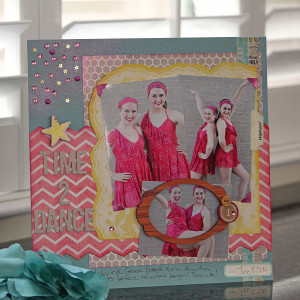
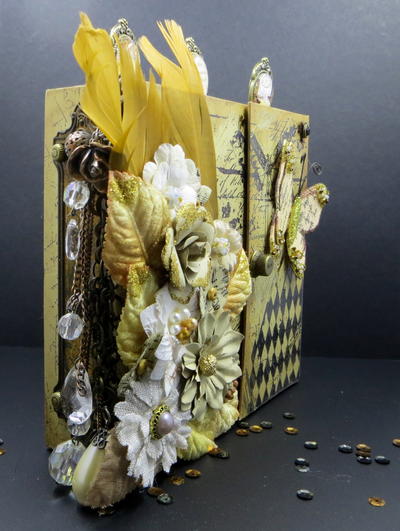
Shabby Chic DIY Scrapbook
Check out this tutorial on how to make a scrapbook that is sturdy, stunning, and perfect for your sentiments.

Shabby Chic DIY Scrapbook
In the Designer's Words: "Memories are so precious! Creating an album to store them is an especially thoughtful gift. Just because it looks like it took forever doesn’t mean it actually should! This Shabby Chic Album was created using a Chipboard Album, Patterned Papers and Pre-made Embellishments to cut down on time. Foils and Flowers were used to create interest and metal accents to add to the vintage feel. Having all your supplies ready and in one place allows you to complete your project quickly! You may want to create two so it won’t be so hard to give away! The hardest part of this project is just gathering the supplies and getting started. Once you have everything, it comes together pretty quickly. You can get as detailed as you'd like! Just enjoy the process."
Scrapbooking is a creative way to look back while creating new crafting memories. While buying scrapbooks at the store might save you just a little bit of time, making your own DIY scrapbook just adds that beautiful and homemade crafting touch to your memories that really shows you care. The Shabby Chic DIY Scrapbook craft shows you how to decorate your own scrapbook ideas with a stunning and vintage look. This paper craft idea is surprisingly easy to make and sure to be a blast.
Estimated Cost$31+
Time to CompleteWeekend project
Primary TechniqueMixed Media
Type of Paper UsedArtBoard

Materials List
- Prima Magnetic Album 6-1/2" x 6-1/2"
- Prima Vintage Emporium Patterned Papers
- Folk Art Acrylic Paint -Camel - (Prime)
- Mixed Media Thinlits (Sizzix)
- Foil - Gold & Pewter (Thermoweb )
- Butterfly Stamp (Finnabair) in Black Archival Ink
- Adhesive Sheet (Thermoweb)
- Adhesive Rub Ons (Prima)
- Flowers, Feathers & Embellishments (Prima)
Instructions
-
Paint album and pages with acrylic paint
-
Apply Brown Ink to edges to distress
-
Apply various background stamps to the exterior of the album.
-
Stamp the large butterfly stamp on the outside cover (left side) and on the outside cover (right side) in Black Archival Ink. Try your best to line up the image so they match up. (I just used the right edge of the album and the top edge to match up the edges of my stamp)
-
Die cut double-sided adhesive sheet using Mixed Media Thinlet and apply to album cover
-
Peel off adhesive and rub Pewter Foil on top of the adhesive
-
Cut various patterned papers and adhere to the inside pages of the album. (Make sure to create any flaps you want before taping the pages down.)
-
Apply random rub ons to the covers and pages and then rub Gold Foil over the adhesive.
-
Adhere a metal embellishment to the spine of the album using strong adhesive.
-
Hot glue various feathers flowers to the front cover of the album.
-
Wrap a chain around the spine of the book and attach embellishments as desired.
-
Hot glue any remaining embellishments.


Thanks for your comment. Don't forget to share!
Princess Carolyn
Apr 28, 2016
This is so pretty! I love the crystal and metallic flower detail. It adds really pretty texture.
Report Inappropriate Comment
Are you sure you would like to report this comment? It will be flagged for our moderators to take action.
Thank you for taking the time to improve the content on our site.