This project was submitted by one of our readers, just like you.
Trio of Bright and Sweet Note Cards

Trio of Bright and Sweet Note Cards
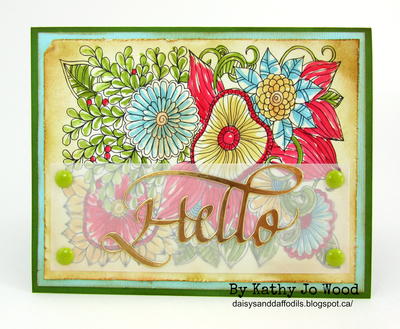
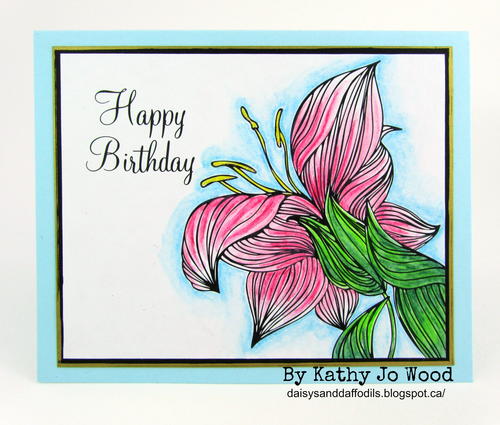
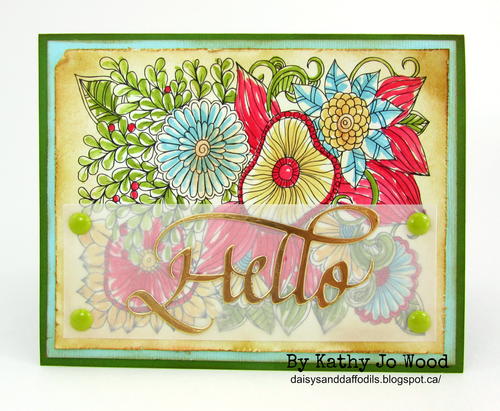
From the Designer: "A trio of fun-to-create note cards using three different coloring techniques. The first card ("Thank you so much") was created using coloring pencils from Leisure Arts. The coloring methods used on the card front resulted in a bright card with depth. The second card was created using Leisure Arts watercolor pencils. The card was quick to make and has a beautiful watercolor flower image as the card's focal point. The third card is reminiscent of 1960's print with its distress watercolor image and edging. The finishing touch on the card was the gold "Hello" sticker (created using the mini Zyron Make a Sticker) mounted on vellum paper. Each card is unique and a great excuse to use some of your favorite coloring techniques!"
Primary TechniquePaper Crafts
Project or Page SizeCard

Materials List
- Leisure Arts Colored Pencils
- Leisure Arts Watercolor Pencils
- Leisure Arts Thank You Note Cards with Envelopes
- Xyron Make a Sticker
- Quietfire Design "Hello" die
- Distress Inks
- Watercolor brush
- Distress edger
- card stock
- vellum paper
Instructions
"Thank you so much" card:
-
Color card front using Leisure Arts colored pencils.
-
Cut image to size. Mount onto card stock mat.
-
Mount to card base.
For the watercolor card:
-
Use Leisure Arts watercolor pencils to color flower and leaves. Use blue watercolor pencil to create background.
-
Use watercolor brush to create watercolor effect. Dry.
-
Cut image to size and mount entire image onto sheet of double sided adhesive tape. Mount to card stock mat.
-
Mount to card base.
For the vintage style card:
-
Cut image to desired size.
-
Cover image in Antique Linen Distress ink.
-
Use watercolor brush and various colored Distress Inks to color image. Dry.
-
Distress edges. Add Distress Ink to edges.
-
Mat and mount to card base.
-
Cut vellum to desired size.
-
Die cut Hello from gold paper. Use Make a Sticker to create Hello sticker. Mount to vellum.
-
Mount to card front using either adhesive dots or liquid adhesive. (Apply one dot in each corner.) Cover mounting dots with half dots or pearl embellishments.