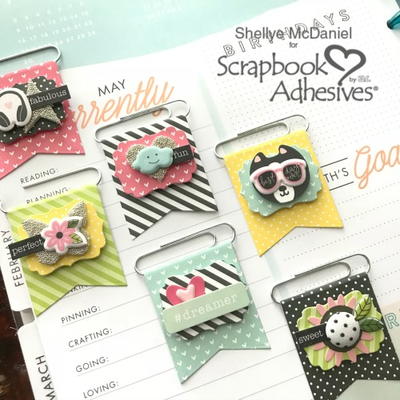
DIY Flag Planner Embellishments

Dress up your planner in a way that is uniquely you with your very own flag planner embellishments! Layers of shapes and sparkle await, and most of the components are probably already in your craft drawer. Use die cut banners in a variety of colors as the foundation of your project. Paper clips give your banners the look of hanging off a support, and then you're ready to decorate. Adorable butterflies, hearts, and stickers will help you customize your banners to each event you're documenting. Celebrate the little things and the big things with headphones, dog stickers, clouds, and flowers.
From Scrapbook Adhesives by 3L: Make these DIY Planner Flag Embellishments for your traveler’s notebook or planner. Use any size paper clips and die-cut paper flags to create your own!
Time to CompleteUnder an hour
Primary TechniquePaper Crafts

Project TypeMake a Project
Materials List
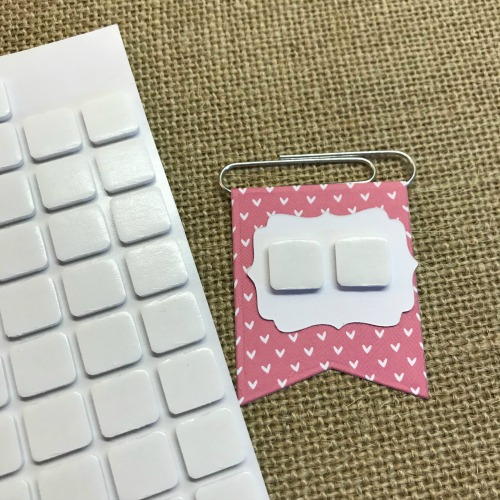
- Scrapbook Adhesives by 3L® 3D Foam Squares White Mix
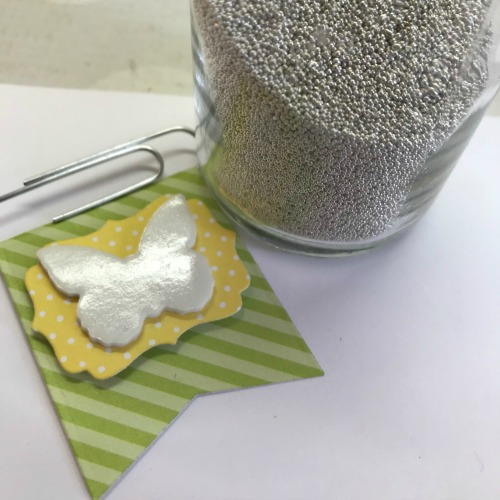
- Scrapbook Adhesives by 3L® 3D Foam Butterflies
- Scrapbook Adhesives by 3L® 3D Foam Hearts
- Scrapbook Adhesives by 3L® 3D Foam Stars
- HomeHobby by 3L® Premium Double-Sided Tape ¼ inch
- Patterned Papers
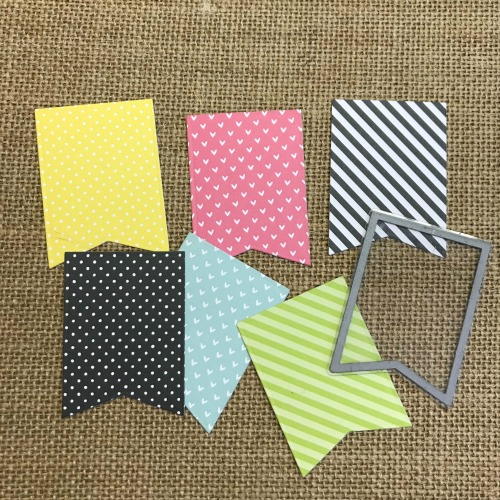
- Die Cuts
- Pebbles Inc. Stickers
- Flag Shaped Etched Die
Instructions
-
Die-cut 2-inch wide banner shapes from patterned papers and etched dies with a manual die-cutting machine.
-
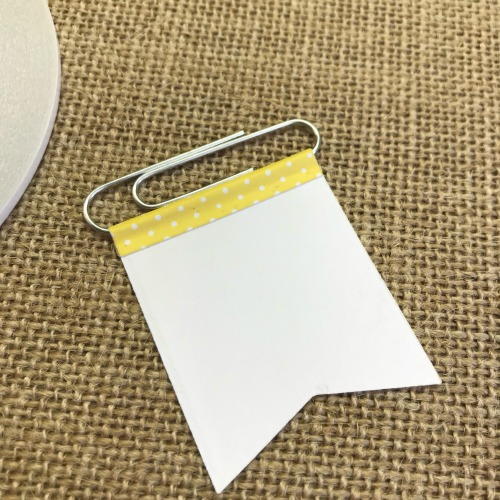
Score ¼-inch from the top of each banner die cuts and add a strip of the Premium Double-Sided Tape ¼-inch to the scored area.
-
Next, fold the top of the banner over the leg of a jumbo paper clip. Peel off the liner and secure with the Premium Double-Sided Tape.
-
On each of the backs of the small label die cuts, place 3D Foam Squares. Remove the liner and center the labels onto the banner to decorate further!
-
Using a combination of 3D Foam Shapes in Butterflies, Hearts and Stars, place on top of each label die cut. Remove top liner of 3D Foam shape and sprinkle silver micro beads for great texture. Make sure to press into the shape to secure.
-
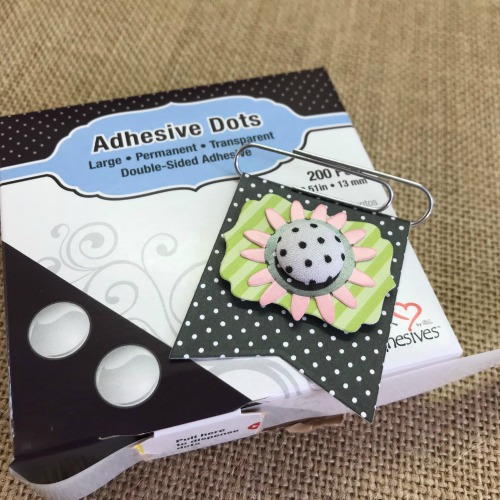
Add other elements such as buttons and stickers with the Adhesive Dots Large.

What is your preferred method of planning? Do you use a planner, calendar, your phone, or something else?
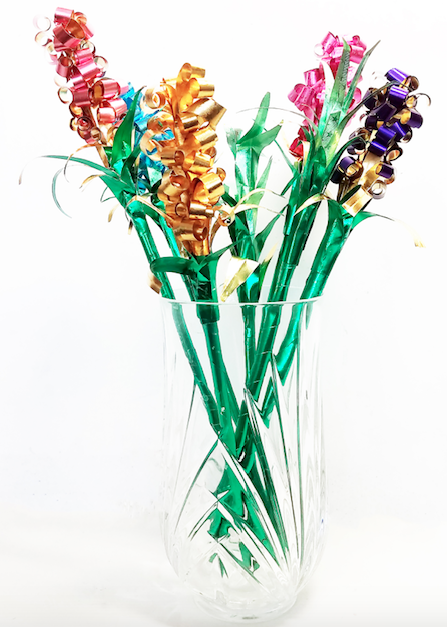
Read NextFoiled Paper Hyacinth Tutorial