How to Airbrush Pretty Much Anything
Learn airbrushing for beginners with this tutorial for how to airbrush just about anything. Airbrushing is a great way to personalize a variety of items, including your holiday gifts!
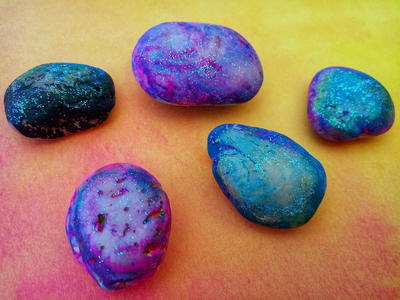
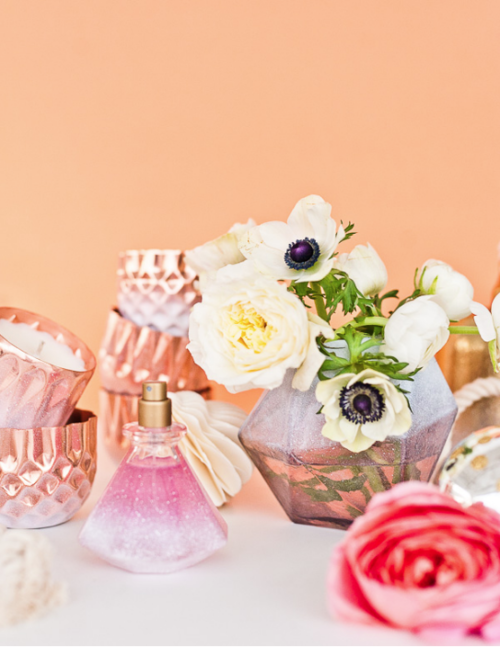
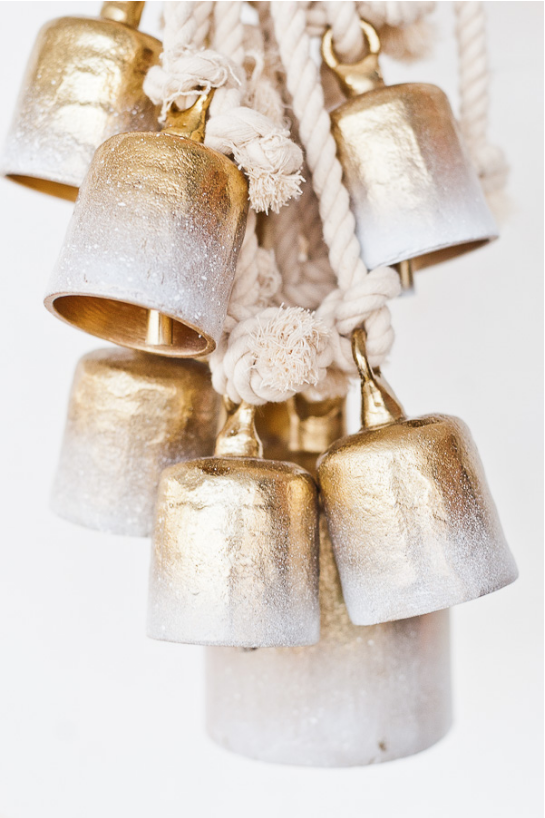
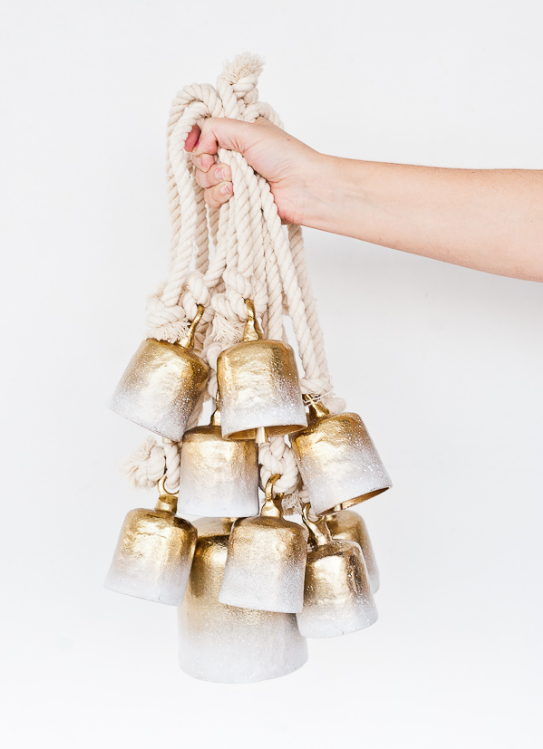
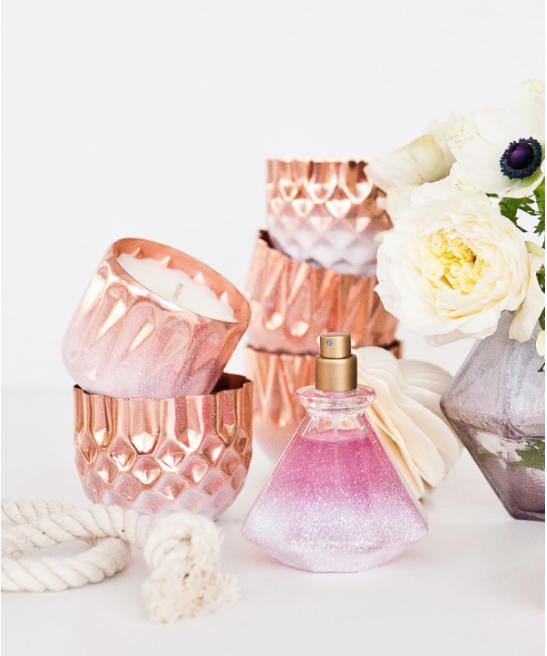
Pick up a plain glass votive or copper bell at the store and take it to the next level with airbrushed effects. Once you master airbrushing techniques, you'll be able to create gorgeous effects on all sorts of items. The color blending is so beautiful and seamless once you get the hang of it, and the airbrush itself is easy to get used to with a little practice. If you're a fan of spray painting, you'll love how smoothly color applies with an airbrush!
You can build up the layers of paint and experiment with a variety of colors for beautiful ombre and rainbow effects. Watch out, it's so addictive! Add lovely color to your life with airbrushing.
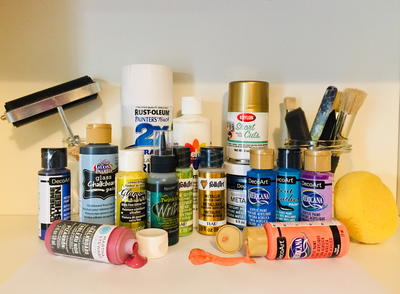
Materials
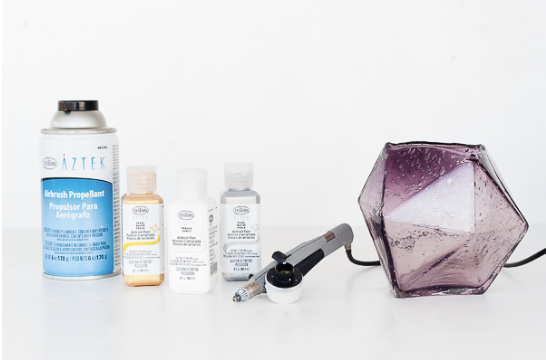
- Testors Aztek Airbrush
- Testors Aztek Propellant
- Testors Aztek Airbrushable Acrylic Paint – White Pearl Metallic #9470A
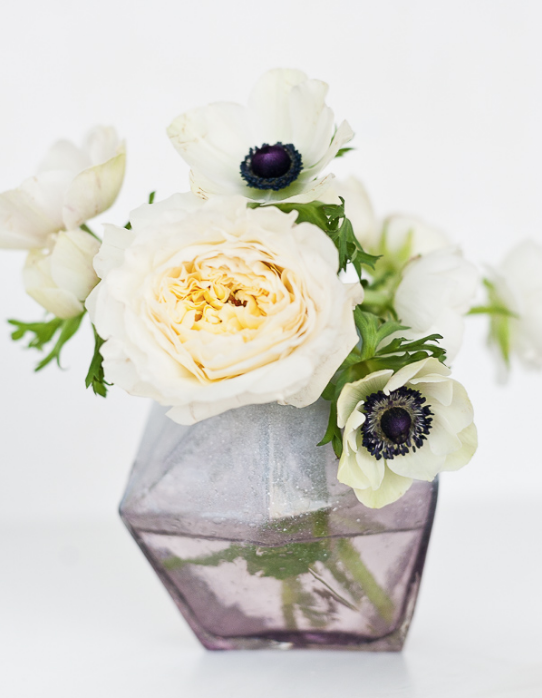
- Use any gift type item you would like to paint such as glass vases, perfume bottles, decorative metal tins, large metal bells, etc.
Instructions
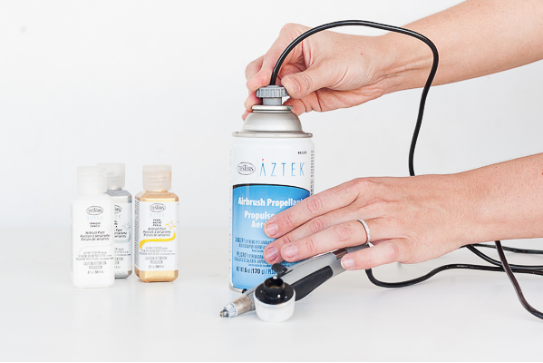
Step 1: Attach the paint cup to the airbrush. Attach the can of propellant to the airbrush with the small black hose provided.
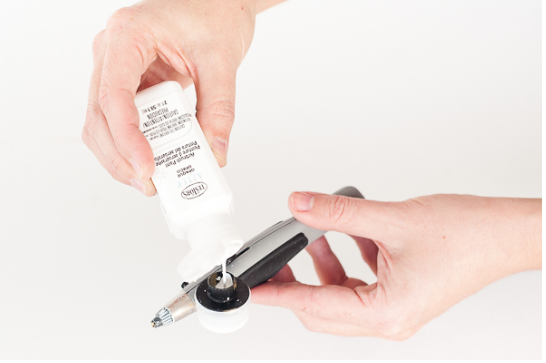
Step 2: Remove the lid from the paint cup and pour paint into the cup. Put the lid back on.
Step 3: Before airbrushing your item, practice using the airbrush on a piece of paper, paper bag or cardboard. Hold the airbrush like a pencil and press the trigger to begin the airflow and release the paint. It may take a few seconds for the paint to start flowing.
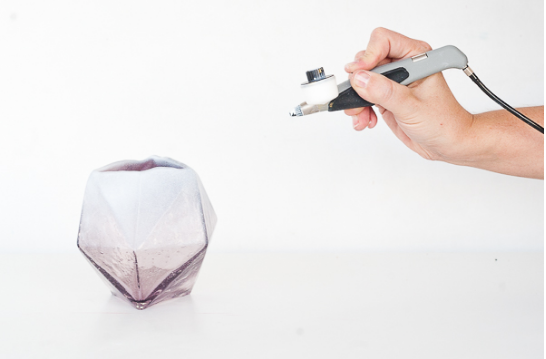
Step 4: Once you get the feel for the airbrush, get started on the item you would like to airbrush. Move the airbrush back and forth in long strokes, with your finger on the trigger, pushing the trigger down while pulling back, to control the flow of air and paint.
Step 5: Apply multiple layers of paint, if desired. Let dry completely before touching or using.
Click here to see the complete tutorial on Paper & Stitch blog.
Have you ever tried airbrushing? What do you think?