Sparkliest DIY Christmas Tree Ornament
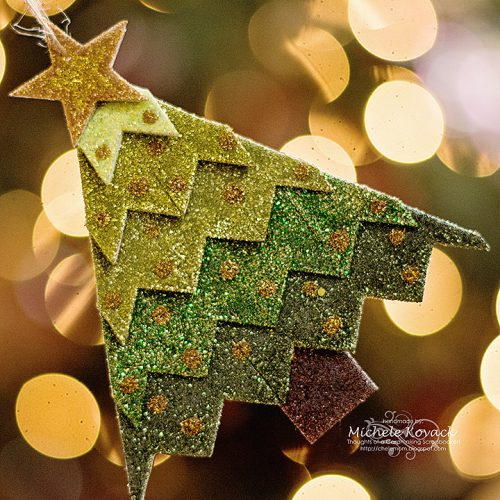
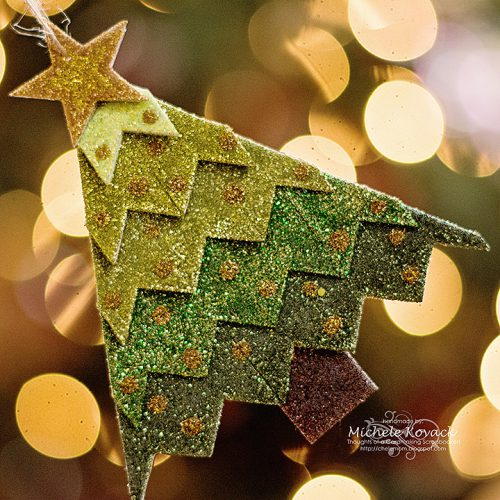
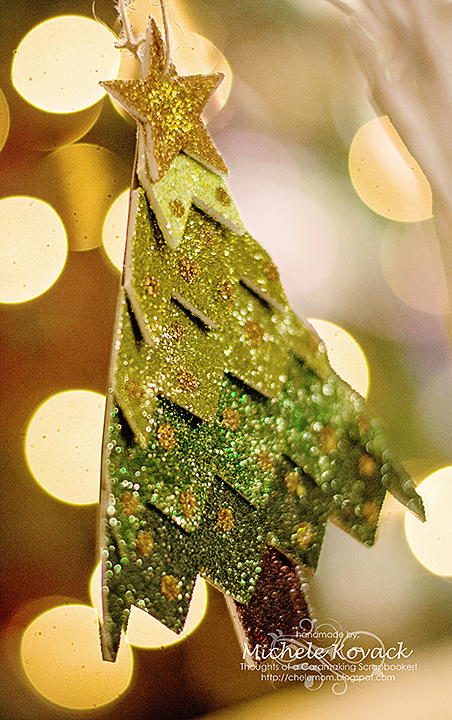
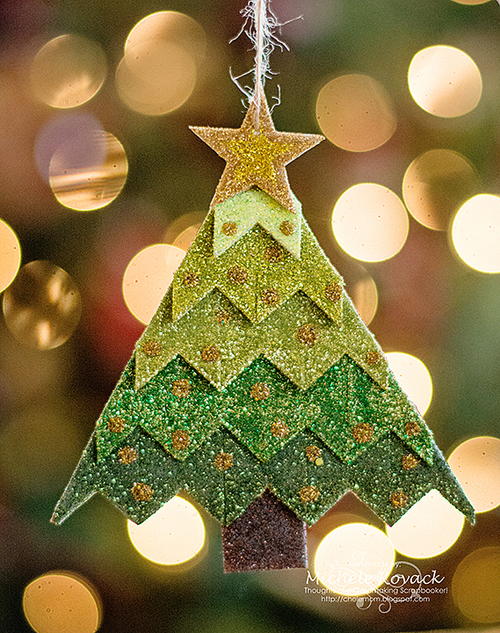
Create an ultra-sparkly DIY Christmas ornament simply with 3D foam shapes! This tutorial for the Sparkliest DIY Christmas Tree Ornament is a gorgeous and super easy project to make. Grab your favorite fine glitters and banner foam shapes to create this project. It's really as easy as adding your glitter and layering your shapes to form the Christmas tree. The ombre effect is great for adding even more dimension! If you're looking for a way to add even more sparkle to your holiday, because there's never too much, make this beautiful ornament.
Estimated CostUnder $10
Time to CompleteIn an evening

HolidayChristmas
Project TypeMake a Project
Materials List
- Scrapbook Adhesives by 3L® Used:
- 3D Foam Stars
- 3D Foam Pennants
- HomeHobby by 3L®: Dual Tip Glue Pen
- Other Materials:
- Glitter (Tonic & Martha Stewart)
- Cardstock (Papertrey Ink)
Instructions
-
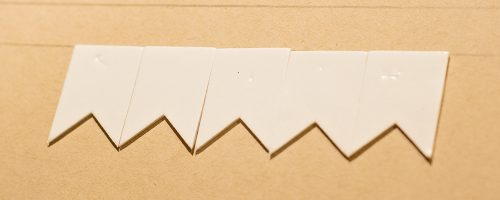
First, take the 3D Foam Pennants and line them up on a piece of kraft cardstock. The bottom row will have five pieces, then decrease them by one on each row.
-
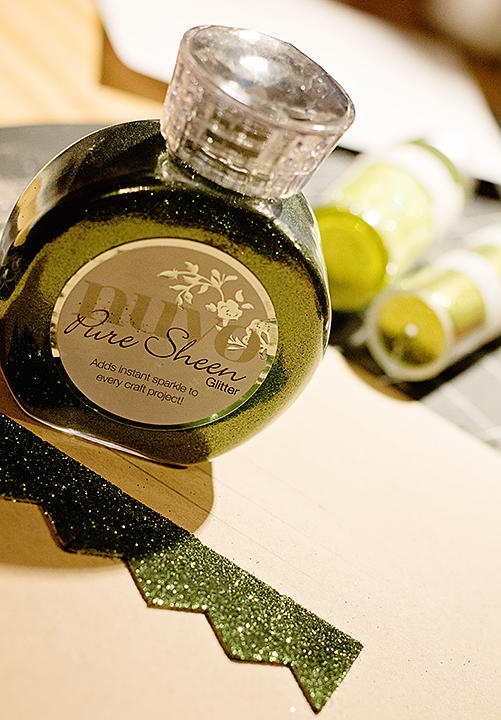
Peel off the liners on the bottom row and sprinkle with your darkest green glitter. Each row above is layered on top of it and sprinkled with a lighter green shade of glitter.
-
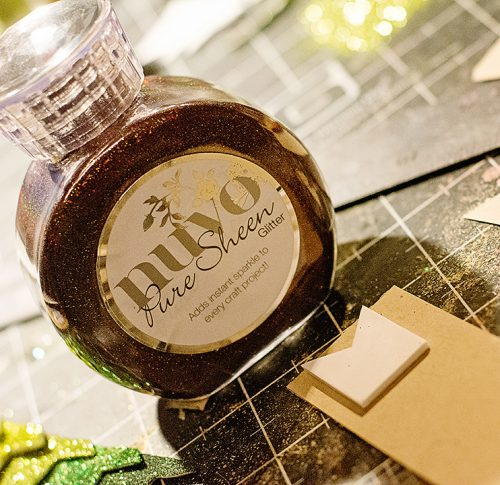
For the trunk of the tree, simply turn the pennant around and hide the pointy part under the rest of the tree. Sprinkle with brown glitter.
-
Add a bit of liquid glue between layers using the Dual Tip Glue Pen. You want to make sure all the layers stay together well.
-
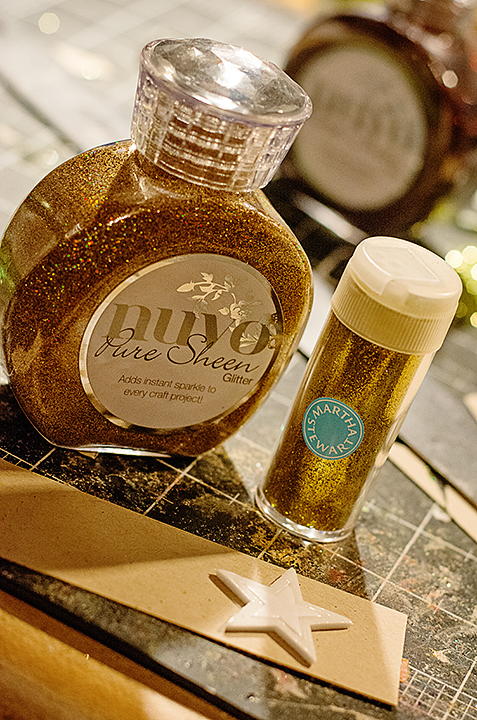
And of course, no Christmas tree would be complete without a gold star at the top! Use two shades of gold glitter on the 3D Foam Star. Add a dab of Dual Tip Glue Pen behind the star as well for extra security!
-
Here it is, all put together!

