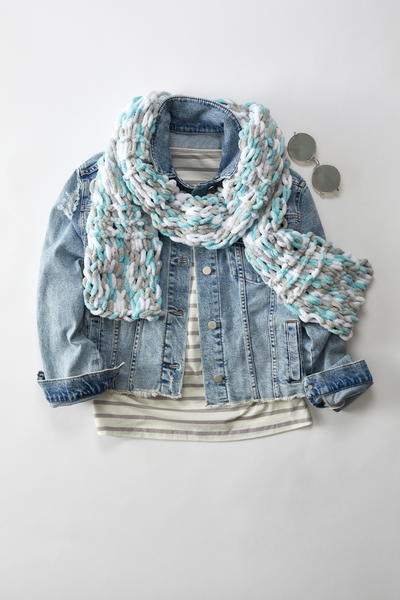
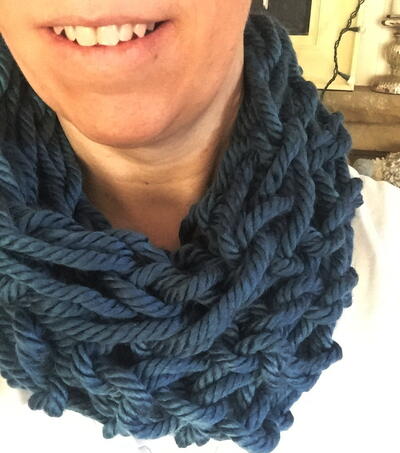
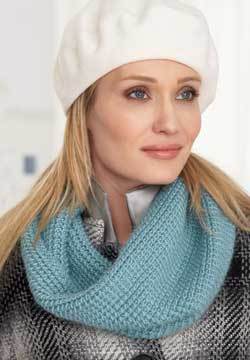
Easy Peasy Loop-It Scarf Pattern

Learn how to knit a scarf without any needles! This knit scarf pattern features Loop-It yarn which is easy enough for kids and adults alike to finger knit with. If you love the thick and cushy look of a bulky soft blanket yarn, don't shy away from this pattern. After all, knitting isn't just for knitters! You can learn a variety of techniques to get the knit look, and using Loop-It yarn is one way to do so. Best of all, this jumbo weight yarn means the scarf works up super quickly. This is a fantastic rainy day craft that will result in the coziest scarf.
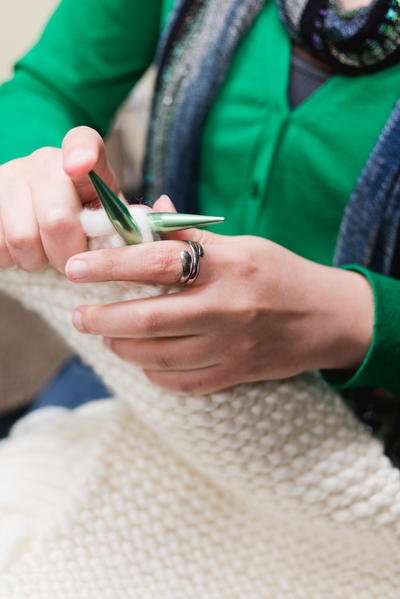
From Red Heart: This scarf is fashionable and easy to make! You don’t need to know how to knit or crochet, just pull the loops through and you’ll have a scarf in no time.
NOTES
- Finger looping fun ™ - No tools required
- Begin work on a flat surface. Stitches are worked by pulling loops of yarn through a row of previous loops. Right side will be facing throughout.
- To join balls of yarn, overlap three loops from the end of first ball with three loops from the beginning of second ball and work overlapping loops as one.

Yarn Weight(7) Jumbo
GaugeGauge is not necessary for this project
Materials List
- RED HEART® Loop-It ™: 2 balls 9451 Play It Cool
This project was part of our National Craft Month celebration in 2019! Browse this year's BRAND NEW projects:National Craft Month 2020
Instructions
SCARF: To create base row, start with a length of 10 loops.
-
Row 1 (Right side): Working from left to right, pull loops of working yarn through the loops of base row loops working from back to front – knit row formed. Do Not Turn Work.
-
Row 2: Working from right to left, pull loops from working yarn through loops of previous row from back to front – knit row. Do Not Turn Work.
-
Row 3: Working from left to right, pull loops from working yarn through loops of previous row from back to front – knit row. Do Not Turn Work.
-
Row 4: Working from right to left, pull loops from working yarn through loops of previous row from back to front – knit row. Do Not Turn Work.
-
Row 5: Working from left to right, pull loops from working yarn through loops of previous row from back to front – knit row. Do Not Turn Work.
-
Row 6: Working from right to left, pull loops from working yarn through loops of previous row from front to back – purl row formed. Do Not Turn Work.
-
Row 7: Working from left to right, pull loops from working yarn through loops of previous row from front to back – purl row. Do Not Turn Work.
-
Row 8: Working from right to left, pull loops from working yarn through loops of previous row from front to back – purl row. Do Not Turn Work.
-
Next 10 Rows: Repeat Rows 3-4 – 10 knit rows worked.
-
Next 3 Rows: Repeat Rows 6-8 – 3 purl rows.
-
Repeat last 13 rows (10 knit rows, 3 purl rows) 4 more times, ending with 3 purl rows.
End Border
Repeat Rows 3-4 until 5 knit rows have been worked.
Bind off
Working from left to right, pull the first two loops of working yarn through first 2 loops of previous rows, pull the second loop just worked through the first loop, pull a third loop of working yarn through next stitch, pull that loop through the previous loop. Continue in this manner across the row until all stitches have been secured. Pull end through last loop.
FINISHING
Weave in ends. (You can tack ends down with sewing thread to help camouflage them in the back of the work).
Who will you make one of these scarves with?
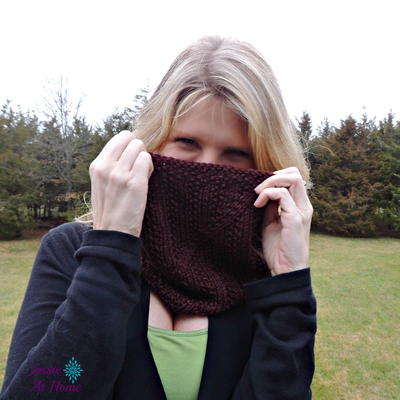
Read NextTwisted Knit Cowl Pattern