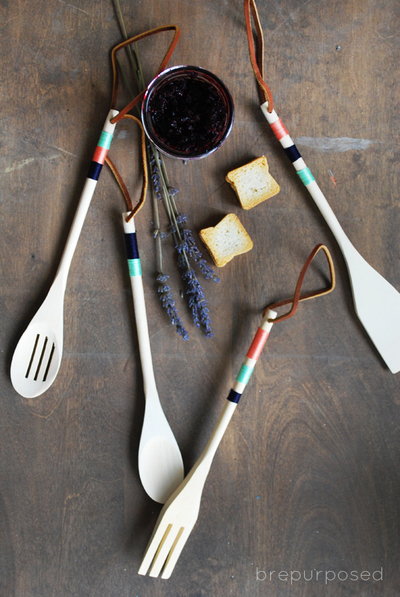
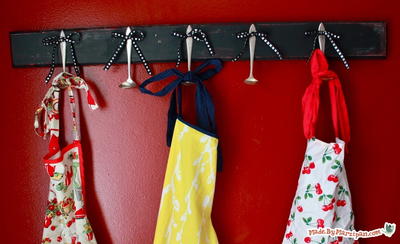
How to Make a Spoon Rack
With a quick trip to the thrift store, you can create this adorable Spoon Rack, perfect for hanging aprons, scarves, and light coats. Learn How to Make a Spoon Rack with this easy to follow tutorial from Maureen Wilson.

Materials:
- Old spoons
- Pot of boiling water
- Oven mitt
- Board
- Acrylic paints & paintbrush
- Sandpaper
- Electric drill with bit
- Ribbon
- Small screws
- Picture hanging hardware
Video:
Instructions:
-
First, you’ll need to find spoons for this project. The ones I found are old and plated in silver, so they have an interesting patina. I paid $3 for 10 pieces.
-
Next we’ll need to bend the spoons so they’ll work as hooks. Fill a large pot with water and bring to a boil. Put the spoons in the pot and allow to boil for 15 minutes or so.
-
Put on an oven mitt, and remove a spoon with tongs. Bend the spoon right where the handle meets the bowl. Since the metal is hot, it should be pretty easy to bend.
-
Now we can work on the board. Pretty much any board will do! There’s always a wide variety of decorative boards at my local thrift store, I picked up this one for a dollar. But you could also use whatever you have in your garage.
-
Paint your board with acrylic paint. I want mine to look old, so I’m going to paint the edges with red paint first. Then I’ll cover it with a coat of black.
-
While my first coat dries, I’m going to make the holes in my spoons. It’s best to use a new drill bit. Place a scrap of wood beneath the spoon so you don’t hurt your table. Then, start drilling! You have to be a little patient, as it took me about three minutes per spoon. Stop every once in awhile to blow the metal shavings from the hole.
-
Now that my spoons are drilled, I can add my second coat of paint.
-
Once that’s dry, measure and mark where your spoons will go. You want them to be evenly spaced.
-
I’m going to attach my spoons with sturdy screws, in case I ever decide to hang something heavier than aprons. But since the screws aren’t very attractive, I’m going to cover them with ribbon bows. Cut about a half yard of ribbon for each spoon.
-
Place the ribbon beneath the spoon’s hole. You may find it helpful to have someone hold the ends, as it tends to twist when you begin drilling the screw. Add the screw to the hole and secure.
-
Tie the ribbon in a bow to cover the screw’s head.
-
Finally, I’m sanding the edges of my board a bit so that the first coat of red paint shows through.
- Add picture hanging hardware to the back.
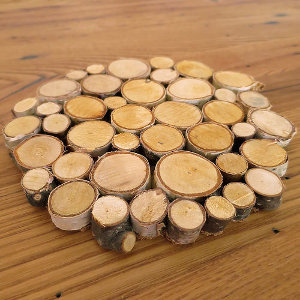
Read NextMagical Forest Trivet
Your Recently Viewed Projects
Thanks for your comment. Don't forget to share!
Report Inappropriate Comment
Are you sure you would like to report this comment? It will be flagged for our moderators to take action.
Thank you for taking the time to improve the content on our site.