Decorative Wooden Keepsake Box
This handmade craft from Melony Bradley is an easy, but personal way of creating keepsakes for someone special. This DIY craft is very convenient to use, and you can use embellishments and paint to add your own personal touches.

Materials:
- Sizzix BigShot Machine and Fringed Flower die and Tim Hotlz Alterations Heart with Wings
- Jacqaurd Products Neopaque and Lumiere paints in colors of choice (I used Neopaque White, Neopaque Black, Lumiere Metallic Gold, Lumiere Crimson, Lumiere in Metallic Olive Green)
- Walnut Hollow CardKeeper Box
- Ranger by Claudine Hellmuth Sticky Back Canvas Sheets
- Dritz Button Covering Kit- for four buttons
- Crafters Workshop 12 x 12 stencil-Birds TCW185
- Script Stamp, dream stamp or another sentiment you would like to use, Staz on ink in black
- Aleenes Liquid Fusion
- Scrap of muslin fabric
-
Misc supplies- paint brushed, stencil brush, sanding block and tack cloth, sewing machine and thread, scissors
Instructions:
-
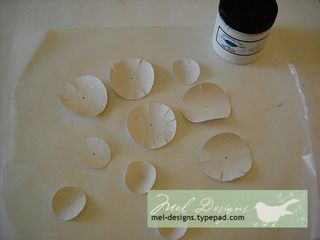
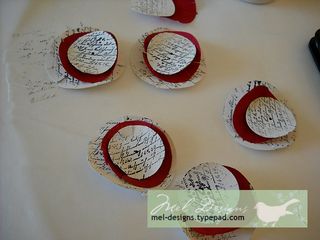
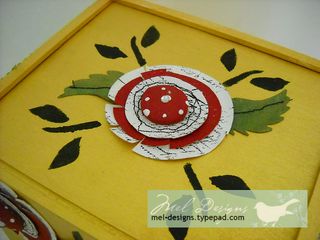
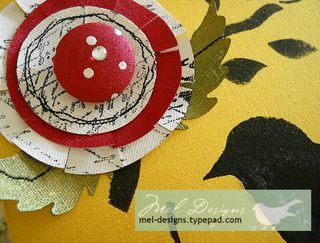
Die cut flowers from sticky backed canvas. Paint the large and small flower Neopaque White. Paint the medium flowers Lumiere Crimson.
-
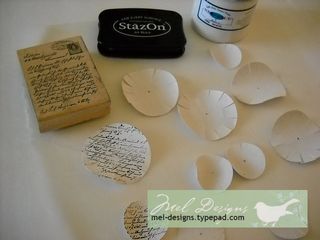
Use the inkpad and stamp to stamp across the surface of the white flowers.
-
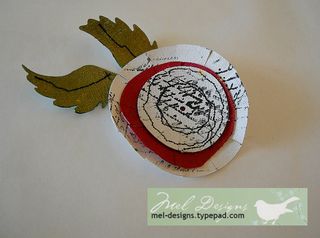
Layer the flowers together. For the leaves, use the winged shapes on the dies cut wings from the canvas which will become leaves for the flowers. Paint the leaves Metallic Olive Green.
-
Sewn the small fringed flowers in a free form pattern on the edges of the die. Remove paper backing from each of the pieces and layer together as shown.
-
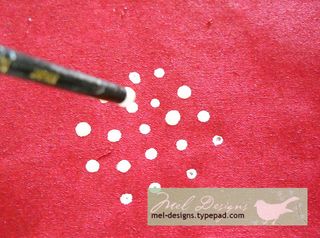
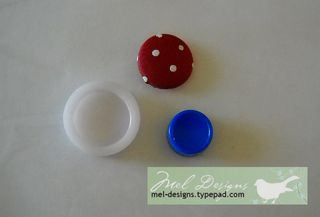
Create the polka dotted pattern by painting one side of the fabric Crimson. When dry, use the end of a small paintbrush dipped in Neopaque white to make dots. You will need an approximate 6" square to cover buttons.
-
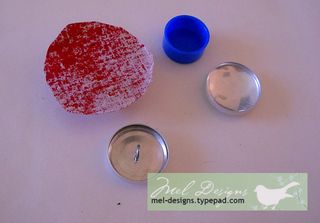
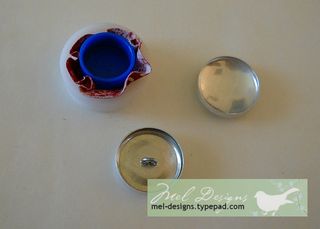
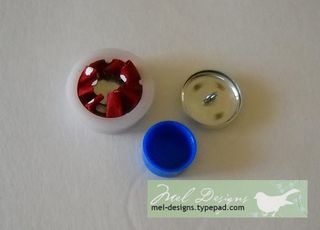
Use the button cover kit in the following manner to cover four buttons.
-
Refer to the instructions on the back of the package to cover buttons. Cut am approx 2" circle from the polka dotted fabric for each button.
-
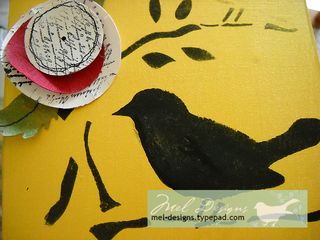
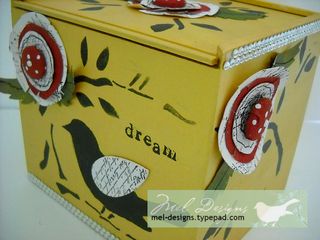
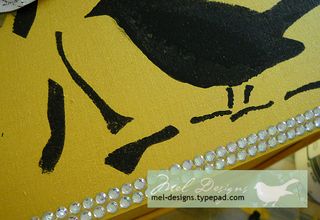
Sand the wood box and wipe clean with a tack cloth. Base coat Lumiere Metallic Gold, inside and out. Use the stencil, stencil brush and Neopaque Black paint to stencil on birds and leaves, branches.
-
Glue the buttons to the center of each flower embellishment with the tacky glue. Let box side on appropriate sides when paint is drying and glue from button sets. This is what the top of the box looks like.
-
Here is the completed box.
-
I added a teardrop wing, painted white and stamped with the script stamp, some self adhesive embellishment rows and a stamped sentiment directly to the box.
-
These adorable boxes were meant to house A2 sized cards and envelopes but I'm going to put it in my bathroom to hold various items usually just randomly laying around the sink.

Read NextDecorative Wooden Keepsake Box
Your Recently Viewed Projects
Thanks for your comment. Don't forget to share!
flowergirl
Feb 20, 2018
The detail on this box is impeccable. It's hard to imagine that this is handmade but the techniques are simple and fun to enjoy. The tutorial adds these pictures to help you follow through the craft step by step . You can either keep the box for jewelery, crafting tools like ribbon and buttons or make it as a gift for a crafter you know needs this box for storage.
Report Inappropriate Comment
Are you sure you would like to report this comment? It will be flagged for our moderators to take action.
Thank you for taking the time to improve the content on our site.