Tooth Fairy Bag

From the Designer: "Are you looking for a quick and easy print then cut project? Let me show you how I made this adorable little tooth fairy bag. Next time a child has a tooth to leave for the the tooth fairy, they just drop it in this bag. No more worrying about the tooth getting lost under a pillow. If you want, you could even personalize this for a child to use."
Time to CompleteUnder an hour
Main MaterialFabric

Project TypeMake a Project
Materials List
- Small Canvas Bag
- Heat Press
- Heat Transfer Sheets
- Inkjet Printer
Cut or Print then Cut
When I first started to think about creating this tooth fairy bag I had to decide if I wanted to make it a Cut project or a Print then Cut project. If you are not sure if you understand the difference between the two types of projects you can read my article HERE on the topic. I feel this is something you should decide before starting a project so that you can plan out your project and purchase the correct products.
If I was going to do this as a cut project, I would have had to cut each color of the design and layer it onto the bag. I decided to go with a print then cut project because I knew it would be so much easier to just print this one small image from my home printer. That way I got all of the color in the design, without having to go and purchase a lot of different colors of iron on vinyl. Also, since it was a small image I knew it would not take up too much ink.
Find your Tooth Fairy Bag image
First, I did a Google search for tooth fairy images. That is how I found this adorable one I decided to use. I just saved it to my computer and then uploaded it to Design Space and saved it as a Print the Cut image. If you have not done the print then cut process before I have some another tutorial with videos that show the printing and cutting process HERE. Basically, this little tooth fairy bag image is going to print from my home printer. When you print an image from Cricut Design Space, it will print with a black registration mark around the image. This is what the Cricut uses to know where to cut for the image.
Cutting your image
After your tooth fairy bag image is printed, place the sheet of paper on your Cricut cutting mat. Once the mat is loaded into the Cricut, a light will come on to scan that registration mark so that the Cricut knows exactly where to cut. For this image, it will cut out around the blue circle.
Press the Tooth Fairy Bag
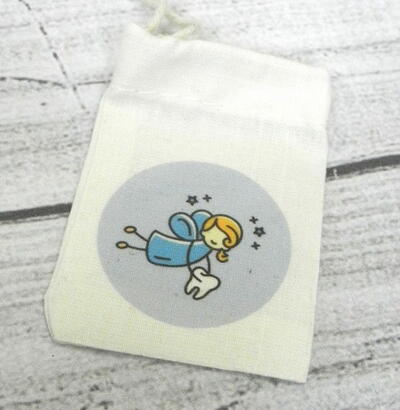
The final step is to press the tooth fairy image onto the canvas bag. Follow your heat press directions for pressing time and temperature. Because I was using the Koala brand heat transfer for light shirts/fabrics the directions for that tell you to place the image face down on your fabric. This means when I pressed it, the pretty picture was touching the bag, and the paper backing side was up. After I pressed it, I peeled away the backing sheet to reveal this perfect little tooth fairy bag!
I love how seamless the image looks on the bag. I hope this project inspired you and showed you how easy print then cut projects can be when you use the right products!