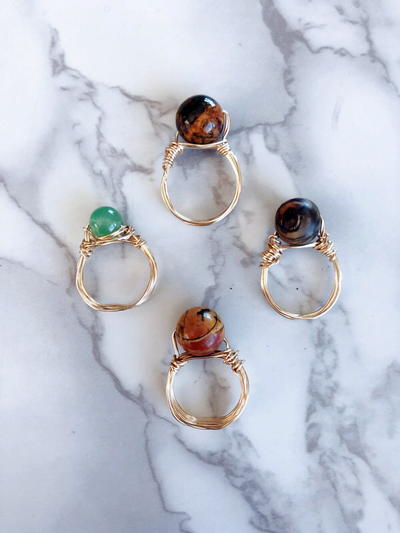
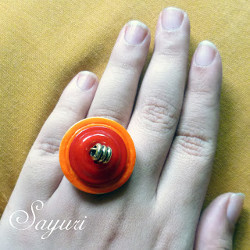
Blossoming Button Ring
Regardless of the current season, anyone can spring for this Blossoming Button Ring tutorial by Divya N. It is a fun jewelry craft to do because it uses extra buttons you have lying around the house instead of faux gems and gold. If this is your first time making jewelry, you are in luck. You will learn how to make a beautiful, bright-colored ring with wire. Before long, your crafty, nimble fingers will be rocking this easy DIY button project.

Materials:
- 1 button- natural Resin 48L (30mm) - Natalie
- 1 button - red Polyester 36L (23mm)- Theda
- Gold spacer
- Nail Polish (orange)
- Top coat (clear)
- 18g soft brass wire
- Ring mandrel or marker
- Pliers & cutters
Instructions:
-
To make this ring you need 2 buttons in different sizes. My larger buttons 48L was in natural beige color so I decided to perk it up with some color. I painted it with 2 coats of Bright orange nail polish. You could skip this skip if your button is already in the color of your choice.
-
Before you begin, just arrange the buttons & the spacer one on top of the other to make sure that they fit well without gaps and that the holes in your buttons align well with one another.
-
Give a top coat to seal the polish.
-
Take your wire (I have no habit of measuring & I just eyeball the length). Fold it in half and slide your spacer in and fold the wire over so that it holds the spacer perfectly.
-
Insert the wire with the spacer through the buttons and pull tight. Press the wires at the back of the buttons so that it remains flat next to it.
-
Pick your ring size on the mandrel or pick a marker thats your ring size and start wrapping the wire around it, keeping the buttons absolutely flat.
-
After 2 rounds on the mandrel, its time to secure the button by means of a spiral wrap.
-
I have taken the ring out of the mandrel in picture "8" to show you how the wraps should be done - one wire at a time around the ring (loop part that goes on the finger). However please keep it on the mandrel while doing this.
- when you think its sturdy enough, take it out, snip the ends and fold into the ring. My wire got over at this point so I didnt even need to snip, I just made a tiny loop at the sides to finish it.
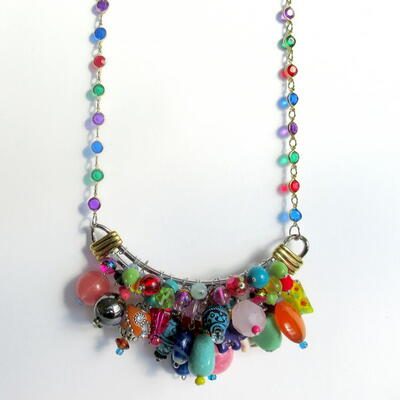
Read NextBoho Chic Spring Bracelets
Your Recently Viewed Projects

Thanks for your comment. Don't forget to share!
brownx3 0441653
Mar 22, 2013
What in the world is a gold spacer? And how does it work into the ring? Instructions indicate there are pictures but I don't see any.
braznoff 2345242
Jun 21, 2013
The spacer bead is the bead shown on top of the ring..If you need visuals to help you..go to YouTube and look up wire wrapped button rings..lots of vids on there to help you
Report Inappropriate Comment
Are you sure you would like to report this comment? It will be flagged for our moderators to take action.
Thank you for taking the time to improve the content on our site.