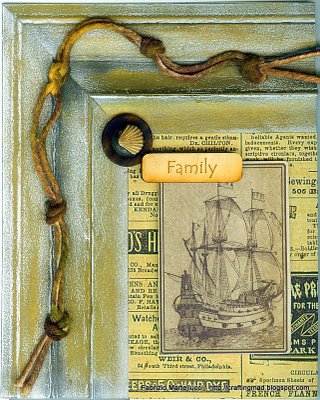
Wooden Frame Homemade Cards
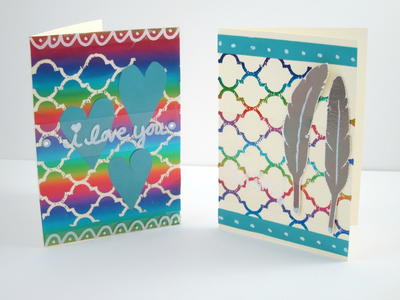
With so many projects out there sometimes it's hard to find really creative homemade cards. These unique Wooden Frame Homemade Cards from Fabrizio Martellucci are about as creative as they come! The painted paper looks just like real wood!
Materials:
- Soft cardstock (180-220 gsm)
- Rub-on metallics creams from CalicoCrafts in gold, grey and yellow
- Embossing tablet
- Ruler
- Scissors
Instructions:
- Use any embossing tablet you own as long as you have a few grooves next to each other it will work, don't worry if they're not equidistant it will add to the charm of your frame. Score 4 lines on some soft cardstock (180-220 gsm) then either use the other side of the tablet (if it has a lid section) or scooch the cardstock a little on the right after you turned it upside down. Basically you want to create another groove next to the original but on the other side. You'll end with 4 mount score lines and 4 valley ones side by side.

- Trim the cardstock at around the same distance from your first score lines from to the edge of it. So if you have one inch from left to the first groove then cut one inch on the right of the last groove.

- Then start to fold back and forth so you end up with an accordion like shape.

- Smooth with your thumbs and finger to give both edges a concave shape. You can see it better here as I'm lifting the edges gently, you could use a round stick to help you.

- Now comes the fun bit start with the old gold and rub it all over the strip (put another sheet of paper underneath to keep your craft mat clean).

- After adding some grey as well into the 'valley' formed by the carstock I finish the frame adding yellowy gold to pick up the accents, then finish all the bits you've missed with some anthracite.

- Fold the stip unto itself and measure the tip, then use the same measurement to mark along it's length so that you can mark a line you can cut with your scissors.

- Finally after cutting assemble the the two parts together to form a corner if you repeat the same steps with another strip you can really make a full frame. Notice the left over (bottom right hand corner) that be used for another card. I hope you enjoyed this tutorial and that it inspired you to make some frames of your very own.

Read Next64 Handmade Cards for Every Occasion