Butterfly Card
Gather up those paper scraps and get ready to turn them into the cutest Butterfly Card you've ever seen! With the help of the Fuse Creativity System® Starter Set, you can create a simple and stunning 3D handmade card that's great for anyone. Looking for a cute gift idea? Make several different cards (and use up even MORE paper scraps) and tie them together with string. Give them to someone who's moving into their first apartment or heading off to college for a sweet and personal gift they're sure to love.

You can find this project, as well as many others, in our free downloadable eBook, Fuse Creativity System Project Guide: Fun Party Themes, Ideas for Handmade Cards, and More Paper Crafts from Fiskars!

Materials:
- Fuse Creativity System® Starter Set
- Medium Design Set 101060 – Butterfly
- Craft Scissors
- Paper Trimmer
- Adhesive - Mini Glue Dots®
- Brads
- Cardstock - Bazzill Basics Paper
- Foam dimensional tape
- Ink – Tsukineko StazOn
- Patterned paper
- Sentiment sticker - Echo Park Paper
Instructions:
-
Cut a piece of cardstock to 7” x 10” and fold in half to create a 7” x 5” card base.
-
Use the Fiskars Fuse Creativity System® to die cut and letterpress a single butterfly with the Medium Design Set – Butterfly. Do not discard the negative cardstock butterfly.

-
Cut several thin strips of patterned paper and cardstock that are long enough to hang over both sides of the negative cardstock butterfly. Place the adhesive along the right and left sides of the butterfly shape.

-
Layer the strips of patterned paper and cardstock until the entire negative space of the butterfly shape is filled up with a pattern.

-
Place foam dimensional tape strips on the back of the die cut wings. If you want more dimension, you can add a double layer of the foam tape.

-
Adhere the butterfly’s body to the card using Glue Dots®. Remove the protective layer from the foam tape and adhere the wings to the strips of patterned paper and cardstock. Cut notches on the ends of some of the patterned paper and cardstock strips to resemble banners. Embellish the butterfly’s body and wings with adhesive-backed rhinestones.

-
Scrape the top and bottom edges of the negative butterfly cardstock with an open blade of your scissors to distress the paper. Embellish the lower left corner with a few brads and add a sentiment sticker to the lower right corner. Adhere the entire piece to your card base.

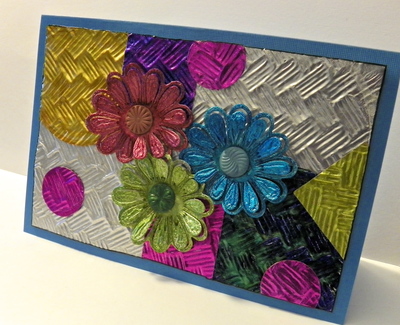
Read NextUpcycled Foil Collage Greeting Card