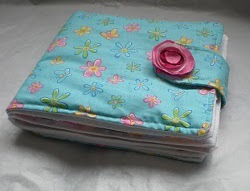
Bookbinding 101
Want to know how to bind a book? Check out Bookbinding 101 from Amanda Marks, and easy set of bookbinding instructions for the novice bookbinder.
Materials:
- Mat board (thick card board, chip board, etc. – The cardboard from the back of Legal Pads Work GREAT!)
- Book Binding Tape (I used medical first aid tape on this one. I have use canvas with glue, fabric anything that is flexible.)
- Wax Thread (I use Dental Floss)
- Book Binding Needle (I use a larger sewing needle)
- Book Binders Awl (I used an Exacto Knife and a nail. I have also used a Drumel Tool with a small drill bit– I recommend this if it is a large book – lots of holes).
- Metal Ruler
- Exacto Knife
- Rubber Bands – this is used to secure the book while putting the book together
- Paper (8 sheets folded in half)
Instructions:
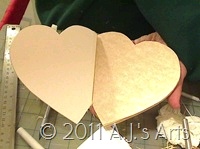
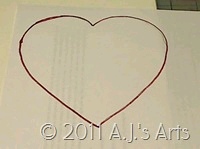
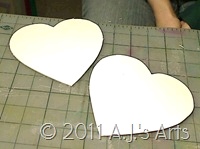
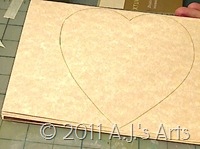
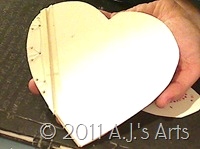
- Draw a template (mine is of a heart) on scrap paper. Trace the Template onto the cardboard (I am using Mat Board for this project).
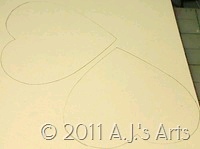
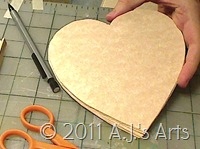
- Cut out the shapes with a SHARP Exacto Knife. The Sharper the knife the easier your life will be when cutting out the shape.
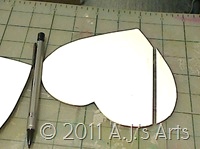
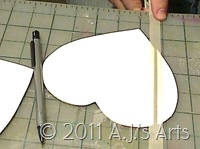
- I took one of the hearts and drew a line with a pencil 3/4” wide. This is what will make the book open. Only do this on ONE of the pieces of mat board!

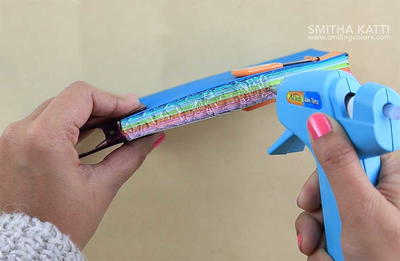
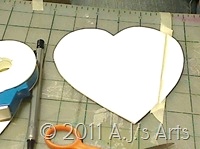
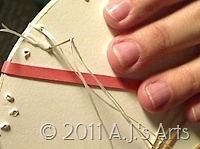
- Take the tape (as you can see I am using First Aid Tape) and tape the pieces together leaving a 1/4” gap between the two pieces. Put the tape on the backside as well. Check to see if the piece flexes, trim any excess tape.
- Make the template of the shape you are using approixmately 1/4” smaller all around. This will ensure the pages fit in the book. Draw the template and cut out the paper.
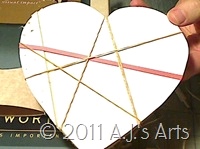
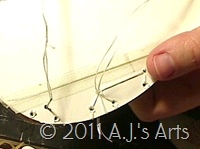
- Secure the book together with rubber bands. You DO NOT want this to move while drilling holes!

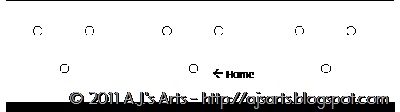
- The base of the tortoise bind. It only works with odd number holes (for this book I am using a set of 3 – if you have a bigger book you can use 5 or 7). Each hole has three holes like above photo. Home is where everything begins.
- Start from the underneath of the book (poke pin up through the back side). Hold the thread on the back side and pull around the edge of the book and bring back through the HOME hole.


- Move either to the left or the right of the HOME hole. Then bring the thread around the side back to that hole.
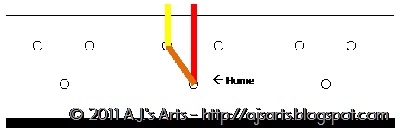
- Make your way back to the HOME hole and do the other side the same way.


- Bring the thread back through and around the end.

- Your first stiches should look like the above photo (both front and back) and your needle and thread should be at the HOME position.

- Now we are going to TRAVEL (you can either TRAVEL to the left or right). All TRAVELING is is going from one HOME hole to the other HOME hole.

- Once you are finished with the stiches (red through blue) you will add the dark yellow. The dark yellow is an extra stich around the end of the book. This secures the end and gives it a nice finish.


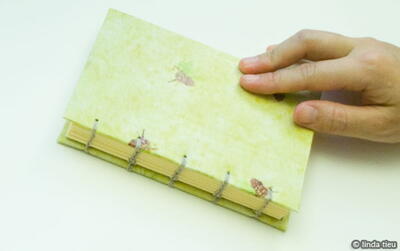
- Continue TRAVELING to the other HOME hole and REPEAT red through blue. Add the additional dark yellow stich and finish at the ORIGINAL HOME hole. Tie knot add beads or other embellishments to the extra thread. The book should look like the above photo on the front and the back sides of the book.
Read NextDIY Hot Glue Book