Accordion Book Binding Tutorial
Make a handmade book for a loved one with this Accordion Book Binding Tutorial. This is a great way to show off photos, create a unique greeting card, or journal your favorite vacation. Making handmade books is easy and they make great gifts for family and friends. If you're giving it as a gift, throw in some nice pens, stickers, and embellishments to make journaling and scrapbooking easier.
Materials:
- Paper
- Glue
- Ribbon
Instructions:
-
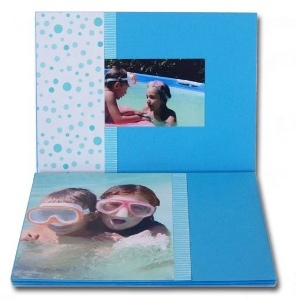
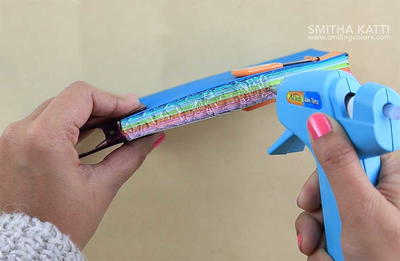
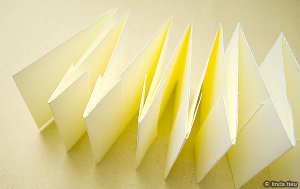
The first thing to do is to construct your pages. You basically need to create a back-and-forth fold of pages…however long you want your book to be, you can make it! If you buy large sheets of cardstock, it’s possible to get a little book without piecing any paper together, you just cut a strip and fold. However, if you want to use scraps or you need to piece together papers you can cut little tabs and connect each piece of folded pages together as I did or you can even glue one whole side to the other to create your accordion fold of pages. If you don’t mind doing a bit of measuring you can fold you paper and leave a tiny strip as a connecting flap as well. Any way you want to do it, just get your paper folded and pieced together into an accordion fold. Whew, the bulk of the work is literally done at this point!
-
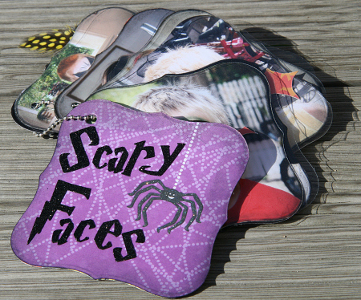
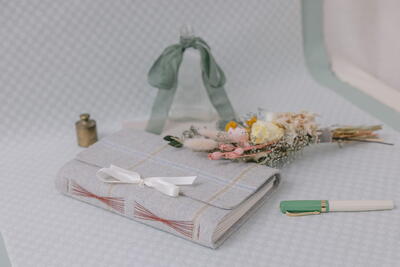
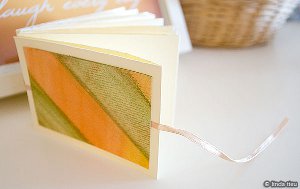
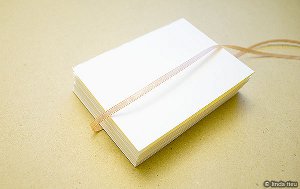
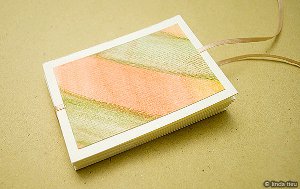
Now you can add a cover to your book to keep it sturdy and strong. It’s also a good time to think about how you might add your closure as well, to sort of hide it behind your cover material. I’ve decided to only use one side of the pages of my book, so I’m wrapping ribbon all around my stack of paper. The left side is going to be the “binding” part if you flip it like a book, so the ribbon goes around it. If you wanted your book to open up entirely, you could cut your ribbon into four pieces and attach it to the front and back, edges hanging out to the left and right. This way you can tie the ribbon on the left and right of your book to close it securely, but you can also untie both sides and your book can stretch out entirely.
-
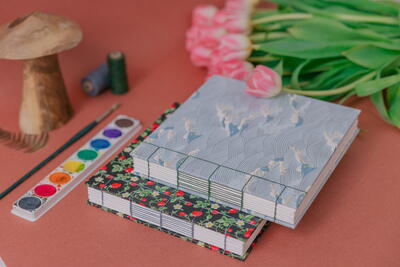
My cover material is just some scrap painted papers I glued on top of the ribbon to the front and back covers. It’s actually smaller than the book size itself, creating a nice framed look. You can of course use thicker material like chipboard to create a hardcover.
- After gluing everything together you should put it under some heavy books to apply pressure and let it dry. That will ensure your book is secure and the glue is really binding it all together.
Read NextLay-Flat Sketchbook