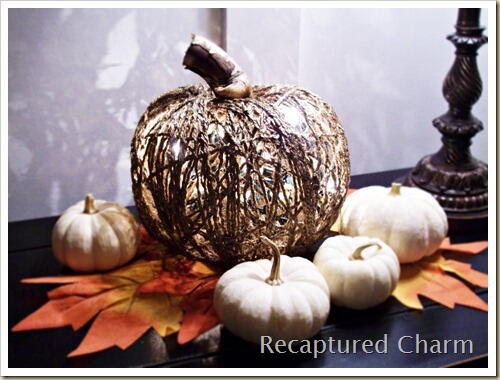
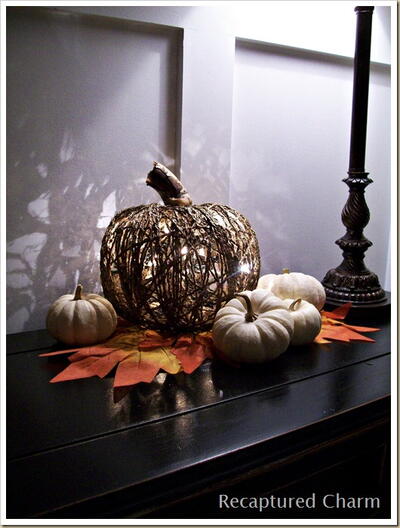
Illuminated Twine Pumpkin Project

This beautiful Illuminated Twine Pumpkin Project is a fun and easy Halloween craft that you can have out all season long. Made with twine and glue, this easy dollar store craft can help add an elegant and classic look to your autumn decor. Dollar store projects are great for Halloween because they mean you can spend more money on goodies and less on decorations. This no-carve pumpkin decor will have you and your family glowing with delight.
Love this? Sign up for more free patterns >>
- - -
Materials List
- A couple of balloons
- White glue
- Twine
- Twinkle lights
- Spray Paint
- 2 plastic containers
- Thin rubber gloves (optional)
- Branch or twig (for the stem)
Instructions:
-
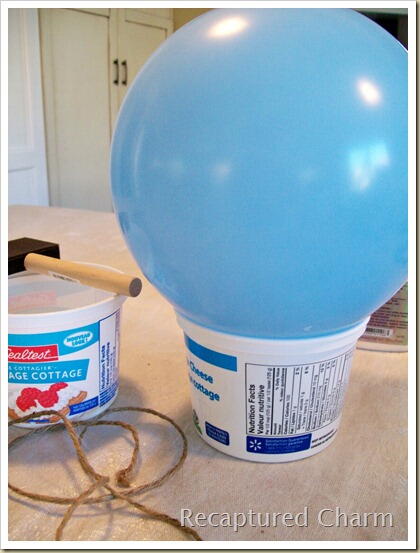
Use two plastic containers— one to pour the glue into the other to hold the inflated balloon.
-
Blow up the balloon to the size you want your pumpkin to be.
-
Pour some white glue into one of the containers. You can use a foam brush to paint the entire balloon with glue. If yu don't have a foam brush, you can also use your gloved hands.
-
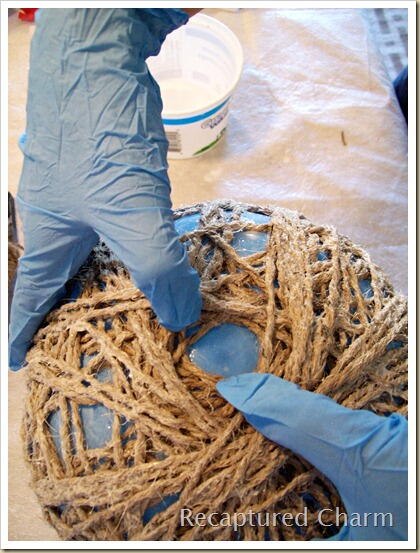
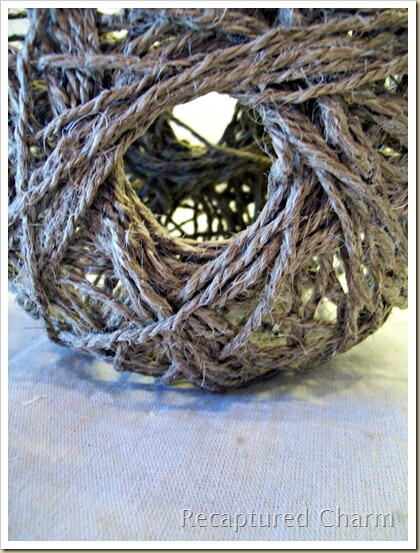
Cut a good length of twine and dip the entire cut piece into the container with the glue. Cut it as long as possible but not too long so that it gets all tangled up.
-
Start adhering your glue-covered twine to the balloon, starting at the bottom. Make sure to tuck your loose ends in behind the other pieces of twine nice and neatly. Go in different directions, and leave some obvious holes. It doesn’t need to be perfect!
-
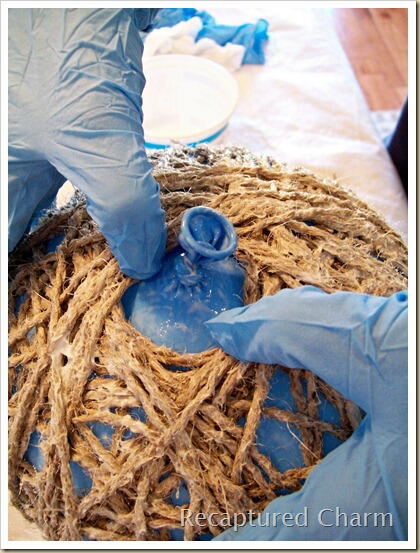
Leave a hole at the top and at the bottom of your balloon. Just get your fingers in there and pry the wet twine apart into a nice neat hole at both ends. The top hole doesn’t need to be too big, just big enough to insert a stick or stem. The bottom hole should be slightly bigger — big enough to place your pumpkin over a battery operated tea light or to insert your twinkle lights.
-
Run your glue covered hands over all the twine, then place the piece back on your container and allow to dry.
Note: Remember to rotate it so the bottom dries too. -
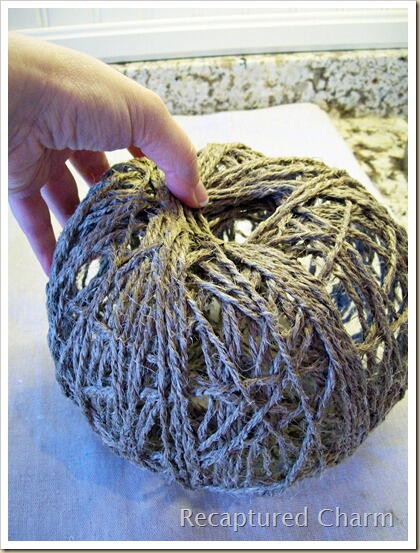
When your pumpkin is ALMOST dry (the example took about 2 hours), it will still be slightly pliable. Pop the balloon. Be warned that your twine will still be stuck to the balloon and the entire pumpkin might seem to cave in, but you’ll be able to get it back into shape.
-
Once the balloon is out of the pumpkin, take your hands and make an indent at the top to form the top of the pumpkin where you will eventually put your stem.
-
After you get the correct shape allow your project to completely dry. The twine will be very hard, and your pumpkin will have a hole at the top and bottom.
-
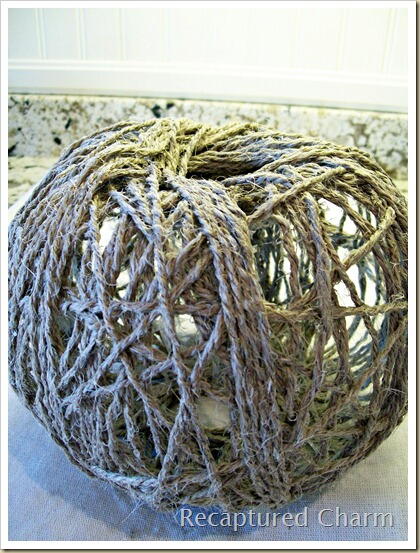
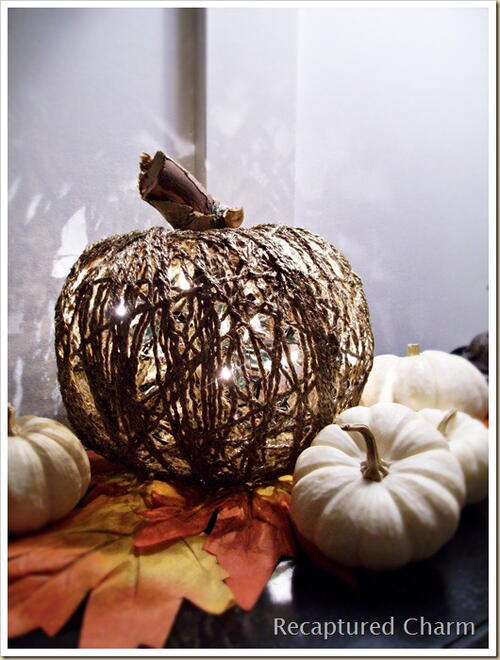
Once dry, you can paint your pumpkin whatever color you choose. We chose two colours. The dark bronze was used first and then the pumpking was sprayed lightly with gold. Glitter would be great as well, if that's more your aesthetic.
-
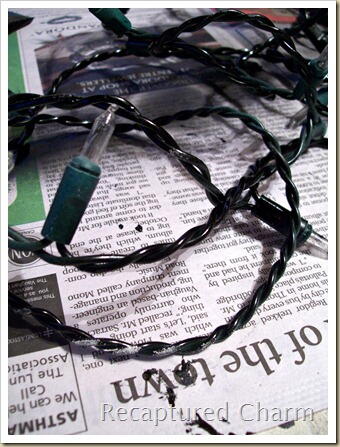
For the lights, you can certainly use a small string of twinkle lights the way they are. However, if you find them a bit too green, feel free to take some black spray paint and spray the cord— just be careful not to spray the lights.
-
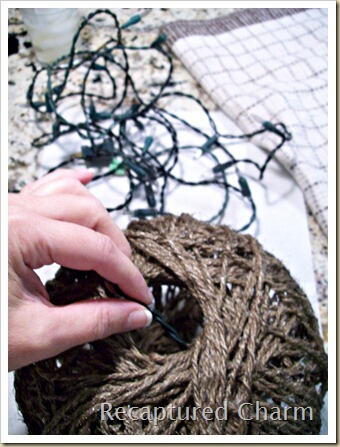
Insert your lights into the bottom of the pumpkin, and allow them to bunch up.
-
Insert the stem, glue it in place. Stand back and enjoy.
Why This Halloween Craft is Scary Great!
Are you looking for a fun and easy Halloween craft project to add a touch of elegance to your home decor? Look no further than the Illuminated Twine Pumpkin Project! Here are the top 3 reasons why you should make this craft:
1. Budget-Friendly: This project is made with twine and glue, both of which can be easily found at your local dollar store. This means you can create a stunning illuminated pumpkin decor without breaking the bank. Save money on decorations and splurge on delicious Halloween treats instead!
2. Time-Saving: With no carving involved, this craft is quick to put together. Simply wrap the twine around the pumpkin and secure it with glue. The illuminated effect adds a magical touch to your autumn decor without the time-consuming task of carving out a pumpkin. Perfect for busy crafters who want to add a festive touch to their home in no time.
3. Versatile Decor: The Illuminated Twine Pumpkin Project is a versatile decor item that can be displayed all season long. Whether you place it on your mantel, dining table, or porch, this elegant pumpkin will add a classic and charming look to your autumn decor. The soft glow from the LED lights will create a cozy ambiance in your home that you and your family will love.
So why wait? Gather your supplies and start crafting your own Illuminated Twine Pumpkin today!
Read Next"31 Halloween Craft Projects" eBook
Your Recently Viewed Projects
Thanks for your comment. Don't forget to share!
lcarr
Oct 26, 2018
This is such a pretty project. When I first saw it I thought it was made from twigs, but it is twine and glue. I have made lamp shades for hanging lamps with yarn this way. It is incredibly messy, but if done right it is so nice. I love the lights inside. Such a nice touch.
princess6860504
Jun 12, 2017
Lovely and so easy to do once you understand the general idea behind it! For me, it's gotta be painted black, with a layer of maybe a purple or orange glitter paint layered on top. I'd put those dark purple lights inside, too. Or I would use an orange string of lights.
Weberme
Oct 05, 2016
Wow this illuminated pumpkin is so super cool and looks like a lot of fun. I remember doing those Easter egg with string when I was real fun and they were so neat sitting in that basket and I know this pumpkin will be even cuter. I love that bronze color it adds some elegance to the pumpkin and I like that you can carry this decoration all through the fall. When adding the flameless candle it will be just that perfect added touch to warm any room. Such a great tutorial. Anyone make this yet?
mulberrygalprinces s
Sep 29, 2016
This is just so cute. I am going to try it. It is like the old paper mache. I love how easy it is to make too. Combine that with how inexpensive it is and you have a great project. Cute, easy and cheap. All of them are my favorite words. My grand daughter will love making this with me.
Princess Carolyn
Sep 09, 2016
Very cute project. I love the idea of painting it copper, too! This would match very well with almost any rustic style of decor.
CrossStitcher1
Oct 11, 2012
Every year I make a new fall decoration and I made this last week. The 2 changes I made was I spray painted mine using a copper spray paint. And since I was steaming a pumpkin that day, I used a real pumpkins stem. Got a lot of good reviews on this pumpkin. Thanks for the craft.
Kefra
Sep 27, 2012
Fantastic project!! When I was a kid we had a babysitter who showed us this and we made Easter Eggs! Such a fun time and yes it was messy with 6 kids doing this but she covered the table with newspaper first. I love the pumpkin idea and these can be made with all the cool strings and twines in colors :) Thanks for reminding me what a neat project these can be!
Report Inappropriate Comment
Are you sure you would like to report this comment? It will be flagged for our moderators to take action.
Thank you for taking the time to improve the content on our site.