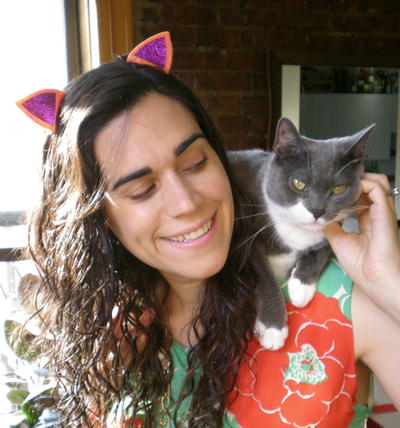
Kitty Clip-on Barrettes
These cute Kitty Clip-on Barrettes are purrfect for Halloween and children's birthday parties! You can make them any color and even add sparkles. It's fast, fun, and easy to decorate these delightful barrettes.

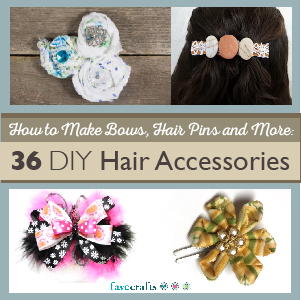
Find this project and more in our free eBook, How to Make Bows, Hair Pins and More: 33 DIY Hair Accessories.

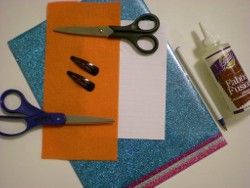
Materials:
- Pen or pencil
- Scrap of paper
- Colorful felt
- All-purpose scissors
- Fabric scissors
- Metal snap barrettes
- Aleene's Fabric Fusion fabric glue
- Tulip Fashion Glitter Shimmer Transfer Sheets
- Pressing cloth
- Iron
Instructions:
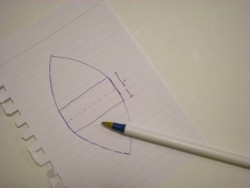
- Use the pen and paper to sketch out a slightly rounded triangle, about 2" high. Add 1/2" at the base of the triangle and then mirror the shape below it to create the template. Cut it out with the all-purpose scissors. (You can also fold the paper at the base after you've drawn the top triangle and the extended base, and cut around the shape through both layers.)
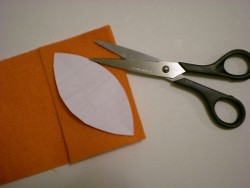
- Fold over the felt and lay the template on top of the folded section. Use the fabric scissors to cut around the template, through both layers
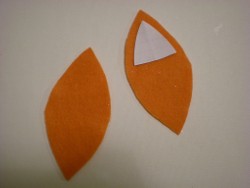
- Mark and cut a second template, in the shape of a rounded triangle, about 1/4" smaller on all sides than the original triangle in Step 1.
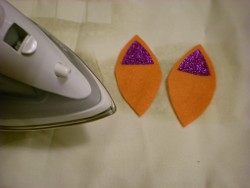
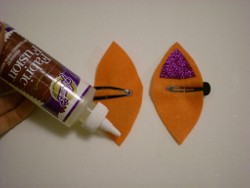
- Select a color from the iron-on glitter sheets and trace the second template twice onto the shiny surface. Use the all-purpose scissors to cut them out. Peel away the shiny surface layer and arrange them on the felt ear pieces. Lay a pressing cloth over the ears, and press firmly with the iron for about 40 seconds. (Repeat if necessary to set the glitter transfer.)
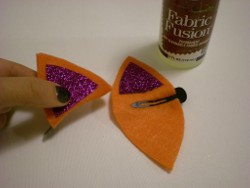
- Clip the metal barrettes in the center, on each side of each felt ear piece, so that the top of the barrette corresponds to the wrong side of the ear piece and vice versa. Generously apply fabric glue around the edge of the wrong side of the ear piece. (Felt absorbs a lot of the glue, so don't hold back!)
- Fold the ear piece around the top of the barrette to seal the glue, and repeat on the second barrette.
- Let dry. Optional: Clip the layers together with extra barrette clips while the glue dries!
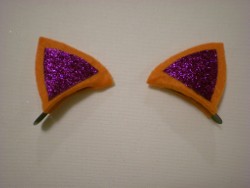
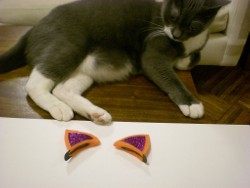
- Quick! Try them on before the actual cat who's been helping you craft gets a little too interested and starts batting them off your workspace
Your Recently Viewed Projects
Thanks for your comment. Don't forget to share!
Lizz C
Feb 25, 2016
This is awesome. I would probably make them black or orange or something to better resemble a cat. You could even add extra fur.
Report Inappropriate Comment
Are you sure you would like to report this comment? It will be flagged for our moderators to take action.
Thank you for taking the time to improve the content on our site.