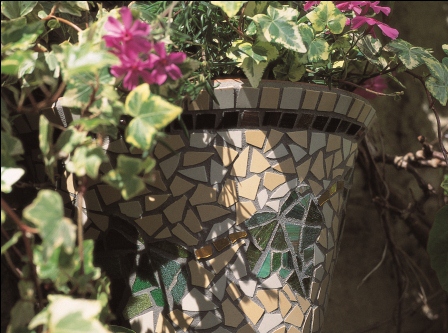
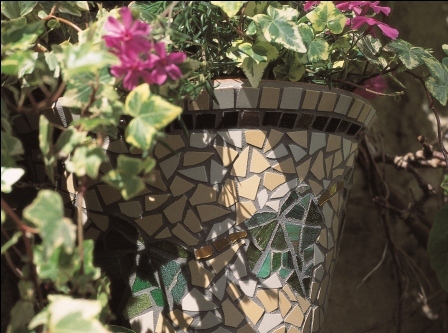
Ivy Leaf Mosaic Hanging Pot
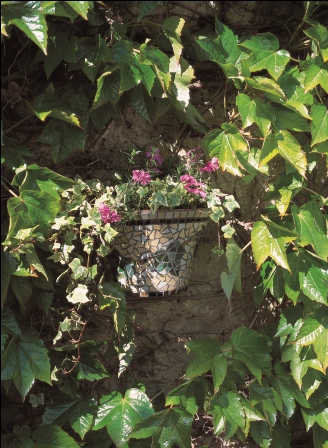
We have the most wonderful vine-covered wall at the end of our garden, and this was the true source of inspiration for this mosaic. I love the subtle greens of the tumbling leaves; and, to capture the subtlety of the natural tones, I chose three key shades for the leaves, then matched them to the colors for the stems. Finally, I used a pale background that helps to make the leaves stand out. When working out a color scheme, it can be rewarding to look closely at the source of your own inspiration, particularly in the garden: flowers and plants offer wonderful arrangements to copy.
Project excerpted from Becky Paton's Garden Mosaics: 25 Step-by-Step Projects for our Outdoor Room.
Materials:
- Frostproof, terracotta, flat-backed wall pot (approx 9in. [23cm] high by 8in. [20cm] across)
- Ceramic and glass tiles:20 green glass; 20 gold glass; 6 gold leaf; 75 off-white and light yellow ceramic
- Pencil and water-resistant pen
- Tile nippers
- P.V.A. glue (also known as school glue)
- Cement-based adhesive
- Frostproof waterproof grout
Instructions:
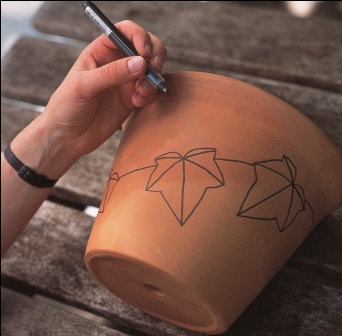
- Transfer your design using the template onto the pot with the pencil. Go over the outline with the water-resistant pen.
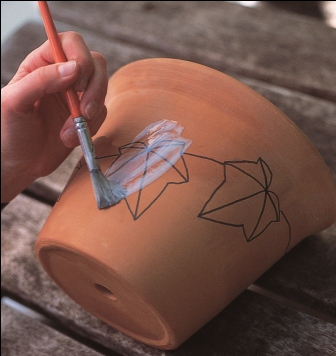
- Seal the pot inside and out with a mixture of 1 part P.V.A. to 3 parts water, and allow to dry. This forms a protective layer between the pot and the adhesive, adding further strength and protection from the elements.
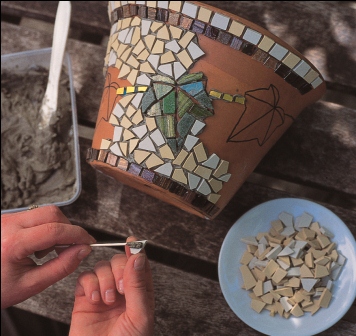
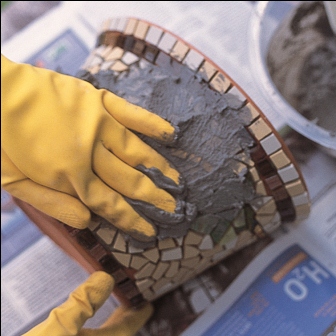
- Use the tile nippers to shape the tiles and then stick them down with a cement-based adhesive. As well as being an incredibly strong exterior adhesive, this also holds your tiles in place when working on a curved structure. Allow the adhesive to dry thoroughly before you begin the grouting.
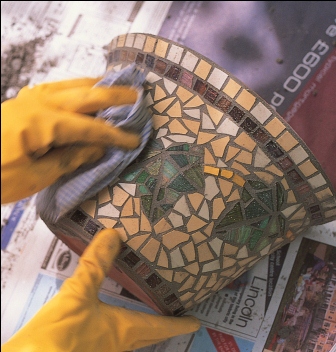
- Using a frostproof grout mixed according to the instructions, rub the mixture into all the gaps between the mosaics going over the same place several times to ensure that all gaps have been filled. Remove the excess and leave for about ten minutes until you can see it start to dry. I would advise wearing rubber gloves at this point because grout dries out the skin.
- Remove the grout by cleaning off the excess with a dry cloth. Leave to dry for around ten minutes, then wipe again with a wet cloth. Leave to dry completely, then polish the pot with a clean dry cloth to remove any dust.
Alternatives:
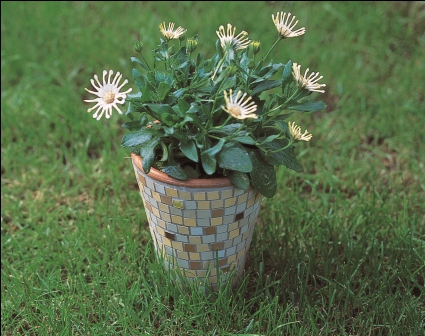
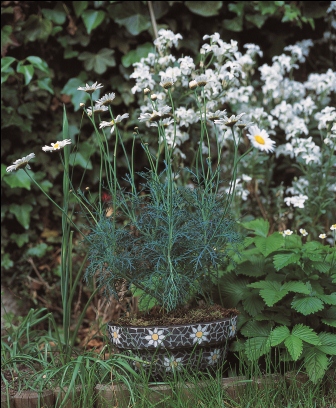
Mosaic pots are a great way to add a season-round splash of color to small corners of the garden that may need extra interest. Just by adding one or two vibrantly-colored mosaic pots to an ordinary collection of pots you can add instant chic to a planting arrangement. For the project at left, I used a very simple grid pattern which required no tile cutting. The daisy motif pot (right) was slightly more complicated but very effective.
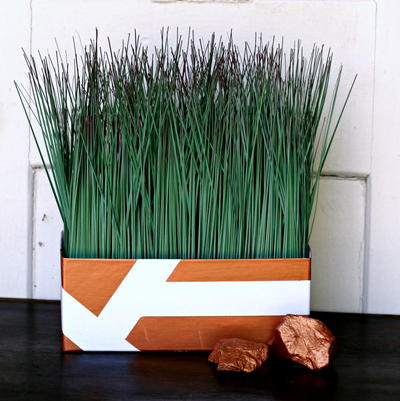
Read NextGraphic Painted Plant Container
Your Recently Viewed Projects
Thanks for your comment. Don't forget to share!
princess6860504
Aug 27, 2018
You will need to be an artist if you are going to attempt to take on this beautiful mosaic pot DIY. You have to have some kind of artful eye and hand. It will take time but the end result will be worth it. I have done mosaic in the past. I did a wall in my dining room with snaps/bits of old Fiestaware! You can let your creativity flow with a project such as this.
Hannah
Aug 23, 2017
This project is so beautiful! Really creative, making dull pots into something so exquisite! My garden will look high class with these pots.
Marilyn B
Jan 23, 2017
PVA stands for polyvinyl acetate glue, but is indeed the common white school glue we have used for years. This project takes some patience, but it is a beautiful result and would be good practice for a bigger project such as a mosaic on a kitchen or bathroom wall! Good information regarding what is needed to keep it weatherproof and sturdy, the icy design is a classic and would look great in any garden or home.
Megan B
Jan 22, 2016
Great idea! I love mosaics, but I have no idea how I haven't thought of tracing the pattern first. The design would come out so much better that way!
coakleyellen7 6142 147
Jan 13, 2016
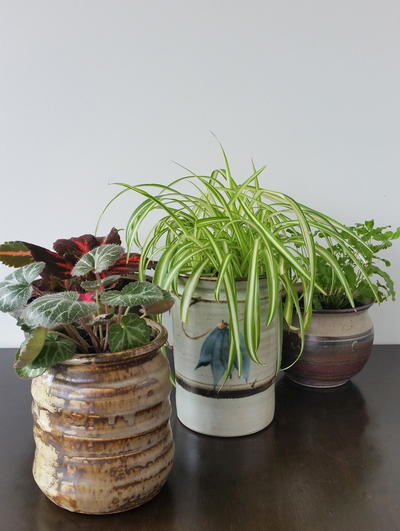
I have only just found another of your crafts page ie ceramic holder for plants et seq.What a find I will be busy for a while.Beautiful
jeannie5552000 746 1491
Aug 27, 2013
Such a lovely tutorial ,this is going on my list of things to try, thank you for sharing.
Report Inappropriate Comment
Are you sure you would like to report this comment? It will be flagged for our moderators to take action.
Thank you for taking the time to improve the content on our site.