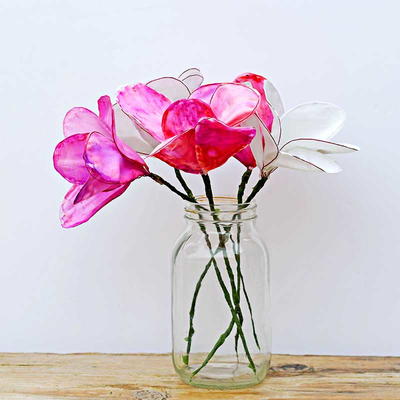
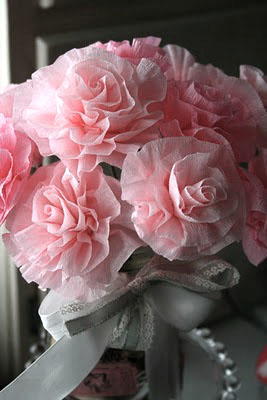
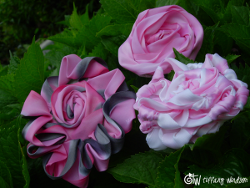
Dyed Ribbon Flower
It's easy to add elegance to your crafting and sewing projects. Create a Dyed Ribbon Flower from Tiffany Windsor and add a whole new dimension to your next project. These DIY ribbon flowers will never wilt, so they make great gifts for friends and family members who might have trouble keeping real flowers alive. Dye these fabric flowers by hand using acrylic paint. It's so simple and quick that you might not be able to stop at just one. Luckily, they don't cost much to make, so go ahead and craft a dozen.
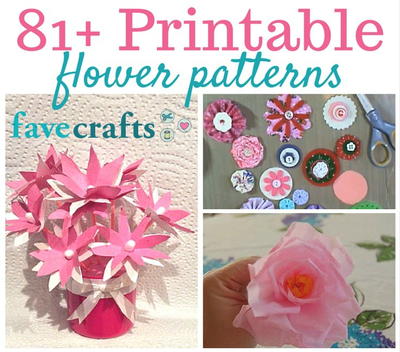
For more beautiful handmade flower projects, check out our collection of 53 Printable Flower Patterns.
![]()
Materials:
- Acrylic paint – if you want your ribbon to dry soft, be sure to use a fabric paint such as Tulip Soft Fabric Paint (colors of your choice)
- Plastic cups (for dipping)
- White ribbon (or light color of your choice) – I used a poly-blend for my project
- Clothespin(s)
- Water
- Lutradur (for back of flower)
- Corsage pin or hat pin
- Needle and thread
-
Scissors
Instructions:
-
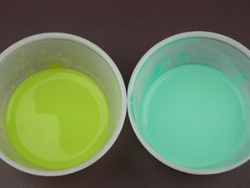
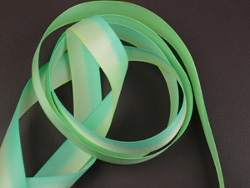
Pour paint into small plastic cups. Add small amount of water to dilute paint to desired strength.
-
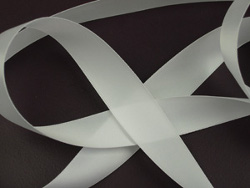
Measure off desired amount of ribbon for each flower. I usually cut approximately 2-1/2 yards.
-
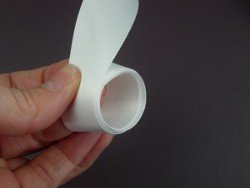
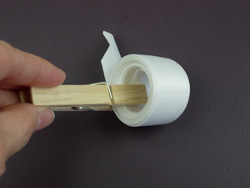
Roll ribbon, keeping edges even.
-
Secure with clothespin.
-
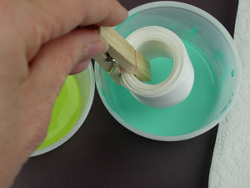
Quickly dip side of ribbon into paint.
-
The paint will soak into the ribbon very quickly.
-
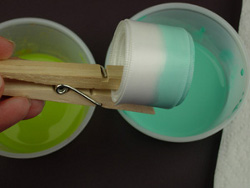
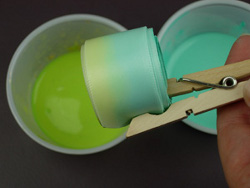
If desired, remove clothespin and move to other side of ribbon. Dip ribbon in second color of acrylic paint.
-
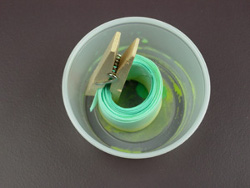
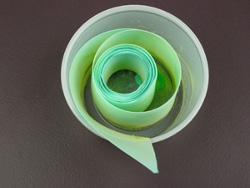
Set ribbon roll into clean cup.
-
Remove clothespin. Let ribbon set for several hours, then hang to dry.
-
When ribbon is completely dry, it’s time to create your flower.
-
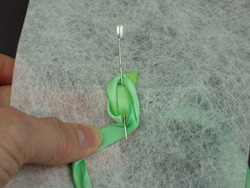
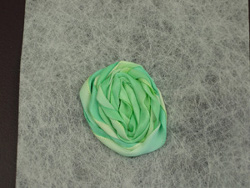
Fold ribbon in half. Secure with corsage pin onto Lutradur.

-
Begin twisting and wrapping the ribbon around the pin. Stitch back side of ribbon to Lutradur at approximately 1/4″ – 1/2″ intervals. Be sure to knot each stitch to hold securely.
-
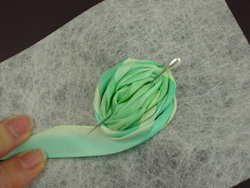
Continue wrapping and stitching to hold in place. Cut tail of ribbon, tuck under and stitch in place.
-
When entire flower is stitched, remove pin.
-
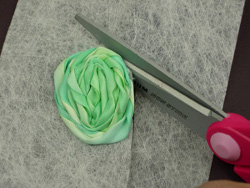
Cut flower from Lutradur, being careful to avoid stitching.
-
Once you start, you’re not going to want to stop.
For a video tutorial of this project, check out How to Make Hand Dyed Ribbon Flowers.
Read NextDIY Paper Flower Poppies
Your Recently Viewed Projects
Thanks for your comment. Don't forget to share!
Report Inappropriate Comment
Are you sure you would like to report this comment? It will be flagged for our moderators to take action.
Thank you for taking the time to improve the content on our site.