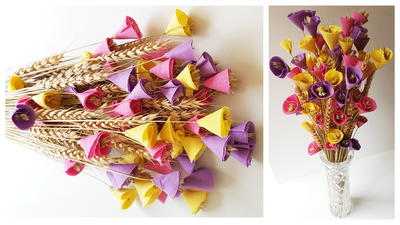
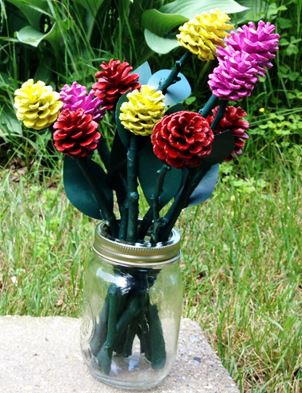
Book Page Paper Roses DIY Project

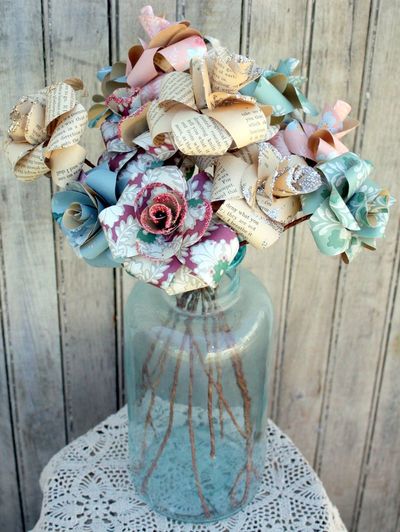
Flowers can be expensive and time-consuming to maintain, so swap the live version in favor of this Book Page Paper Roses DIY Project. Grab an old book and learn how to make a paper rose that you can turn into a bouquet. Make a bunch of these roses, throw them in a vase and display them during your next party or book club gathering. DIY paper roses are a great alternative to the real thing because you don't have to water them. To make the stems, simply cover wire with jute or paper and attach them to the flowers. The finished project is sophisticated and pretty but not over the top. Everyone will love the unique look of your handmade design.
Primary TechniquePaper Crafts

SeasonSpring
Materials:
- Vintage paper
- Mod Podge (matte)
- Small circle punch
- Jute or paper covered wire for stems
- Wire cutters
- Hot glue
- Sponge brush
- Glitter (optional)
- Skinny paintbrush or pencil to curl paper
- Scissors
Instructions:
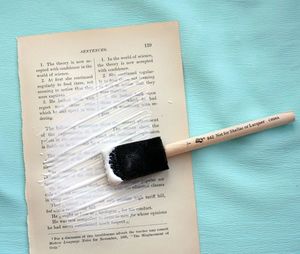
- The most important trick is preparing your vintage paper, otherwise it will be too brittle to work with. This is done by coating both sides with Mod Podge. Coat one side completely with an even coat and let dry, then coat the other side. This will transform the paper into a leathery consistency and make it more durable. You can prepare several treated pages ahead of time before you start making your flowers.
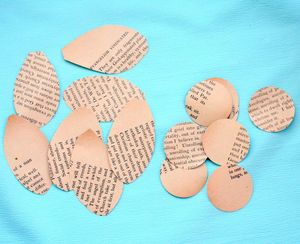
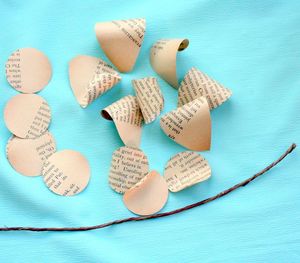
- Using the circle punch, punch out about six or seven circles from the treated paper. You'll also need about the same number of petal shaped pieces. I just cut the petals free-form with scissors.
- Using the paintbrush handle, roll the petals at one end to make them curl.
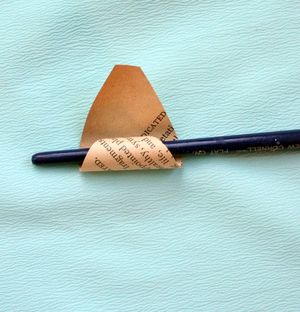
- Now the pieces are ready for gluing.
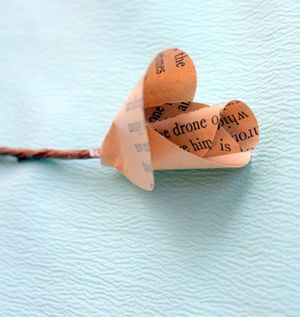
- I used cut wire about 12 to 14 inches long. To start assembling a rose, put a dab of hot glue in the center of one of the punched circles.
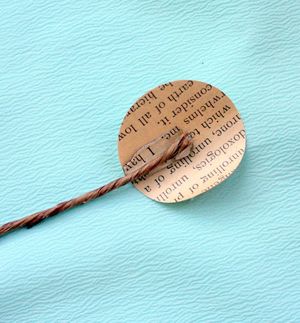
- Fold the two sides of the circle towards the center and press together, using more glue if necessary.
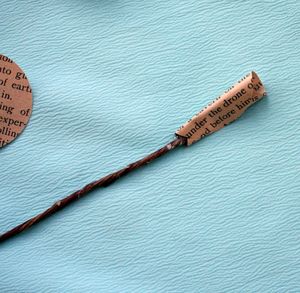
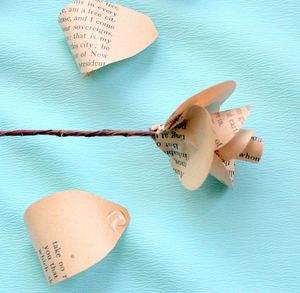
- Keep repeating this around the center, cupping the innermost glued circle as you add more paper circles.
- Notice how the circles flare outward.
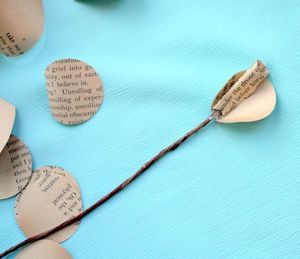
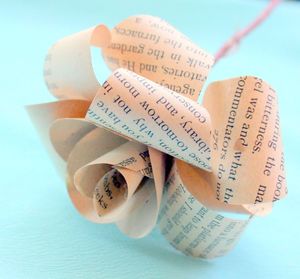
- After about six circles have been glued, you will be ready to add the petal shaped pieces. Put a dab of hot glue at the base of the petal and press it into place.
- Keep adding the curled petals until you are happy with your rose.
- I decided to add glitter to some of my paper roses by dabbing Mod Podge around the edges and sprinkling the glitter on top.
Your Recently Viewed Projects
Thanks for your comment. Don't forget to share!
Marilyn B
Jun 07, 2017
My daughter made these paper roses and they do look really great! Using a thicker backing with really colorful magazine or old book color plates makes for a really interesting looking rose or flower. You can take it further with green pages and make some leaves.add some pretty ribbons complete your pretty bouquet and make another to give as a gift.
ks6512
Jun 18, 2016
Just Love these Roses. Perfect for any occasion!! Will be trying these. Thank you for sharing.
BeckySue
Mar 11, 2016
These are so gorgeous! I like the vintage book paper and you could easily pick up a couple of those at a library book sale or even the bargain bin at a book store. You could use glossy color pages, too. Also, couldn't you use scrapbooking paper, too? The different patterns and colors would let you easily adapt your paper flower arrangement to a season, room decor, or theme.
Report Inappropriate Comment
Are you sure you would like to report this comment? It will be flagged for our moderators to take action.
Thank you for taking the time to improve the content on our site.