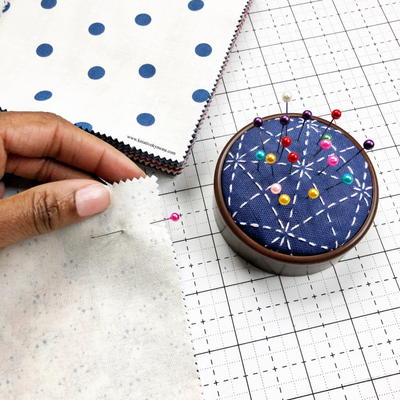
Sashiko Pincushion

Learn how to make a lovely DIY pincushion using stitchwork inspired by the lovely Japanese Sashiko technique! This project is wonderfully easy to do, makes a great gift, and serves as a sweet little decoration (with a practical purpose!) for your sewing room.
From the Designer: "Hello everyone! Kymona here from Kreative Kymona with a fun stitching project for you. I'm going to show you how to make a Sashiko Pincushion. Sashiko is a form of needlework developed in Japan a couple of centuries ago. The purpose of sashiko stitching originated from repairing, mending, patching, and reinforcing the fabric. In Japanese, its name means "little stabs" - a reference to plain running stitch that makes up sashiko's geometric, all-over patterns. Traditionally, sashiko patterns were sewn with off-white stitches on dark indigo fabric."
Project TypeMake a Project
Time to CompleteUnder an hour
Sewn byHand

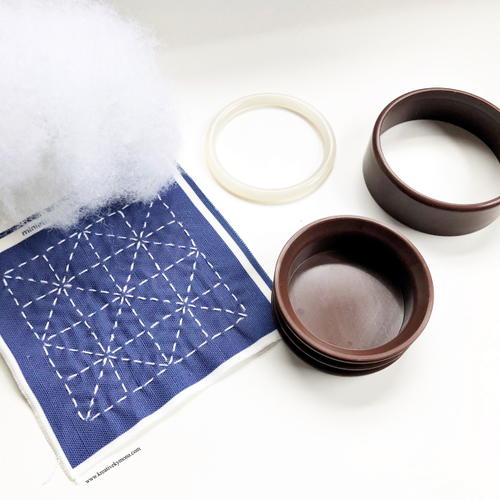
Materials List
- Olympus Sashiko thread
- Clover Sashiko Long Needle
- Pre-printed Sashiko fabric
- Clover Create-a-Pincushion
- Poly-fil
- Clover Needle Threader
- Scissors
Instructions for Sashiko Pincushion:
-
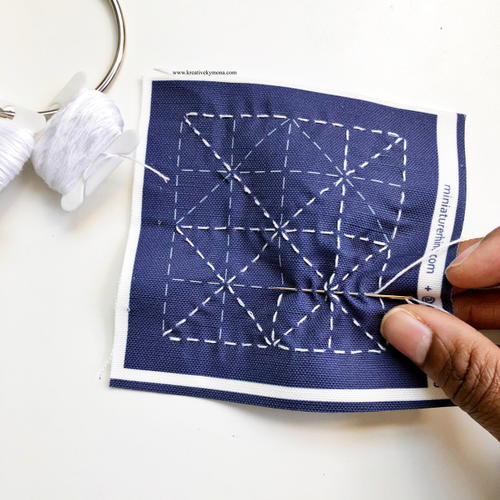
Decide on which pattern you want to stitch out.
-
Thread the needle and tie a knot on one strand close to the end.
-
Start from the back and stitch each line, going straight across the fabric.
-
When you get to a line that is already stitched, do not cross it again. Pull the thread to the back and knot off.
-
Start the same way again until you finish.
-
Once you finish stitching, its time to make the pincushion.
-
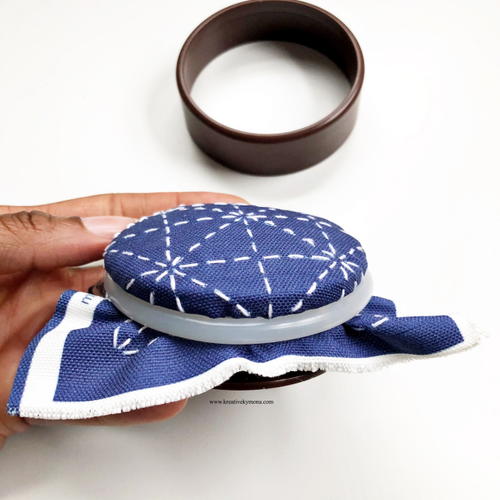
Pull the pincushion pieces apart.
-
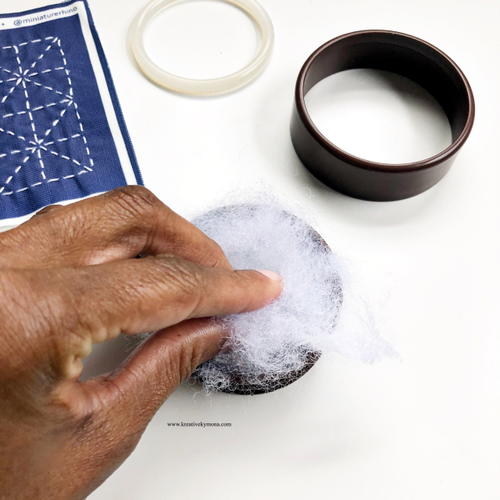
Fill the base with a handful of polyfill.
-
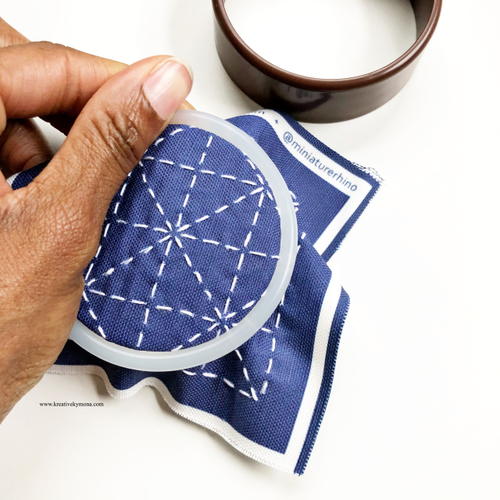
Next, cover the polyfill with the stitched fabric panel. Hold it tight and place the plastic ring around the fabric to hold it in place.
-
The ring will hold on tight to the fabric. Pull-on the sides to make sure it's nice and snug.
-
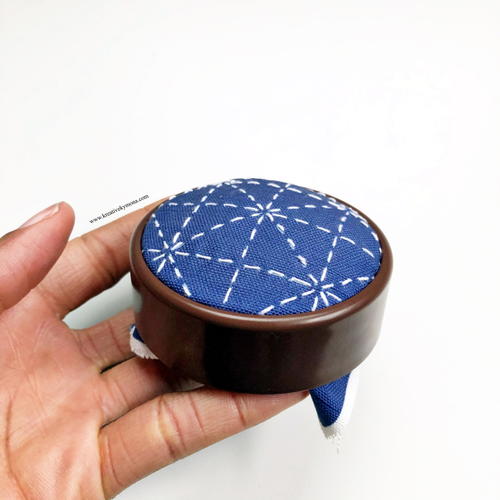
Place the pincushion ring over the entire piece.
-
Finally, cut the excess fabric from the bottom for a completely new pincushion.
-
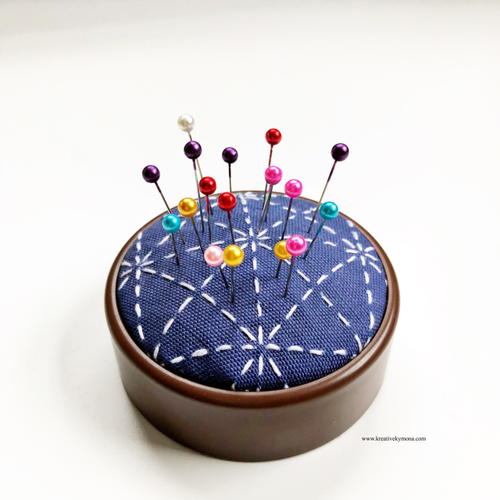
Now, add your pins and get ready for your next project!

Read NextWalk With Me Free Embroidery Pattern