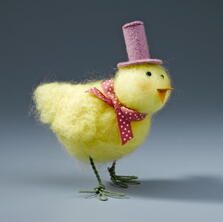
Sewn Spring Chicken
Looking for an adorable sewing Easter project? Look no further. This tutorial from Heather Parsons gives you the steps it takes to make your cute Easter chicks.

Materials:
These can be made for scraps you have laying around your house. They are super fast to make but do involve sewing. I used my sewing machine but you could do them by hand it would just take longer. Hot glue is also needed.
Steps:
- Cut out pattern pieces and the appropriate number of pieces of fabric according to the pattern. The pattern has a piece for the beak but I keep it as a general rule of thumb that I never cut out a pattern piece that small, I always just eye ball those kind of pieces.

- Sew together the body pieces-right sides together-leaving a small opening for turning. Backstitch both sides of your opening. Repeat for the head. Turn right sides out.


- Using beans, rice or popcorn pour some into the bottom of the body to weigh it down. I used popcorn. This isn't necessary depending on what you will use these for but if you want them to stand on their own like in a little nest then you will want to do this.

- Fill the remainder of the body with stuffing and the head too. Don't over stuff.

- Sew openings closed. I didn't bother tucking in my opening edges or even trying to hide the opening in any way because both will be hidden when you assemble the chick.

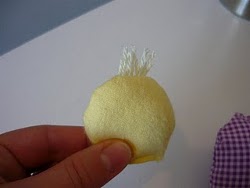
- To make some hair gather a small bunch of yarn like so and....

- glue it to the back of the head like so with hot glue. Then cut the folds and trim to uneven lengths.

- like this.
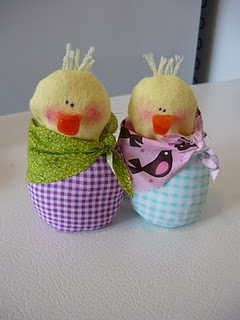
- To make the beak, take the beak piece you cut out and put a small dab of hot glue in the middle and fold it in half. This will make the beak so that it stays partly closed on the chick and doesn't just flap open. Hot glue the beak to the head piece. Add eyes. I drew mine with a marker and I used some chalk to make cheeks. Then glue the head to the body.

- Here is a side view.

- Finally take the scarf/blanket piece and tie it around your chick with a knot. I tied mine to the side a bit. This will cover up the seam on the head. You could glue this in place. I didn't.

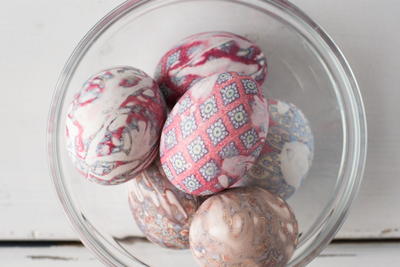
Read NextSilk Tie Easter Eggs
Your Recently Viewed Projects
Thanks for your comment. Don't forget to share!
Member 14523
Mar 28, 2010
Click on pattern pieces in Step 1 to access the patterns. Happy crafting! - FaveCrafts Editorial
Diana L Burris
Mar 27, 2010
This is so cute and easy. I am going to make the pom pom chicks and glue them around this duck. Thanks for idea!! Diana
Report Inappropriate Comment
Are you sure you would like to report this comment? It will be flagged for our moderators to take action.
Thank you for taking the time to improve the content on our site.