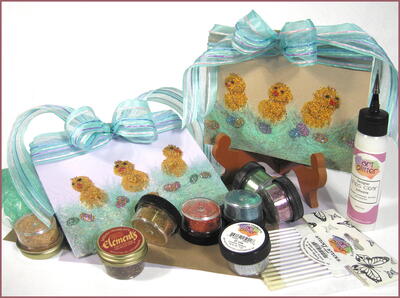
Glitter Chicks Easter Card
Use plump element and glitter to make this Easter Card standout featuring fluffy yellow chicks and Easter eggs!
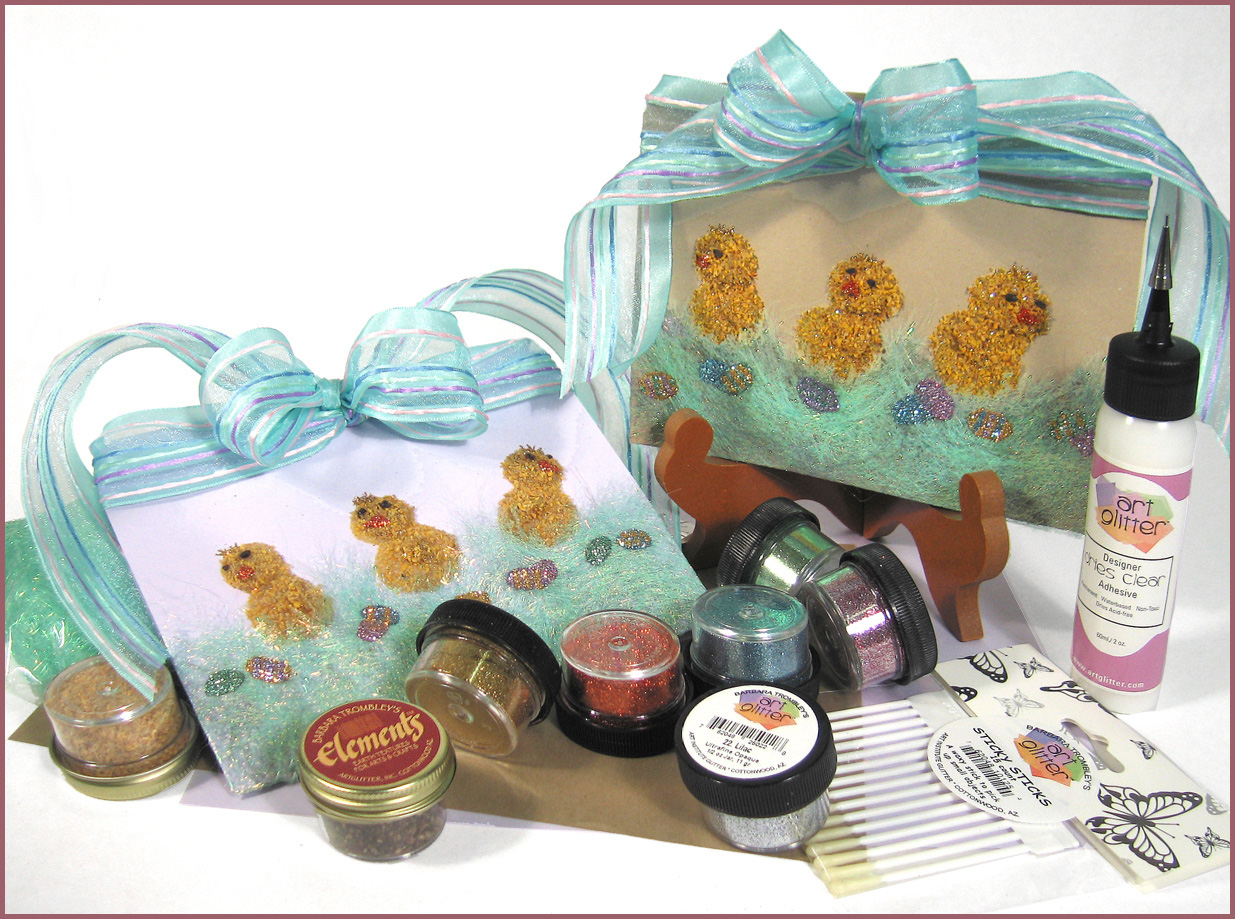
Materials:
- Ultrafine Opaque Glitter: #8 Maize, #19 Cobblestone #64 Brass, #54 Sedona Sun,
- Designer Dries Clear Adhesive
- Elements Earth Textures: #33 Baby Blue, #114 Leaf
- Ultrafine Metal Tip #22 Lilac, #11 Tea Rose
- Fantasy Fiber: Mint Sparkle, English Ivy
- Iron set to Medium High heat
- Baker’s Parchment Paper
- Decorative Scissors
- Sticky Stick
- Cardstock
- Wire Ribbon: light purple or pink or brown 1 1/2” wide by approximately 4 feet
Instructions:
-
Cut and fold cardstock to 7” X 5.5”. With black spout on glue bottle draw three thick circles across middle of card approximately 1-1/4” in diameter. Draw another, slightly smaller, circle on top of each circle in various angles. Cover with Maize texture.
-
Allow texture to sit on adhesive for a minute before tapping excess off. Cover all with Brass glitter, tap off excess.
-
Take a small pinch of English Ivy fiber and roll it between your hands into a loose ball shape. Place about three of these below the chicks to make a thin fiber layer. Place a small pinch of Mint Sparkle fiber on top of the English Ivy layer. Continue to lay down Mint Sparkle until card below chicks is covered slightly. Allow stray strands to overlap card edges and bottom of chicks as in example below. Lay one hand on top of fiber layers and carefully slide card out from below. Cover fiber with parchment paper and swipe iron over entire area once, quickly without applying extra pressure. You want the strands that overlap the chicks to have hardly any heat on them at all. Turn fiber over and iron other side in same fashion. Set aside.
-
Attach metal tip to adhesive. Cover chick’s heads with another thick glue circle, slightly smaller than the one underneath it. Draw a 1/2” triangle of glue on chick’s bodies. Cover all with Maize texture and allow texture to sit on adhesive a minute. Cover with Brass glitter.
-
Draw a small glue triangle on each chick’s face for a beak, sprinkle with Sedona Sun glitter. Make a small glue dot for the eyes. Using a sticky stick pick up a dark piece of Cobblestone texture. Push it into eye glue. Place a couple of tiny glue dots on cardstock on top of the chick’s heads, with the point of the ad¬hesive pin pull little lines of glue up to make little tufts of hair. Sprinkle with Brass. Scrape away some glue/glitter with pin if tufts are too thick.
-
Use chicks and card as a guide for making fiber grass.
-
Lay fiber grass in place on card and pull some excess fibers away where chicks will sit, allow grass to be a little taller in between them. If your grass layer is a little thick trim it with scissors. Make a thin line of glue along bottom of card, position fiber on card and glue down. Allow card to dry for 10 minutes with fiber still overlapping edges.
-
Open card up and fold one side of excess fibers over card flap, slide parchment paper on top and iron for 3 to 5 seconds. Iron other two sides over flap in same manner.
-
Make random glue ovals along grass and sprinkle with glitter colors of your choice for eggs.
- Cut corners off folded edge of card with decorative scissors. Tie ribbon around top of card and make a bow. Center midpoint of ribbon at back of card. Bring around to front keeping it straight and flat, tie a double knot in front of card. Avoid twisting ribbon while making bow, start big and tighten to size you want. Fluff bows and twist into position. Fold ends in half and cut at a 45-degree angle towards fold. Glue into place weighted down if needed.
Note:
-
The English Ivy Fiber used underneath the Mint Sparkle gives depth to your grass. It is not necessary but has a pleasing effect. When picking out cardstock and glitter colors choose ones that will go well with your ribbon. The chick’s eyes can also be made out of black glitter, or some small black object. If the chicks are not plump enough, add another layer of textures.
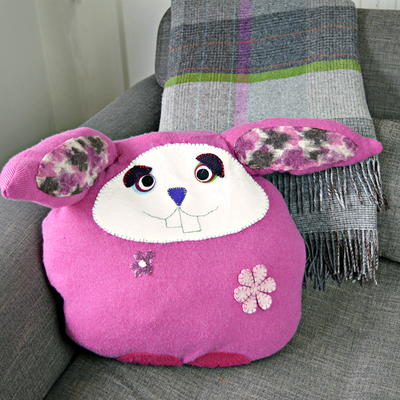
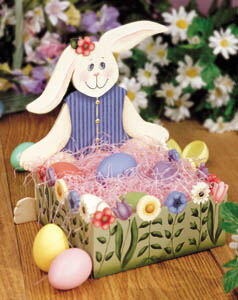
Read NextGarden Bunny Easter Box