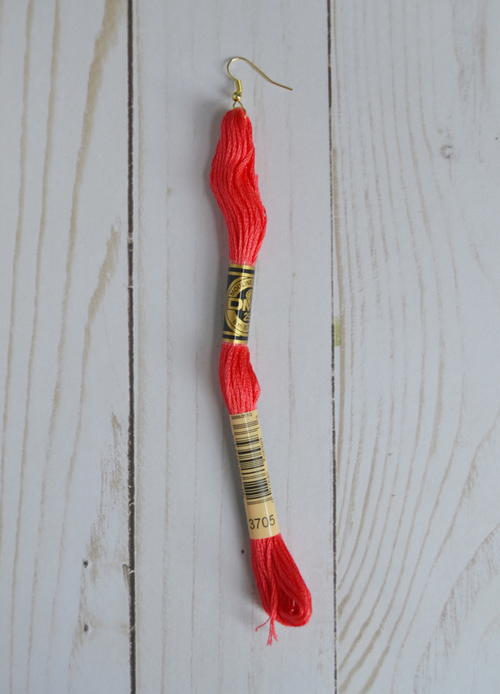
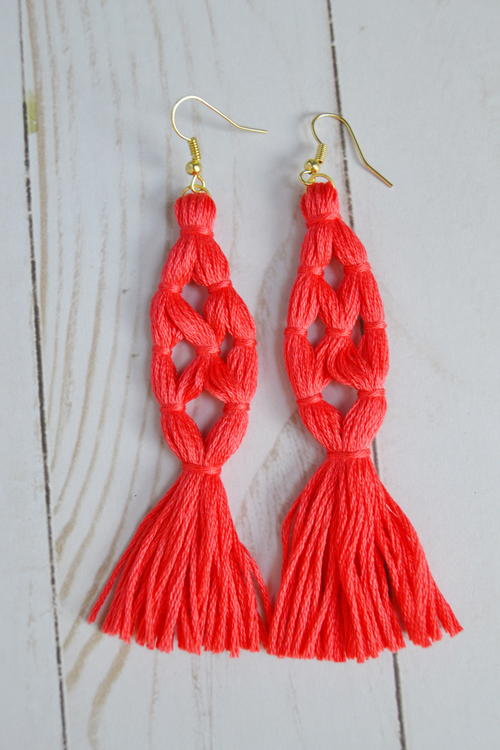
Coral Tassel Earrings

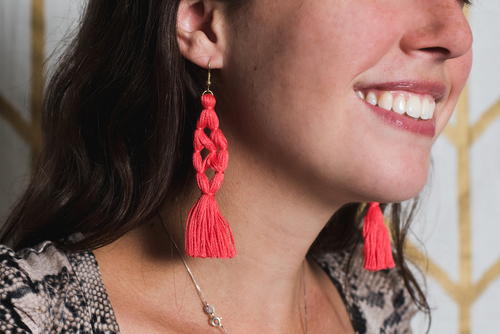
Wear your love for the tassel trend anywhere you go with these Coral Tassel Earrings! All you need to put these together is some embroidery floss, some jump rings and some earrings hooks and you'll be on your way. This photo tutorial will show you how to craft the perfect tassels to wear, and it's so simple! Choose your favorite bold hue for a pop of color or stick with a simple neutral to wear with every outfit - or make multiples! These Coral Tassel earrings also make great gifts for friends and family members since they're so fast and easy to make.
Join FaveCrafts and the Craft Yarn Council for our #PomPomParty, a celebration and exploration of the pom pom and tassel trend: learn more here!
Estimated CostUnder $10
MaterialsEmbroidery Thread
Primary TechniqueJewelry Making

Project TypeMake a Project
Materials List
- 3 skeins of embroidery floss
- Jump rings
- Earring wires
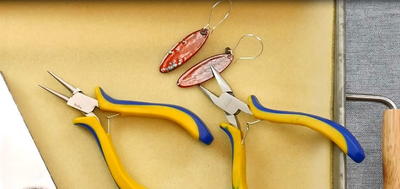
- Needle nose pliers
Coral Tassel Earrings
-
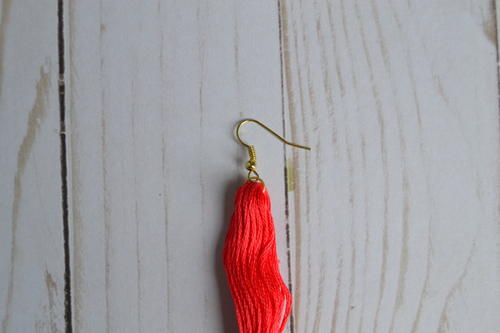
Use your pliers to open up one of the jump rings. Loop it through the top loop of your embroidery skein. Then slide the hoop at the bottom of your earwire onto the jump ring. Use the needle nose pliers to close the jump ring. Twist the jump ring around so that you hide the small gap in the jump ring behind the embroidery floss.
-
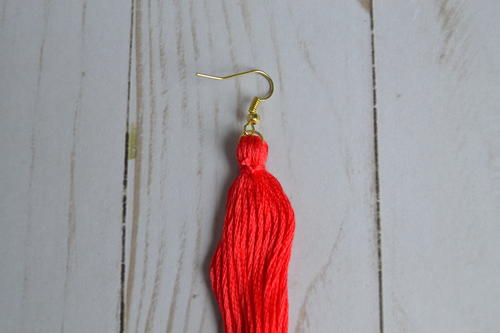
Cut a piece from one of the other skeins of embroidery floss. Use the thread to tie a knot around the top of the skein of embroidery floss that you attached to the earring wire. Make sure you tie your knot on the back side of your tassel earring. Trim off the ends of your knot. Do this each time you tie a knot.
-
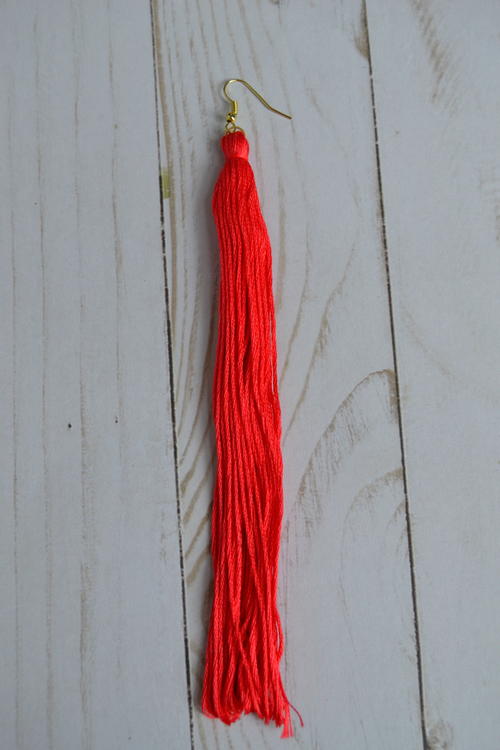
At the bottom of your tassel earring the floss with still be looped. Cut through the loop so that the floss is all separated.
-
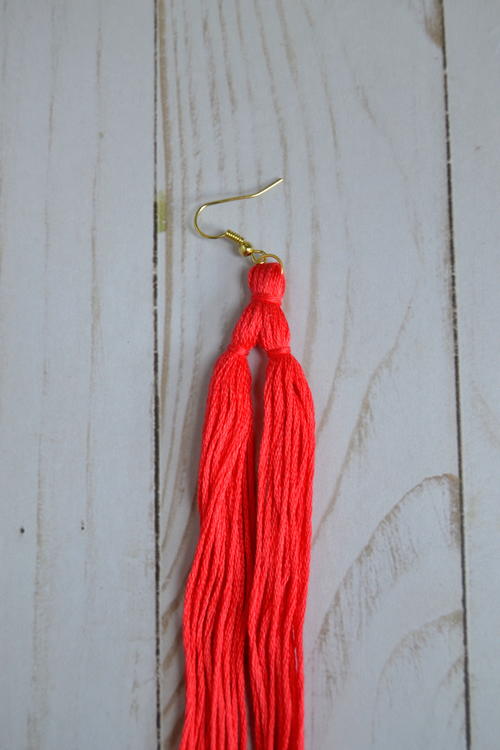
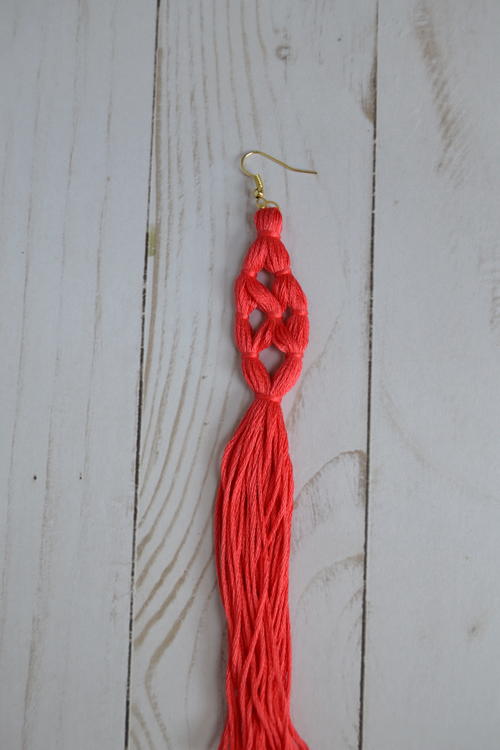
Divide the floss hanging from your earring into two parts. Using more string from the other skein, tie a knot in each part, about ½ an inch from the knot you tied in the top.
-
Now divide the floss into three parts. Tie a knot in each part, about ½ an inch from the two knots above.
-
Divide the floss into two parts. Tie a knot in each part, about ½ an inch from the three knots above.
-
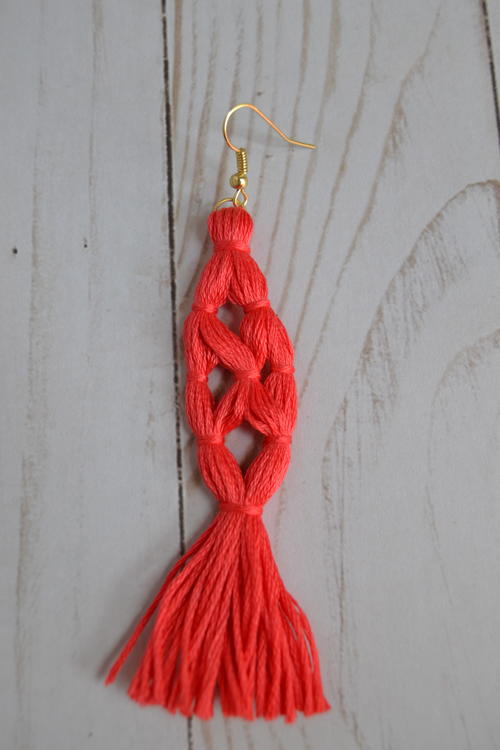
Join the floss back together into one part. Tie a knot around it, about ½ an inch from the two knots above.
-
Trim the excess hanging embroidery floss to your desired length.

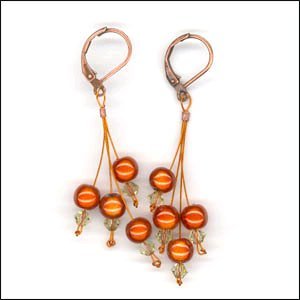
Read NextHeart on a Wire Earrings