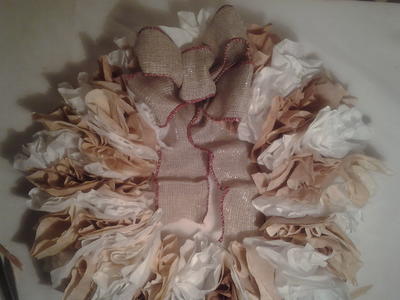
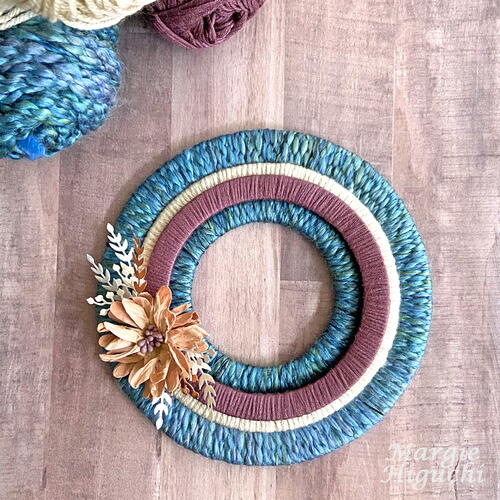
Fall Floral Yarn Wrap Wreath

From the Designer: "Although I am not a knitter, who can resist all the colors that yarns have to offer?! This Fall Floral Yarn Wrap Wreath is a perfect way to scratch that itch for using this wonderful medium and very friendly for makers alike. Add a combination of adhesives, chipboard, die-cut shapes and a premade flower in the stash, you too can come up with a warm and fuzzy home décor piece. Change out the yarn colors, texture and embellishments for another season or occasion. Who’s ready for fall?!"
Materials List
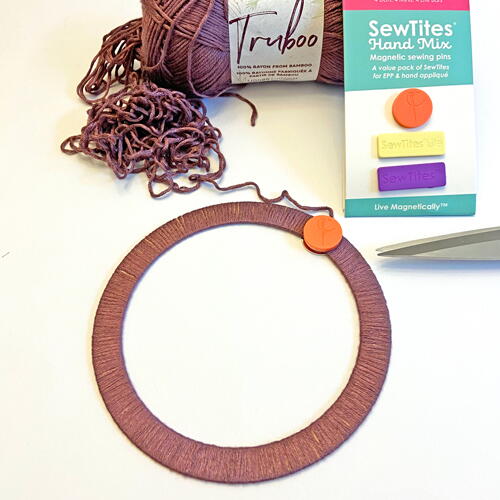
- Lion Brand Yarn: Windsor Home Spun Yarn (Blue), Beige Heather Basic Stitch Yarn (Cream), Raisin Truboo Yarn (Raisin)
- SewTites: SewTite Hand Mix 12 Pack
- ViviLux: GoLightly Rechargeable Cordless LED Task Lamp
- Scrapbook Adhesives by 3L: E-Z Runner® Permanent Strips, Adhesive Sheets 12 x 12”, Crafty Foam Tape 54ft, Adhesive Lines, Adhesive Dots 3D
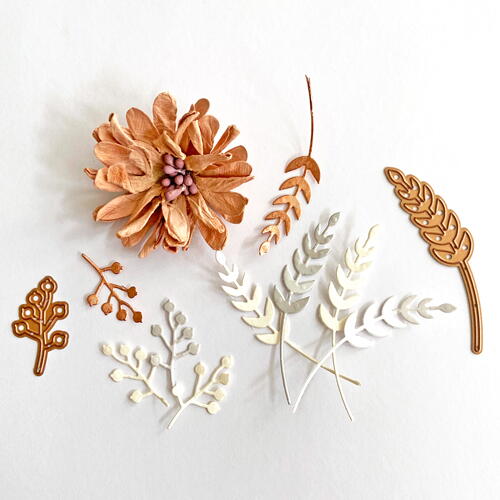
- Other: Leaf Craft Dies: Spellbinders Paper Arts (Fall Labels Motifs by Amazing Paper Grace); Heavy White Cardstock; Thin Chipboard; Yarn Needle; Bone Folder; Various Specialty Papers; Premade Flower
Instructions
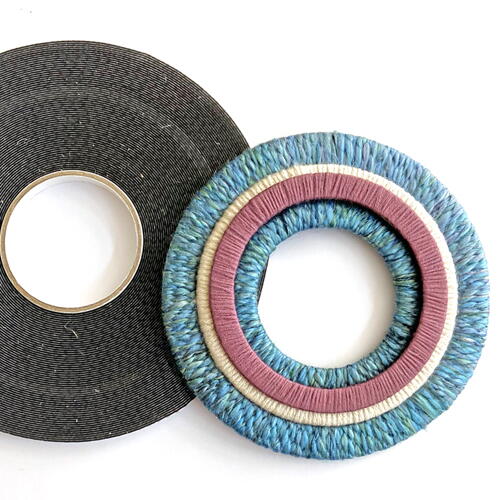
Create the Wreath Rings
- Large Ring: 7.50-inch thin chipboard
- Second Largest Ring: 5.00-inch heavy white cardstock x 2
- Third Largest Ring: 4.50-inch thin chipboard
- Smallest Ring: 4.00-inch thin chipboard
Wrap the Rings with Yarn
-
Using the GoLightly Rechargeable Cordless LED Task Lamp throughout the project helped as I can move it wherever my workspace was. I started with creating the rings for my wreath. Didn’t have enough thin chipboard so the second largest ring was die-cut with two heavy white cardstock which were layered together with the E-Z Runner® Permanent Strips.
-
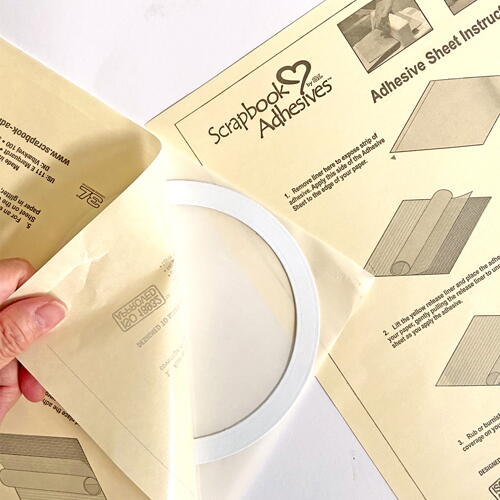
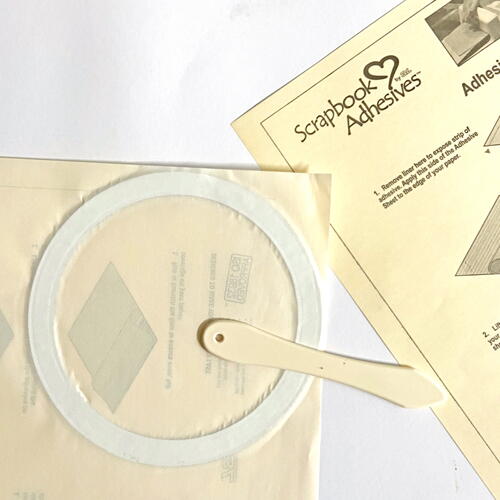
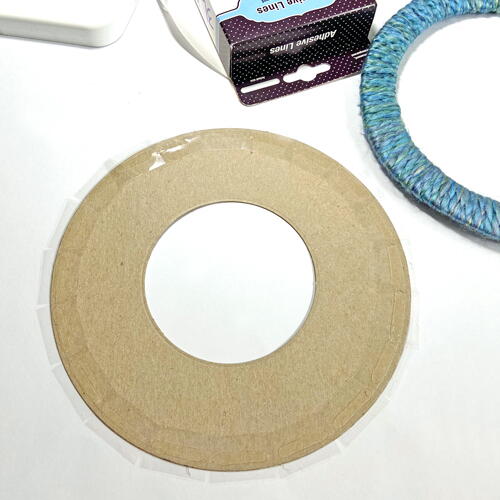
Once the second ring was created, I applied Adhesive Sheets 12 x 12in. to each ring on the front side only. Designer’s Note: For a full adhesive transfer to the rings, I burnished the adhesive with the rounded end of a bone folder. Gently peel off the ring and start wrapping the yarn around each ring.
-
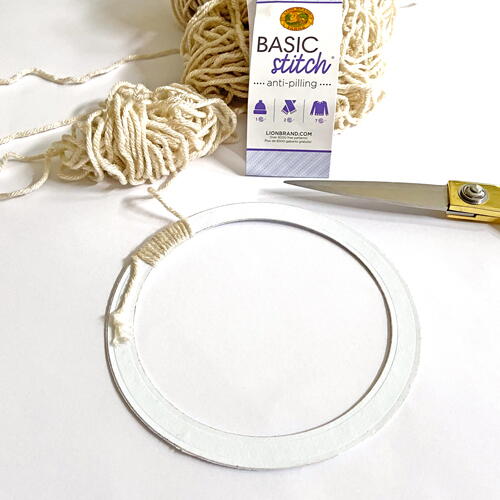
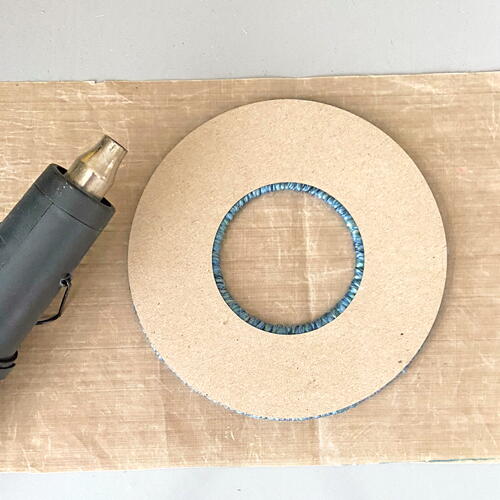
The largest and smallest rings were wrapped with Windsor Home Spun Yarn (Blue). The second ring was wrapped with Beige Heather Basic Stitch Yarn (Cream) and the third with Raisin Truboo Yarn (Raisin). Each yarn end was secured temporarily with a SewTite Magnetic Pin. It makes the wrapping process go faster without interruption. Use a yarn needle to tuck the ends into each wrap. Trim excess. Set aside the rings aside.

Secure the Rings on a Base
-
Nest the largest circle die and the smallest circle on a thin chipboard. Use temporary tape to secure and die-cut the chipboard to create a thick ring base.
-
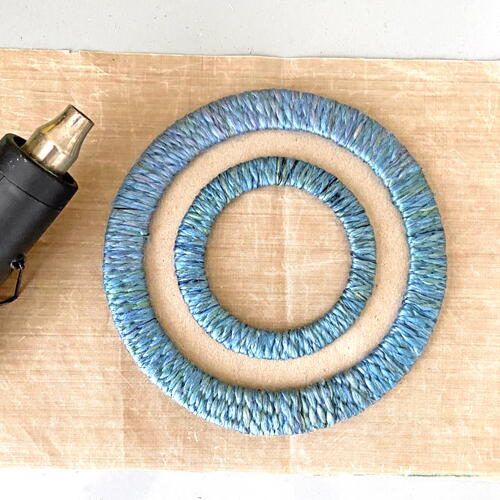
Line the outer edge with Adhesive Lines (about 20 Adhesive Lines), leaving the liner on for now. Remove the liners and place the largest yarn ring over it. Press to secure. Use a heating tool on the back of the base to melt the Adhesive Lines. Press with fingers and place a heavy pile of books for a strong adhesion. Repeat with the smallest ring to the base. For the medium rings, adhere them together with Adhesive Lines.
-
Place the layered medium ring in the middle by stacking two layers of Crafty Foam Tape to pop them up. This gives the wreath texture and dimension.
Embellish the Wreath
-
Die-cut leaves from various kinds of paper (pearlized, foil and cardstock) several times. Add Adhesive Dots 3D to the bottom left of wreath and heat with a heating tool and place the premade flower to secure. Add the leaves for your desired look. Add a hook and it’s ready to display!

Read NextMay Flowers DIY Spring Wreath