Vintage School Desk Make-Over
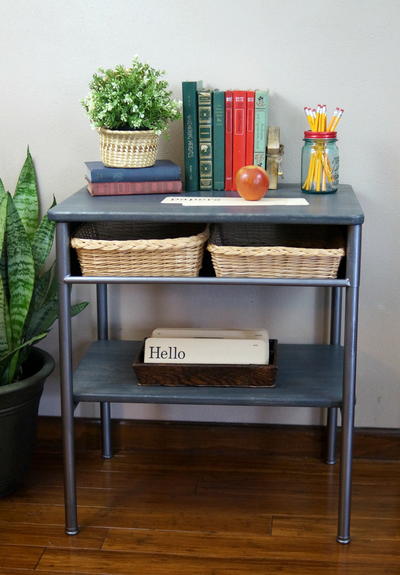
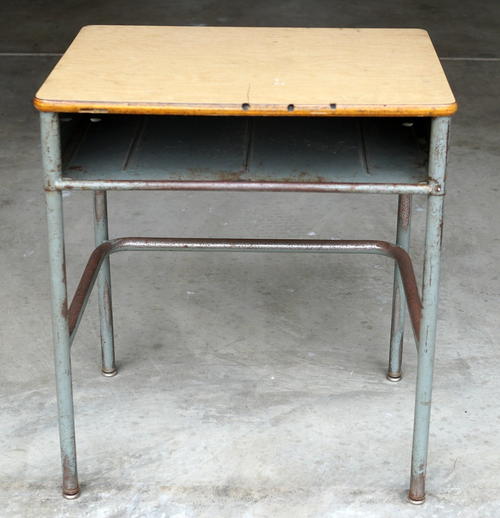
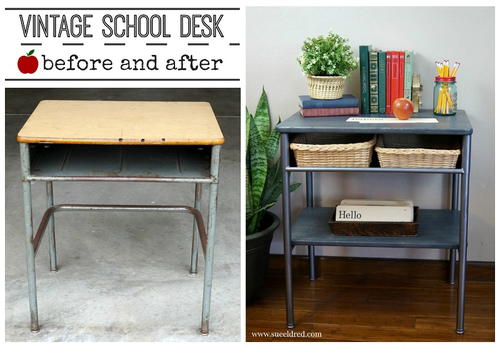
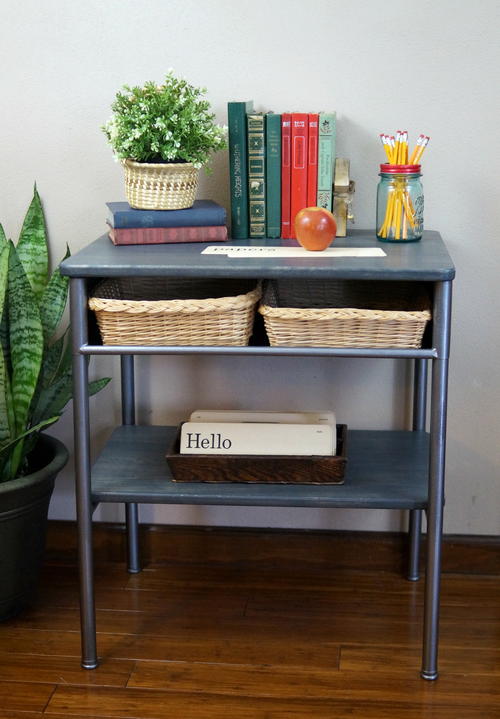
"I was looking for a project to make-over while at the Goodwill that day. I saw the old desk, gave it a good looking over and decided to leave it there. Once home, I started to envision how I wanted it to look. I ran back to Goodwill the next morning. This project went from a rusty old school cast-off to a cool side piece with an vintage industrial feel."
Estimated Cost$11-$20
Time to CompleteWeekend project
MaterialsPaint, Recycled Materials
Primary TechniquePainting

Project TypeMake a Project
Materials List
- Rust-Oleum Premium Fast Dry Wood Stain, Carbon Gray
- Rust-Oleum 271481 Universal All Surface Spray Paint, Forged Hammered Antique Pewter
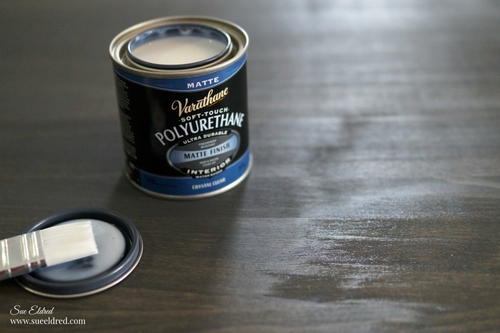
- Rust-Oleum Varathane Soft Touch Polyurethane
- Old School Desk
- Sandpaper
- Steel Wool
- Paintbrush
- Solid Aspen Board
- Tools:
- Circular Saw (or hand saw)
- Power Sander (or sanding block)
- Palm Sander
- Router
Instructions
-
Remove old top from desk. Sand off as much rust as you can off the base of the desk with a palm sander or sand paper. Wipe base down with a soft, clean damp cloth. Spray the base of the metal desk with Forged Hammered Antique Pewter Spray Paint.
-
To keep the project simple, instead of cutting and gluing boards together... I picked up a large piece of Solid Aspen that was ready to go and just the right length. Cut the board into two sizes. One 18" x 24" to replace the desk top and another 15" x 24" for creating a shelf for the area below the desk.
-
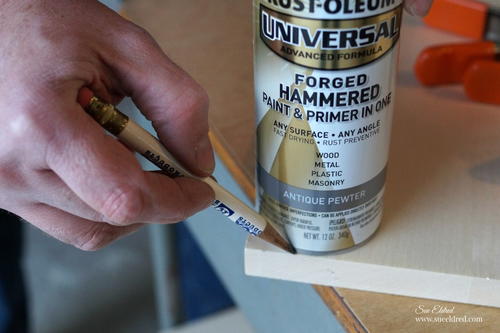
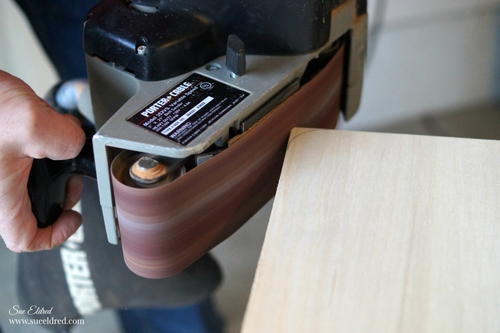
Round the corners of each of the cut wood. If you don't have any of those fancy corner templates, use the edge of the spray paint can as a template to mark the rounded corners. Using a power sander to remove the excess wood. (a coping saw and sanding block would work also) I used a router for a smoother finished edge around the boards.
-
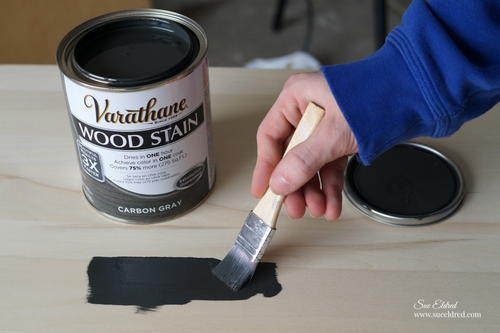
Prepare the wood for staining by lightly sanding the surface. Sand in the direction of the grain. Remove all the sanding dust with a clean damp rag. (Make sure to read directions on the can.) Apply stain on the wood with brush or clean lint free rag. Allow the stain to penetrate the wood for 3-5 minutes before wiping excess stain off. Allow time for the wood to dry.
-
Apply a coat of polyurethane over the surface of the wood. After the polyurethane dries, smooth the surface with a fine steel wool. Wipe surface and apply a second coat of polyurethane. Smooth surface again with the fine steel wool.
-
After all the pieces were dry...Screw the top back onto the base and added the shelf to the bottom bar.
-
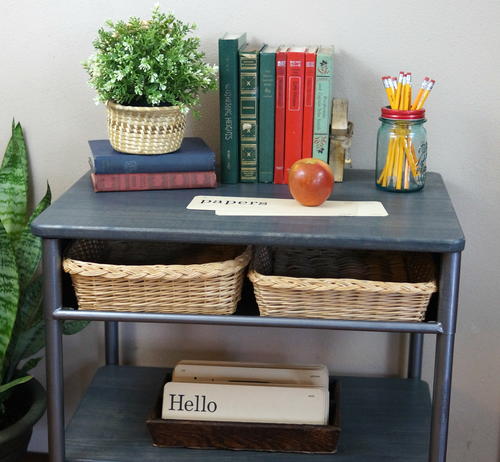
Add a couple of flat rectangle baskets in the desk opening for storage.
Read NextPom Pom Monogram

