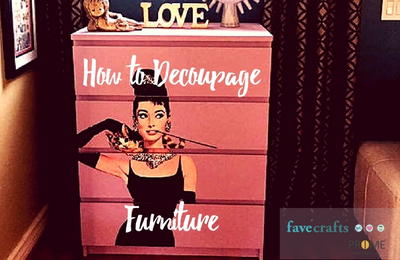
How to Decoupage Furniture
Decoupage crafts have never been so easy with this step-by-step tutorial that will have you transforming your old furniture into wonderful works of art.

Decoupage is a clever and inexpensive way to upcycle or redecorate virtually anything you can think of. Whether you're making cute little decoupage crafts for around the house or fixing up an old wooden dresser that's seen better days, this crafting technique is one of the most affordable ways to take something old and make it fresh and new. In How to Decoupage Furniture, you'll learn quick and easy steps to help you create unique and beautiful works of art. The steps in this tutorial can be used for any decoupage on wood projects, big or small. With just a handful of materials and these simple instructions, you can transform any piece of furniture into a stunning and unexpected artistic masterpiece. You'll be amazed at what a difference this technique can make.
With this tutorial, you'll learn why decoupage is a popular craft for upcycling old tables, chairs, dressers, bookcases, and any other furnishings. It's very common among crafters to pick up used furniture from a thrift store and transform worn items into new furnishings. Decoupage is a budget-friendly craft, and it's super effective in reinvigorating the brightness and feel of any room in the house. After you learn How to Decoupage Furniture, you'll be energized and inspired to fix your own home furnishings.
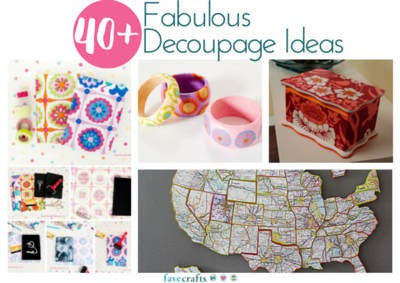
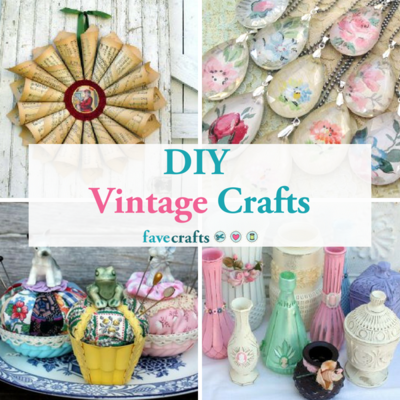
Looking for inspiration? Check out 40+ Fabulous Decoupage Ideas
Materials List
- Decoupage glue and sealer
- Cleaner
- Foam brush and/or scraper
- Any decorative piece of paper (preferably on thicker paper)
- Scissors or craft knife
- Sandpaper or orbital sander
- Polyurethane
- Ruler
- Optional: spackle
Instructions
-
Before we begin, it's essential that we make sure our furniture is ready, or this decoupage project won't work. Use cleaner to clean the piece of furniture you want to decoupage. If you see any troublesome nicks or dents, you can use spackle to fill in any gaps. The furniture needs to be as smooth and flat as possible. If you're working with a piece of furniture that has numerous cuts and scrapes, you may want to sand the furniture down with an orbital sander (or a piece of sandpaper).
-
Lay your furniture piece on a flat surface. If you're working with a bookcase, lay the bookcase on the side opposite of the one you plan to decoupage. If your furniture can be segmented, you might want to remove the section you intend to decorate.
-
Place your decorative paper on the furniture. Trim any edges that overhang with a sharp pair of scissors or a crafting knife. Remove the paper and set it aside.
Tip: make sure your decorative paper has some thickness to it. Super thin paper tends to rip or wrinkle easily. -
With your foam brush, layer a coat of decoupage glue onto the furniture. Place the decorative paper on top of the glue and smooth out the edges. Use a ruler or a card to remove any bubbles or air pockets. You want the paper to be as smooth as possible. If there's an air pocket caught in the middle of the paper, use the tip of a craft knife to cut a hole, so you can push out some of the excess decoupage glue.
-
Once the decorative paper is dried onto the furniture, check for any overhanging paper pieces. Remove any overhanging pieces with sharp scissors or a craft knife.
Optional: If you want to add a cool effect to your decoupage project, glue paper onto the furniture without trimming beforehand. Once the glue is dry, you can sand the overhanging edges with an orbital sander to create a warped vintage trim to your furniture. -
Layer the top of your decorative paper with decoupage glue. Use a foam brush or a scraper to spread the layer smoothly and evenly. Once you've completed adding the layer, let your decoupage project dry overnight.
-
To finish your decoupage craft, apply a layer of polyurethane to your furniture piece. Let the project sit for an hour, and then apply another layer. It is recommended that you apply at least three coats of polyurethane.
Clever and Creative Decoupage Ideas
If you're looking to see what other crafters have created with decoupage, we've listed some exciting and fun furniture projects!

This decoupage project uses fabric to add flair and color to ordinary bookshelves. With the right pattern, this craft is a subtle way to switch up the vibe of a room.

Use some scrapbook paper to transform a boring end table with this decoupage craft project. This upcycle project is a great way to add color to any room in the house.

The Audrey Hepburn Vintage Dresser is a chic accessory for any classy woman to add to her home. The end result is so stunning that no one will believe you did it yourself
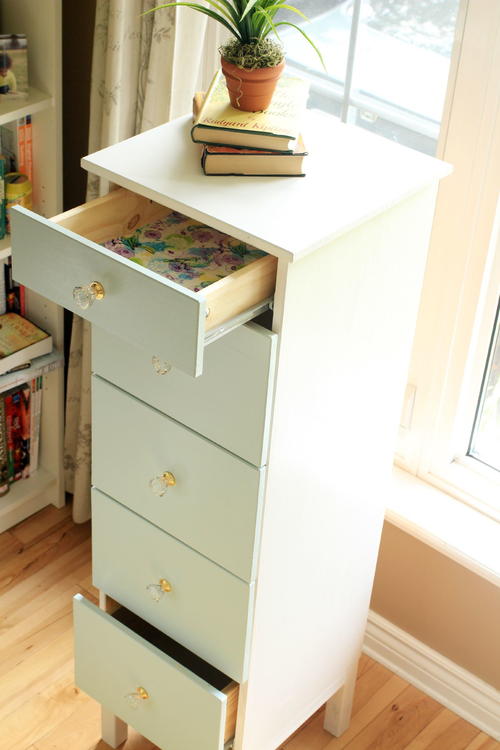
The Ikea Tarva Dresser is made over with a splash of paint, new hardware and gorgeous fabric lined drawers.

Decoupage DIY projects are simple to create and look amazing around the house. This Millionaire's Decoupaged Cabinet will have you saving (and feeling like) a million bucks. Cabinets are sort of like treasure chests.

Take the old and ordinary and make it extraordinary with this Dressed Up Decoupage Dresser. This decoupage idea transforms old or boring dressers into gorgeous celebrations of the written word.