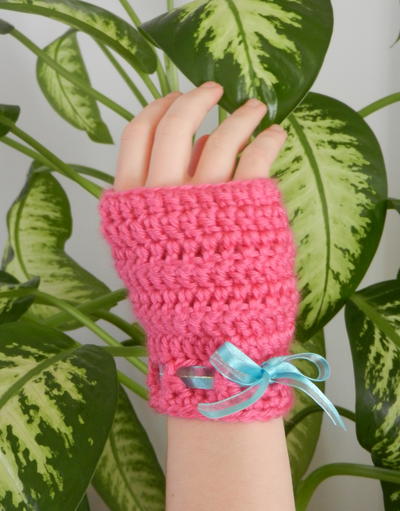
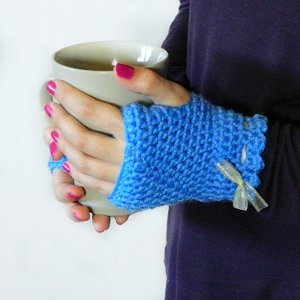
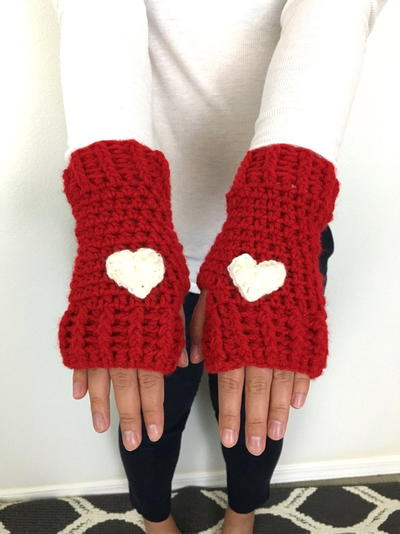
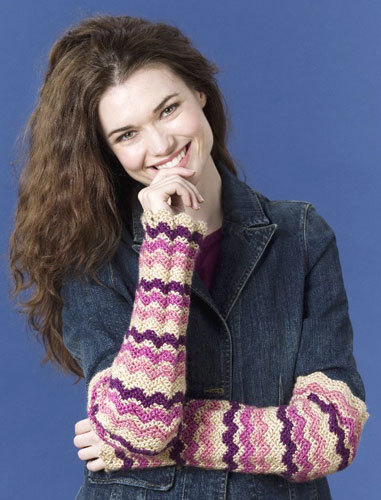
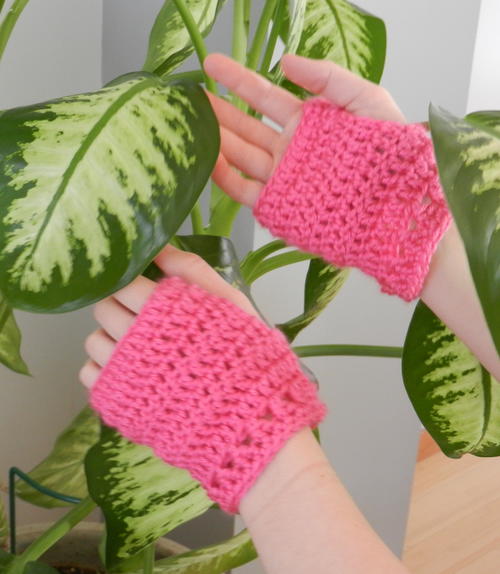
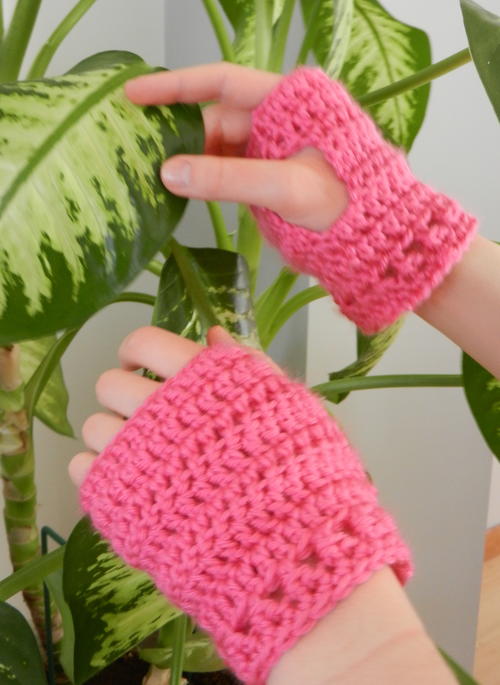
Easy Peasy Crochet Fingerless Gloves

Easy peasy crochet fingerless gloves should be on your pattern list to make. This wrist warmers crochet pattern is perfect for beginners! Learn how to make fingerless mitts with worsted weight yarn and ribbon for added flourish. This pattern features basic stitches and is so easy to work up in no time at all! Beginners who know double crochet and the slip stitch can accomplish this pattern. Make these wristlets as gifts or donate them to a charitable cause. Warm Up America! is collecting gloves and mittens for the FaveCrafts Anniversary Charity Drive May 1-June 30, 2019. Missed the deadline? No worries! Warm Up America! is always looking for donations. Consider working up this pattern for those in need today.
NotesSizing note: For this pattern I used a 26 chain foundation. If you have smaller or larger hands, simply increase or decrease your foundation row by 2 chains until you find length that fits nicely around the base of your fingers.

Crochet HookH/8 or 5 mm hook
Yarn Weight(4) Medium Weight/Worsted Weight and Aran (16-20 stitches to 4 inches)
Materials List
- H hook
- Caron Simply Soft Yarn, or other yarn of equal weight
Instructions
-
Row 1: Chain 26, form the chain into a circle and slip stitch to the first chain in the row. Chain 3 to build up to your next row.
-
Row 2 - 3: Double Crochet once into every stitch (26 dc) Chain 3 to build up to your next row.
-
Row 4: Turn your piece so you are working your crochet facing the inside of the piece. Double Crochet once into every stitch, stopping 2 stitches from the end of the round. (24 dc) Chain 3 to build up to your next row. This will be the first row in creating the opening for the thumb.
-
Row 5: Turn your piece so you are once again working facing the outside of the piece. Double Crochet once in every stitch in the row before. (24 dc) Chain 3 to build up to your next row.
-
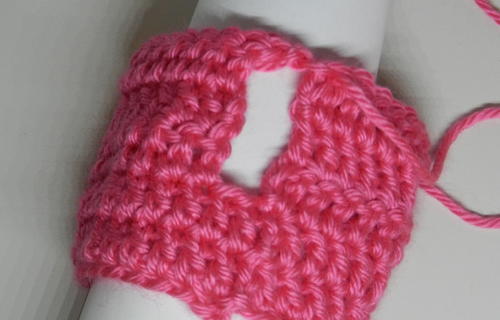
Row 6: Turn your piece so you are working your crochet facing the inside of the piece. Double Crochet once into every stitch, stopping 2 stitches from the end of the round. (24 dc) Chain 2 and slip stitch to the first stitch of this row to complete the round and close the top of the thumb opening. Chain 3 to build up to your next row.
-
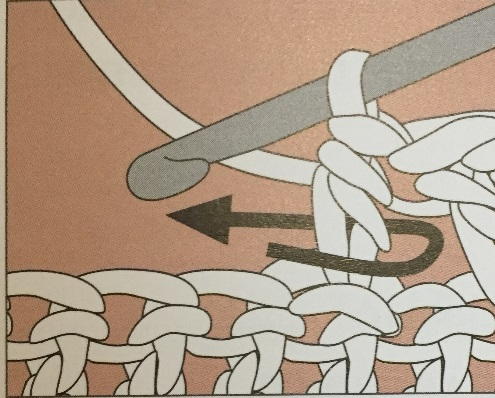
Row 7: Turn your piece so you are once again working facing the outside of the piece. Double Crochet twice over the chain, into the thumb opening. (see image below) Continue the round with one Double Crochet in every stitch in the row before. (26 dc) Chain 3 to build up to your next row.
-
Row 8: Double Crochet once into every stitch from the row below (26 dc) Chain 3 to build up to your next row.
Pattern Note: If you would like your piece to be longer than the wristlet style that is shown, this is where you could increase the overall length, by repeating Row 8 until you achieve the desired length. -
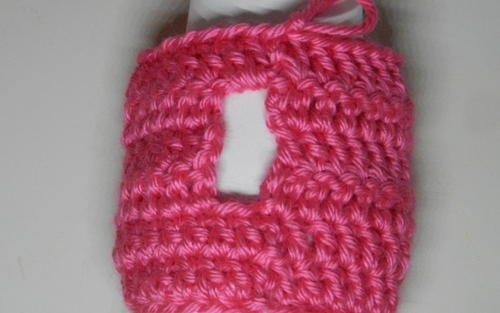
Row 9: Double Crochet around the Chain 3 from the last row. (see image below for an example of Double Crochet around) Skip the next stitch, * Double Crochet in the next stitch, Double Crochet around the Double Crochet you just made, skip the next stitch, repeat from * around, join with slip stitch to the first stitch in this row. Chain 1 to build up to your next row.
-
Row 10: Single Crochet into every stitch in the row below (26 dc) and finish off.
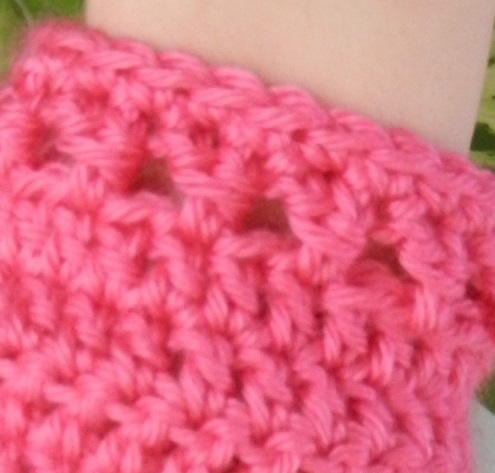
Pattern Note: If you would like, you can weave a piece of ribbon into the openings created in Row 9. See the image at the end of this pattern for an example.

View more of Shawn's patterns and craft tutorials at craftychicsblog.blogspot.com.
Abbreviations
- ch
- Chain
- sl st
- Slip Stitch
- dc
- Double Crochet
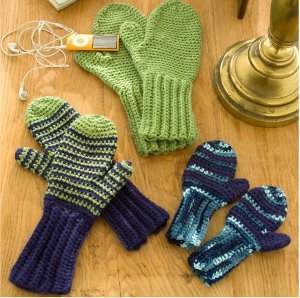
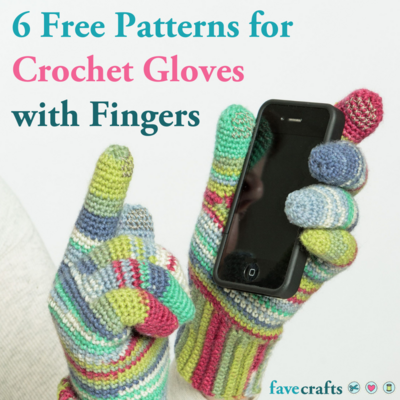
Read NextColorful Texting Gloves