Cable Stitch Knitting Pattern
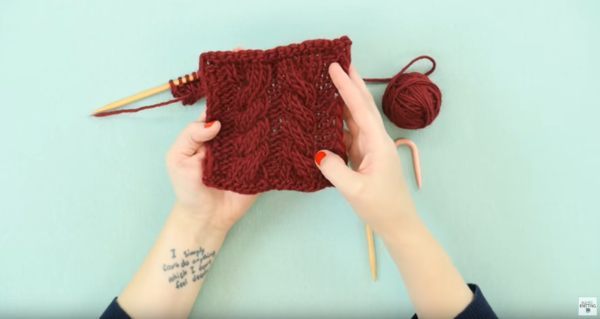
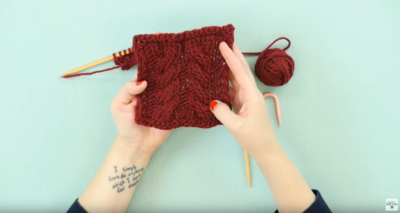
The cable stitch can really make some knitting patterns go from pretty to extravagant! This Cable Stitch Knitting Pattern tutorial will show you just how easy it is to make left and right leaning cables. This is a great knitting stitch to add to your DIY hat patterns as well as scarves. Plus, if you really want a challenge when it comes to incorporating the cable stitch into your work, try out making a DIY blanket or baby blanket. Now you can really add some texture and dimension to your different knitting projects with this video tutorial!
Time to CompleteUnder an hour
Primary TechniqueKnitting

Project TypeLearn a Technique
Materials List
- Knitting needles
- Cable needle
- Yarn
How to Knit a Cable Stitch
Cable Stitch Knitting Instructions
-
Left Leaning Cable: Start with a few rows, and start on the right side of your knitting. You will work in pattern until it calls for three over three left leaning cable.
-
Grab the first three stitches off of your left-hand needle and slide them onto your cable needle. Let go of your cable needle and let it hang on its own in the front of your work.
-
Knit the next three stitches as the pattern calls for.
-
Bring the cable needle back up and the three stitches toward the end of the cable needle. Then, use your cable needle as if it is the left hand knitting needle and knit the three stitches on it.
-
Finish the row as instructed by the pattern.
-
Right Leaning Cable Stitch: work in pattern up until the pattern calls fro the three over three right leaning cable.
-
Pick up your three stitches on your cable needle, but keep your cable needle to the back of your work instead of the front.
-
Knit your three as the pattern calls for.
-
Just like before, you want to bring your three stitches to the end of your cable needle and knit your three stitches as if they your left hand needle.
-
Repeat this process.
Read NextDiy Sock Doll

