Bloom Where You Are Planted Decoupage Flower Pot

Many of us wonder what to do with the coloring pages we've finished, but wonder no more! Make the Bloom Where You Are Planted Decoupage Flower Pot. Use pages you've already colored, or take this as an opportunity to sit down and do more coloring in order to complete this project. This beautiful decoupage craft is lovely for spring, gift giving occasions, crafting with kids or grandkids, or almost any rainy day. Stay inside and make something bright and cheerful. Once you've finished this lovely coloring page project, you can plant something inside. Let your creativity (and your flowers!) grow with this beautiful project.
Estimated CostUnder $10
Time to CompleteIn an evening
MaterialsPaper
Primary TechniqueColoring

Project TypeMake a Project
Materials List
- Art of Coloring Vintage Collection Coloring Book (Leisure Arts)
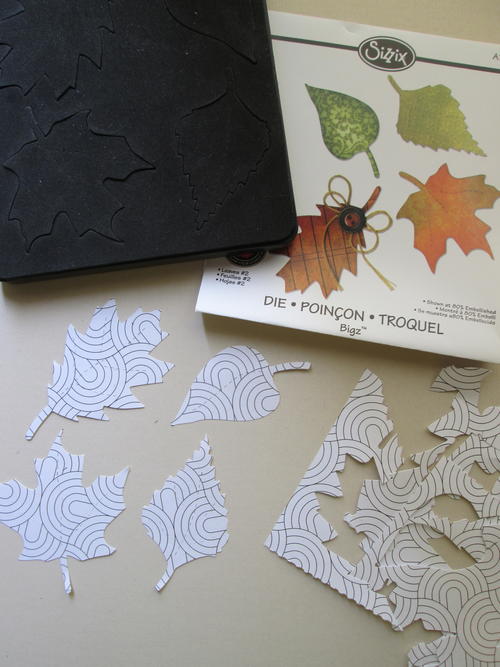
- A11008 Leaves #2 Bigz™ Die (Sizzix/Ellison)
- Big Shot (Sizzix/Ellison) or other manual die cut machine
- Dual Brush Pen Markers: N79, 530, 723, 761, 850, 992 (Tombow USA)
- Black PIGMA Micron #03 Archival ink pen (Sakura)
- Folk Art® Multi-Surface Satin Acrylic Paint: #2991 Lime Yellow, 2919 Turf, #2894 Wicker White (Plaid Enterprises)
- Mod Podge® Gloss (Plaid Enterprises)
- Terra cotta pot (5 1/2” diameter or size of your choice)
- Light Tack masking tape, scissors, plastic fold-over sandwich bag or glove, paint brush of your choice, old credit card or squeegee, protective table surface
- (Hero-Phrases A, B, C or D—you choose which photo(s) to use!)
Instructions:
-
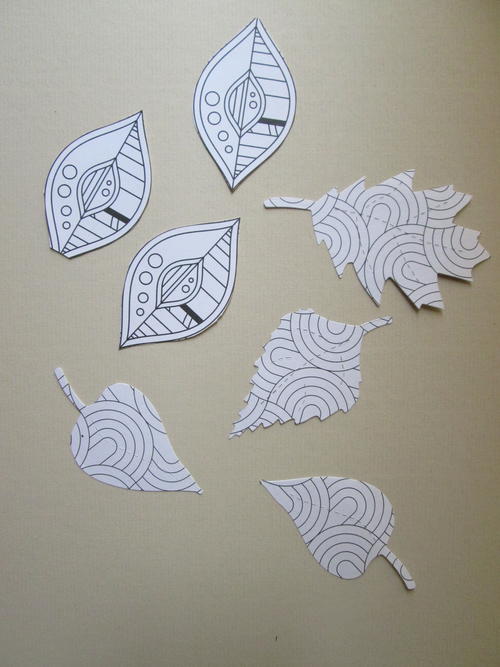
Tear out coloring book page of your choice. Trim page to 5 1/4” x 8”; place over leaf die and run through Big Shot. Die cut additional leaves as desired from remaining section.
-
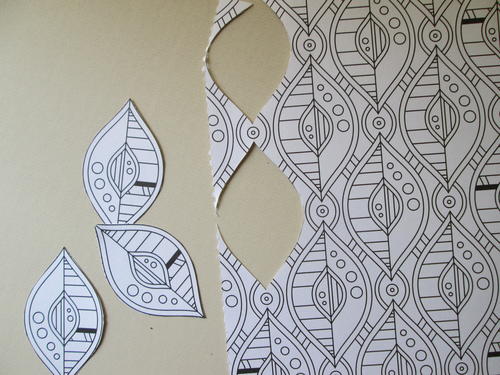
Tear out page with patterned leaf shapes. Cut out 3-4 leaves.
-
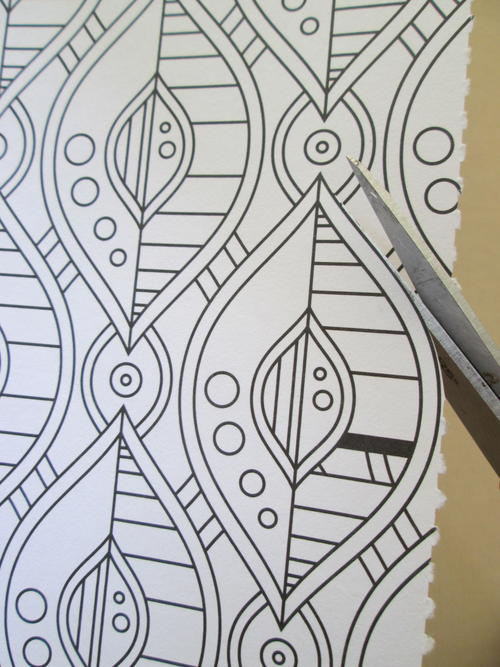
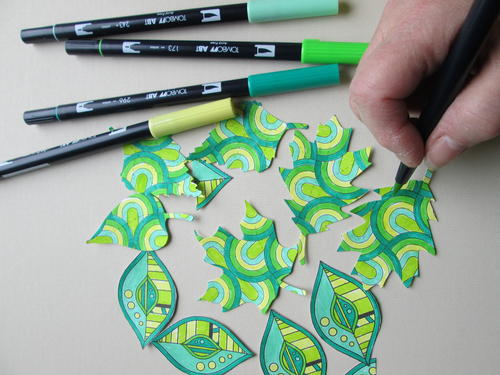
Color all the cut out and die cut leaves as shown.
-
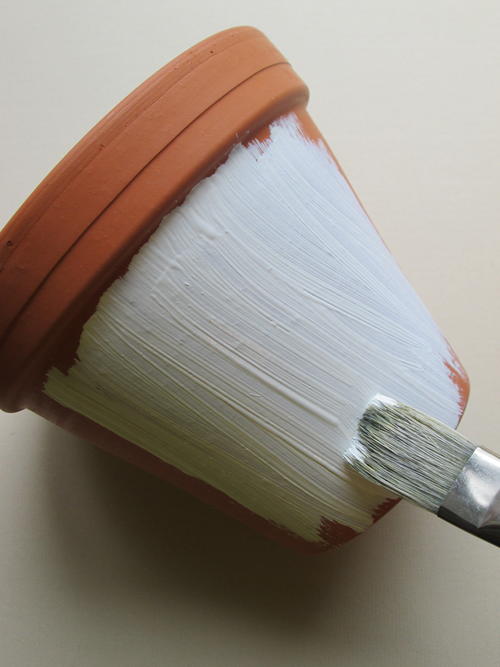
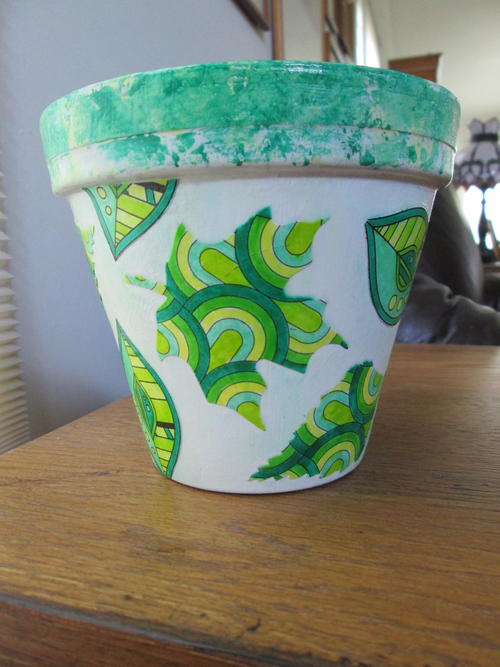
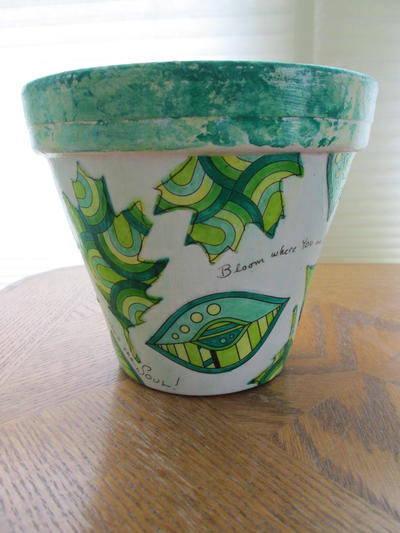
Wipe dust off terra cotta pot with a slightly damp cloth. Paint the pot sides white; dry.
-
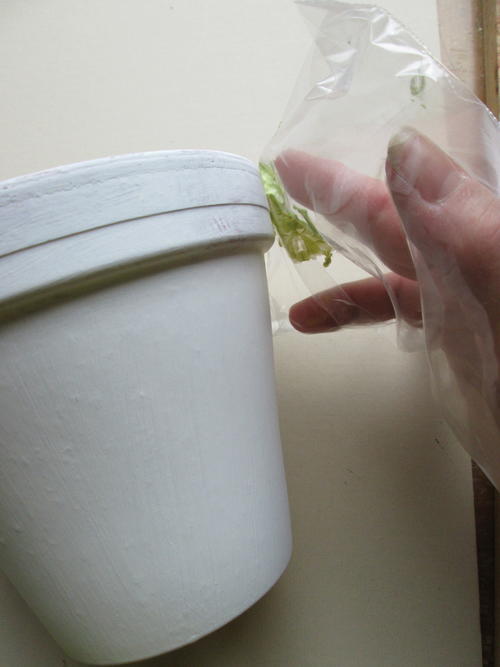
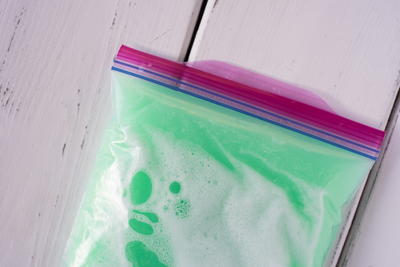
Insert hand into small sandwich bag. Squeeze a dollop of Lime Yellow paint onto bag. Using a tapping motion, dab paint around the pot rim; dry.
-
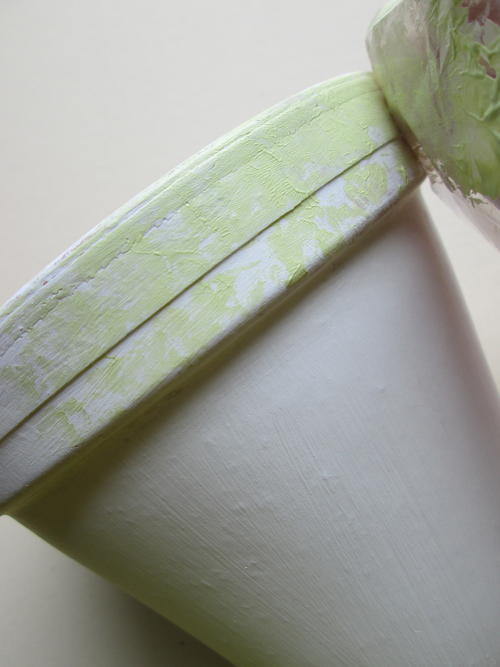
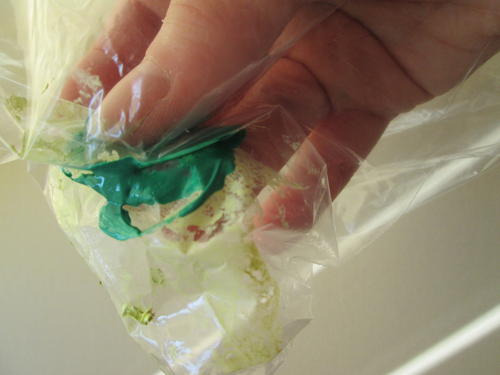
Reinsert hand into bag; squeeze a dollop of Turf onto bag. (Step-9) Using a slight rotating motion, dab and blend paint along rim as shown; dry completely.
-
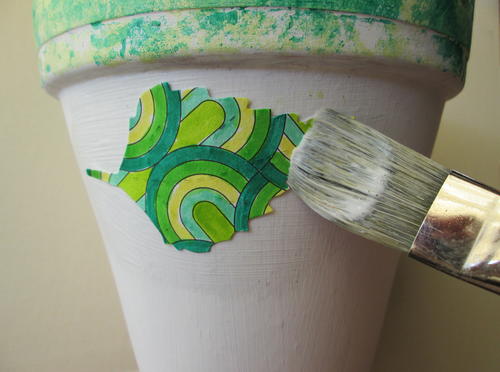
Working in one section and one leaf at a time, brush Mod Podge onto the pot. Apply Mod Podge to the back of one leaf; position, press and attach to the pot. Smooth out bubbles with an old credit card or squeegee, where needed.
-
Brush a light coat of Mod Podge over entire pot; dry.
-
Outline the die cut leaves and write phrases with the Micron pen.

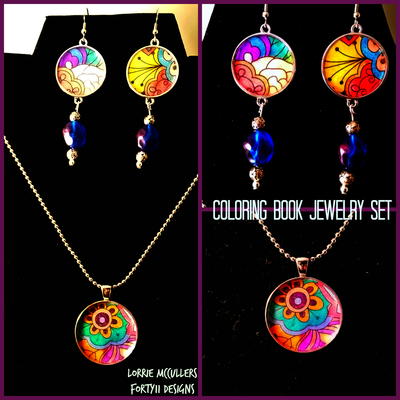
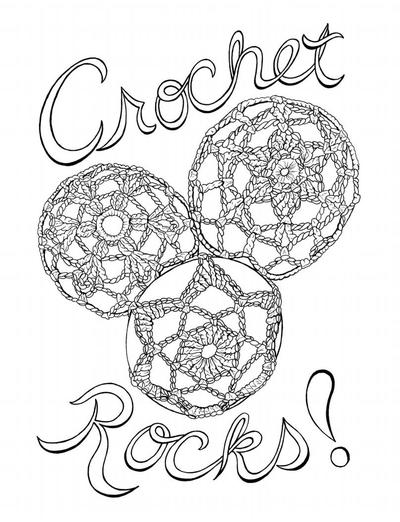
Read NextCrochet Rocks Coloring Page

Thanks for your comment. Don't forget to share!
Report Inappropriate Comment
Are you sure you would like to report this comment? It will be flagged for our moderators to take action.
Thank you for taking the time to improve the content on our site.