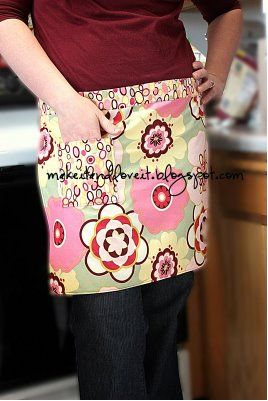
Quick and Easy Half Apron
If you like this project, then you'll love the free sewing patterns featured in the eBook, 21 Easy Sewing Projects: DIY Designs and Sewing Craft Ideas. Download a copy today - it's free!
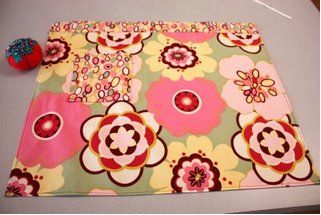
The pocket of this Quick and Easy Half Apron is a cute touch and a handy place to stash those teaspoons. The simple sewing project is great for beginners, but also makes a quick gift for Mother's Day, birthdays and more. For a touch of personalization, try embroidering the monogram of your recipient.
Materials:
-
Fabric pieces
- 18" X 25" inches (main piece)
- 4" X 25" inches (waistband)
- 2 pieces - 4" X 35" inches (ties)
- 6" X 8" inches (pocket)
- Coordinating thread
- Scissors, sewing machine, etc.
Instructions:
-
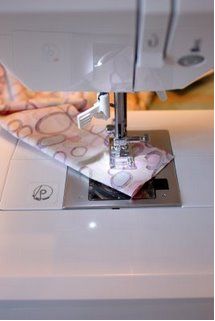
Start by making the ties. Sew along the long side, with right sides together. Curve your seam at one end, if you want, to give it a more finished look.
-
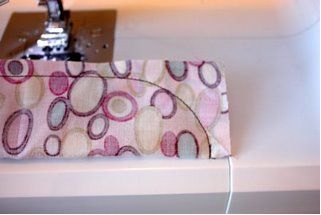
Like this. Then trim. Turn them both right side out. Iron flat.
-
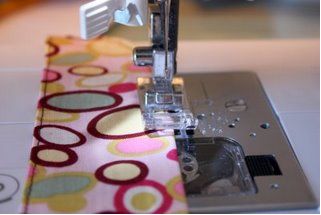
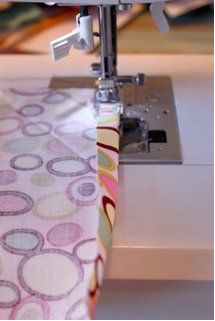
Top-stitch really close to the edge, all the way around both ties.
-
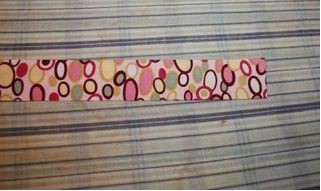
Next, fold over the long edges of your waistband, about 1/4 inch. Iron. Then fold over the ends a 1/4 inch and iron.

-
Then fold the whole waistband in half lengthwise and iron.
-
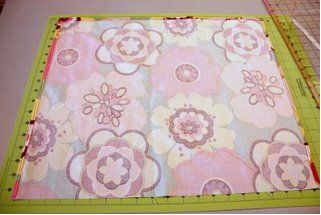
Next, your going to sew around 3 edges of the main piece. The 2 sides (shorter sides) and the bottom (one of the longer sides). Turn under each edge a 1/4 inch, and then 1/4 inch again. Sew.
-
See all 3 sides that are sewn?
-
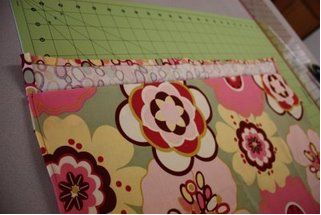
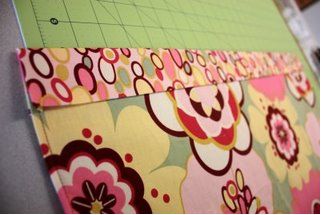
Next, lay your main piece right side up with the unfinished edge at the top. Align your waistband up at the top.
-
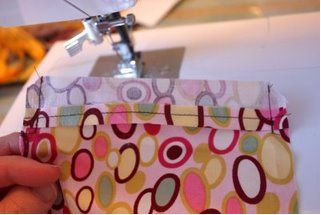
And fold the other half of the waistband over the top. Pin in place and sew close to the bottom edge, leaving the 2 ends open.
-
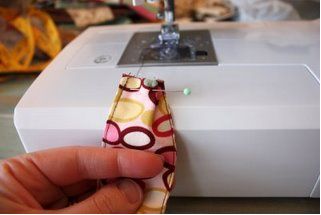
Next, your going to attach the 2 ties to each end. But first, you'll need to fold each unfinished end just a little bit so that it will fit nicely into the opening. If you'd rather not do this, just make your strips 4 x 34 inches (instead of 4 x 35) and they should slide right in without folding. I just like the look of it.
-
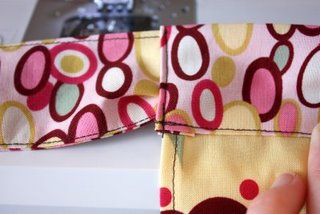
Then sew close to the edge to secure the ties in place. Cute, right?
-
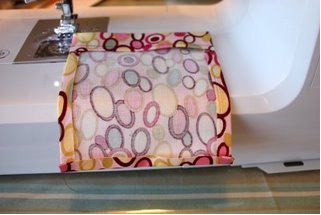
Lastly, the pocket. Fold over the top edge (one of the shorter ends) 1/4 inch with wrong sides together. Then flip that sewn edge back and fold over 1 inch with right side together. Sew along the edge, 1/4 seam allowance. Trim the corners.
-
Then turn that section right side out. This is the top of your pocket. It makes it all nice and neat looking.
-
Now fold the 2 sides in 1/4 inch and then fold the bottom up 1/4 inch. Iron into place.
-
Then pin your pocket onto your apron. (You'll notice my ties aren't sewn on yet. I did it in a different order.)
-
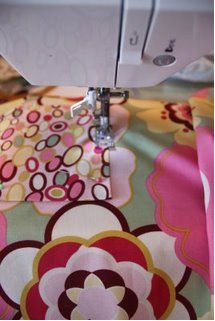
Now, sew around the sides and bottom of the pocket to secure it to the main section.
Notes:
- Use 1/2 inch seams unless otherwise noted.
Read NextAsymmetrical Autumn Poncho
Your Recently Viewed Projects


Thanks for your comment. Don't forget to share!
Marilyn B
Jun 07, 2017
This is a nice little project and thanks for the great instructions. I love the fabric used in the photo and example. This is a nice beginners project and would be a great gifts well. You could even piece fabric scraps together to make this apron and give it some added visual interest. Aprons are a fun project and this one is super!
gorhel1 2167419
Jan 26, 2012
great - I have just started sweing again after many year Used to enjoy making aprons, am going to make aprons again
Debbie B NZ
Jun 22, 2010
Fabulous tutorial. I have done mine in denim. I posted it on my blog: http://artycrafty.wordpress.com/2010/06/23/things-to-do-1/
stufffromthebunker
Apr 06, 2010
Just what I was looking for, this apron would be perfect to keep in my studio for students to keep their tools together. I am going to set up about 10 of them just to keep on hand. Thanks for such a great tutorial and cute apron.
judypd
Feb 27, 2010
I think the apron is very cute. The two patterns used are a nod to the 50s -- the midcentury modern style, which is very hot right now. The directions were very clear, and I feel I could make this, even though I'm a beginning at sewing. Thanks for an inspiring project idea!
grandma4five
Feb 27, 2010
This little apron is the most unattractive apron I think I have ever seen.
nana28luvs
Feb 15, 2010
There should be fabric amounts to use if it is a "plus size" person that the apron might be for. Otherwise this is a great pattern to make.
Report Inappropriate Comment
Are you sure you would like to report this comment? It will be flagged for our moderators to take action.
Thank you for taking the time to improve the content on our site.