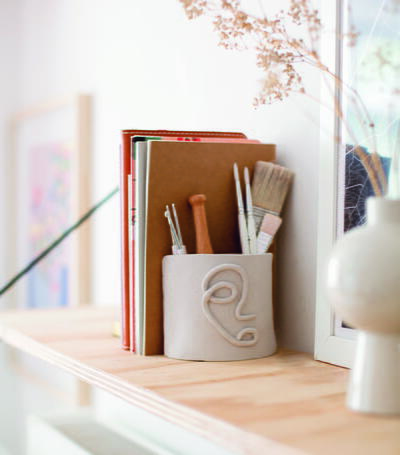
Fresh Faced Bookend
This eye-catching DIY bookend project will look great in your home library!

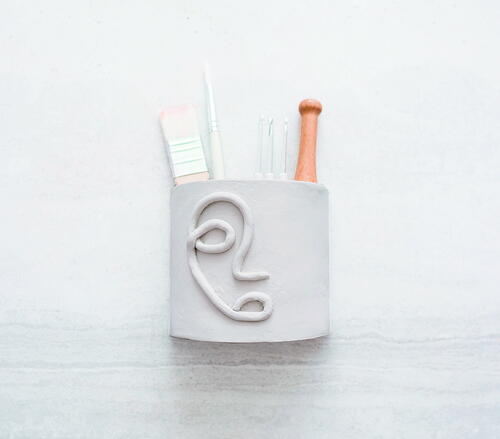
This bookend will keep your books neatly collected together, and it also has an added bonus. It’s the ideal place to store writing materials, paintbrushes or even your clay tools— whatever makes you happy!
While it might look complicated, don’t be fooled by this project! It uses the same technique to build the pot as our planters. We’re just changing the shape slightly and adding in this chic, line- drawn detail. The drawing is a simple abstract face, which anyone can re-create; you don’t have to be an artist. In fact, the less detail the better, as we need to score and attach the clay along the entire line.
Time to CompleteLonger than a weekend
Main MaterialClay
Materials List
- 35 oz (1 kg) white DAS air-dry clay
- 2 (1 x 15 x 0.25" [2.5 x 38 x 0.6–cm]) lengths of wood
- Roller
- 4.25" (11-cm) circle cookie cutter
- Craft knife
- Parchment paper
- Pointed blending tool
- Medium-grain sandpaper
- Paintbrush or sponge
- Beige paint
Instructions
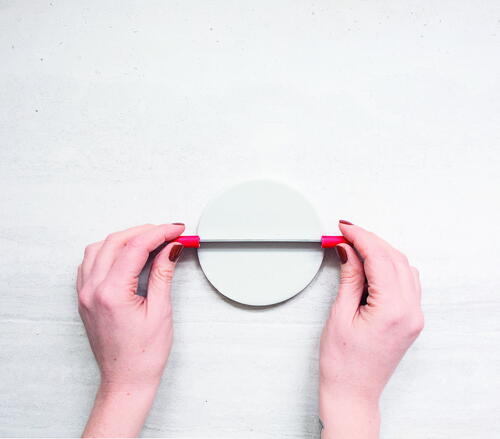
-
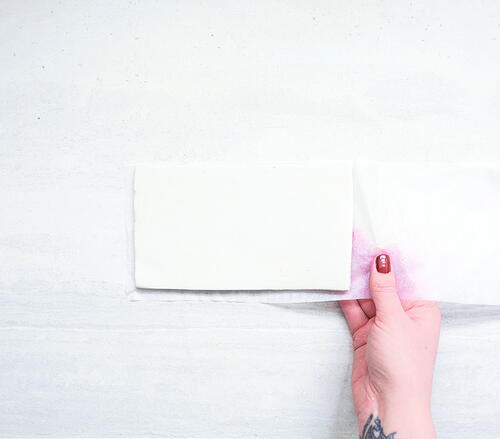
Cut off 9 ounces (250 g) of clay. Place the clay on a nonstick surface between the two lengths of wood. Roll out the clay until the roller runs smoothly over the clay and it’s an even thickness with the wood.
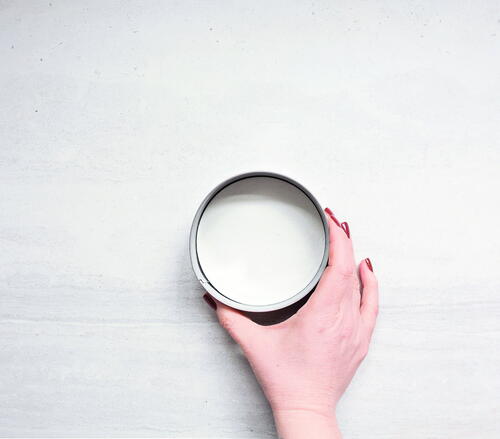
-
Press the cookie cutter into the surface of the clay, using the flat of your hand to apply even pressure. Twist the cutter slightly in both directions to prevent it from sticking to the clay. Lift the cutter out of the outer piece of clay. Gently press the circle of clay left inside the cutter out to one side on the nonstick surface.
-
Cut the circle in half using a craft knife. Place it to the side on a piece of parchment paper.
-
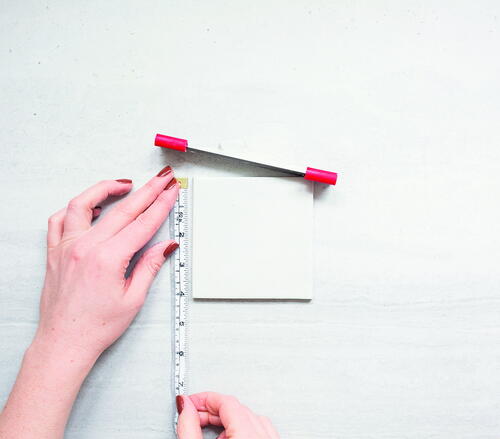
Take the remaining clay and place it between the two lengths of wood. Cut a rectangle that is 7 x 4.5 inches (18 x 15 cm).
-
Wet your hands, ball the remaining clay up and roll it out again. Cut one rectangle that is 4 x 4.5 inches (10 x 15 cm).
-
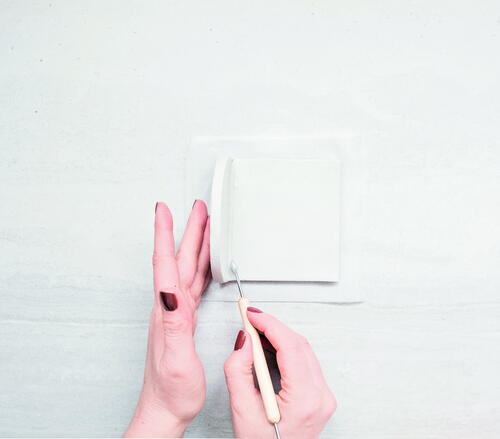
Using a craft knife, gently score along one 4.5-inch (15-cm) edge of the smaller rectangle. Score the straight edge of the half circle and press the two scored edges together. Using a blending tool, smooth the join together.
-
Wet your hands and ball up the remaining clay. Roll it into a solid tube shape about 0.13 inch (3 mm) thick and about 16 inches (40 cm) long.
-
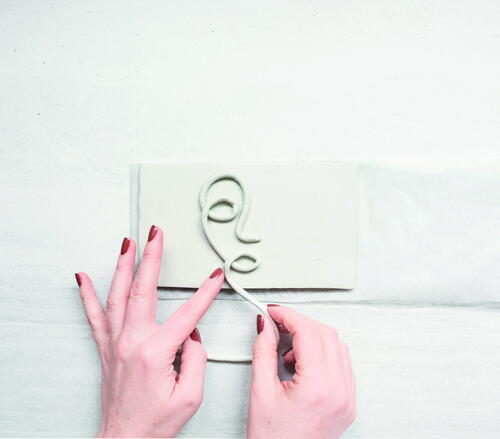
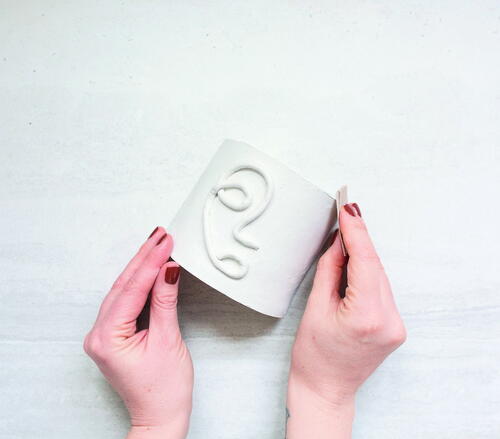
Pick up the thin tube of clay and use it to “draw” a face over the 7 x 4.5 inches (18 x 15 cm) piece of clay. As you place the clay, gently press down with your fingers. Start with the nose and work up to the eye. Take the clay over the eye like an eyebrow, down the side of the face to the chin and back up to shape the mouth.
-
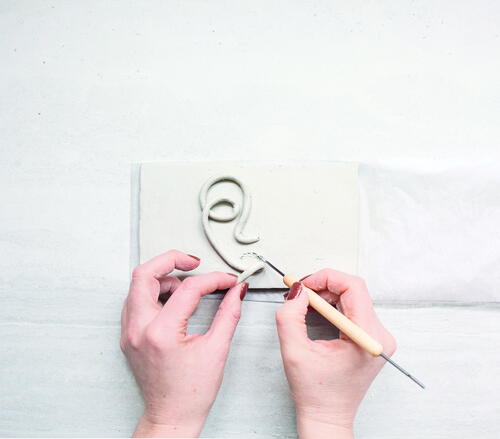
Once you’re happy with the drawing, score the clay underneath the line. Go back over the line and press it more firmly into place, making sure you don’t flatten the clay against the pot.
-
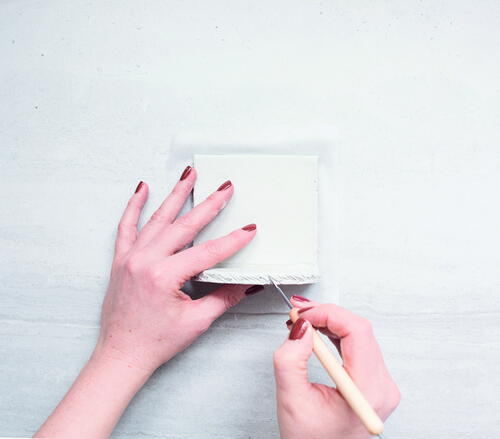
Using a craft knife, again gently score along one 7-inch (18-cm) edge and two 4.5-inch (15-cm) edges of the larger rectangle. Score the rounded edge of the semicircle. Wet the scored short edge and line it up with the rounded edge of the semicircle, ensuring the sides line up with the outer edges of the pot.
-
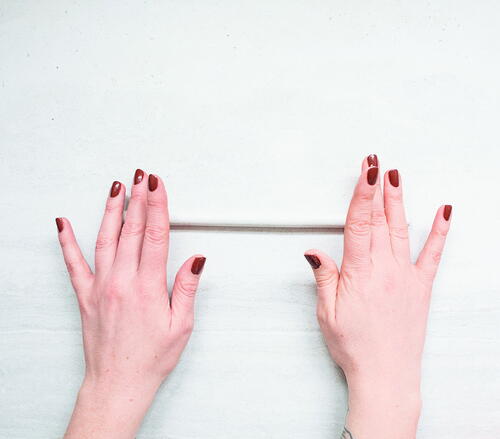
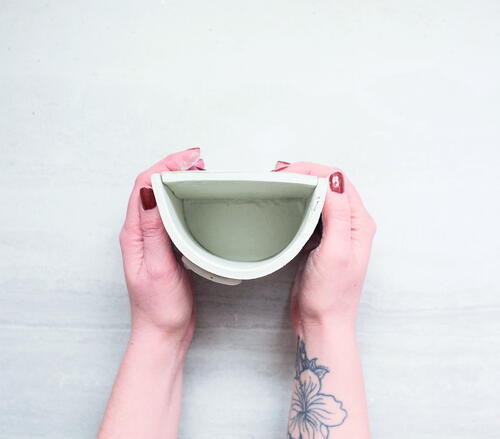
Smooth the joins together with your finger or a blending tool, using water to create a seamless join.
-
Leave the pot for 48 hours to set. Once it has dried, sand the piece smooth using a medium- grain sandpaper, then use a small brush to coat the whole piece in two layers of paint. Leave the first coat to dry fully before starting the second coat.
-
Fill the pot with pens, artificial plants, cooking utensils, paintbrushes or anything else you want close at hand.
Read NextThai Clay Rose