
This project was submitted by one of our readers, just like you.
Customized Pop Socket For Your Phone

Customized Pop Socket For Your Phone
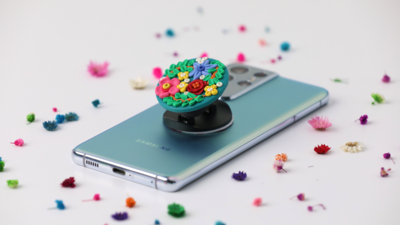
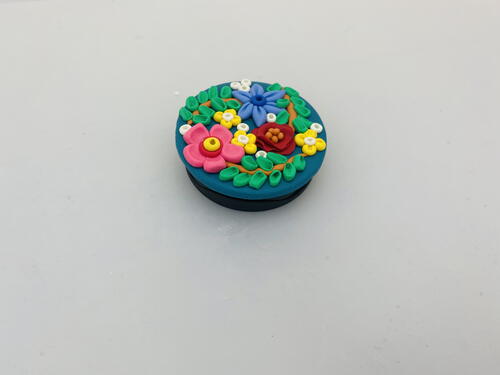
"Now we're talking customized accessories! Decorate your own pop socket accessory for your phone. This how-to will show you how easy it is to create a custom decorated pop-socket for your phone, using Sculpey Soufflé! The full (and FREE) how to is ready for you to check out the steps right here. You get to choose the colors and style, and the best part is that you can make them as gifts, too! Have a look and get your clay ready to go!"

Materials List
- Sculpey Soufflé™ Igloo 1.7 oz
- Sculpey Soufflé™ Pumpkin 1.7 oz
- Sculpey Soufflé™ Cherry Pie 1.7 oz
- Sculpey Soufflé™ Canary 1.7 oz
- Sculpey Soufflé™ Cornflower 1.7 oz
- Sculpey Soufflé™ Raspberry 1.7 oz
- Sculpey Soufflé™ Sea Glass 1.7 oz
- Sculpey Soufflé™ Jade 1.7 oz
- Sculpey Tools™ Graduated Cutters: Circle, 6 pc
- Sculpey Tools™ 8-Inch Acrylic Clay Roller
- Sculpey Tools™ Clay Blades
- Sculpey Tools™ Clay Tool Starter Set
- Pop Socket
- E-6000 Silicone glue
Getting Started:
Please make sure your work area is covered and you are not working on an unprotected surface. We recommend working on the Sculpey® Oven-Safe Work Mat, wax paper, metal baking sheet, or disposable foil. Uncured clay may damage unprotected furniture or finished surfaces. Be sure to cover your crafting area appropriately.
Start with clean hands, unwrap and knead clay until soft and smooth, or condition by running clay though a Pasta Machine. We recommend using a designated machine for clay purposes only. When working with multiple colors, clean hands with soap and water or baby wipes (we have found that baby wipes work best) before switching colors. Shape clay, pressing pieces firmly together. Wash hands after use.
Baking:
Begin by preheating oven to 275 °F (130 °C). After you are done creating; for best results bake clay on an oven-proof surface such metal, aluminum foil, an index card or the Sculpey® Clay Mat at 275°F (130 °C) for 30 minutes per 1/4" (6 mm) thickness according to package directions. Oven safe glass or ceramic surfaces are also acceptable for baking; however please note that the baking times may take longer as the glass or ceramic surfaces take longer to heat up. For best baking results, use an oven thermometer. DO NOT USE MICROWAVE OVEN. DO NOT EXCEED THE ABOVE TEMPERATURE OR RECOMMENDED BAKING TIME.
Instructions
-
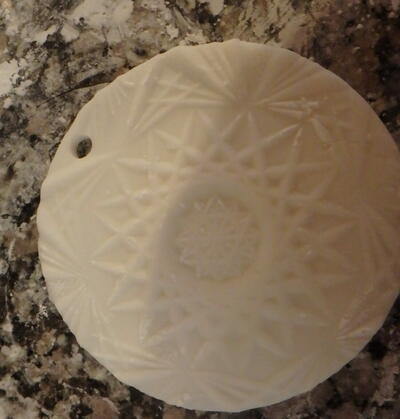
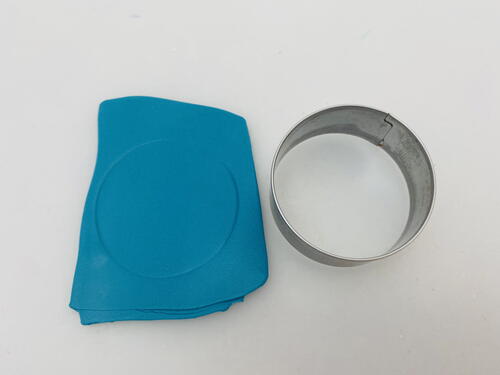
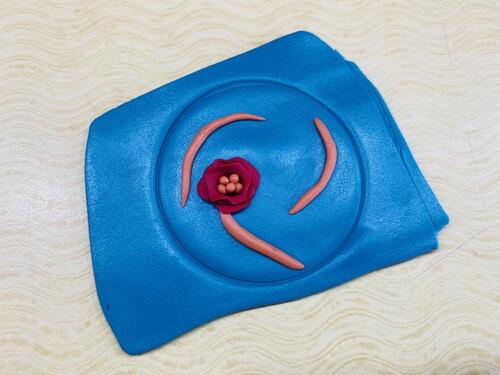
Roll Jade to a little sheet 1/8” in thickness. Select a circle cutter that is slightly larger than the pop socket. Use this cutter to make an impression on the clay so that you know how large your decorated slab needs to be.
-
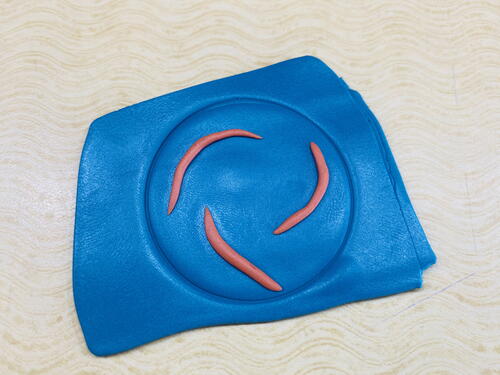
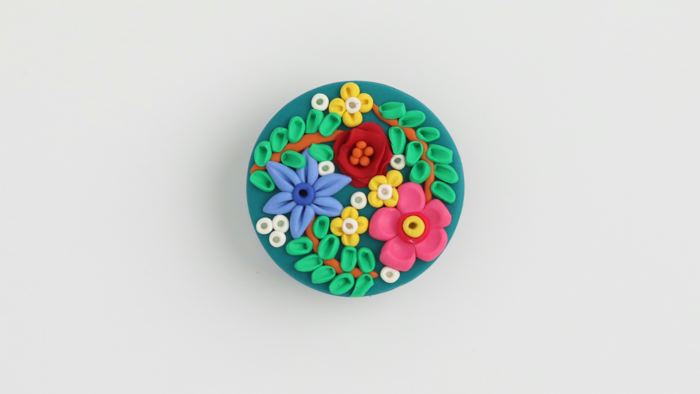
Burnish the clay sheet down to your work surface so that it doesn’t slip around as you work. Add little thin ropes of Pumpkin stems as shown.
-
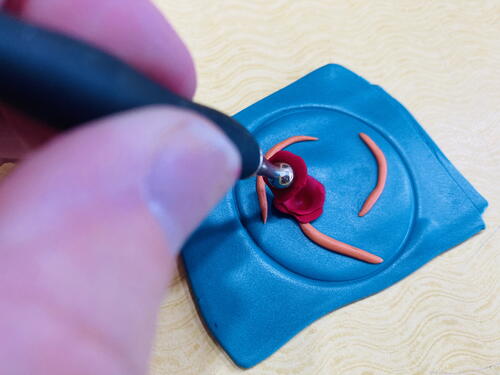
Pinch flatten three very small petals from Cherry Pie. Push these into place with the Ball Tool layering them off center over each other. (In this photo the metal ball tool is showing, however, you can easily substitute the Ball End Tool from the Clay Tool Starter Set which is listed in the supply list above.)
-
Fill the center of the flower with little hand shaped Pumpkin balls.
-
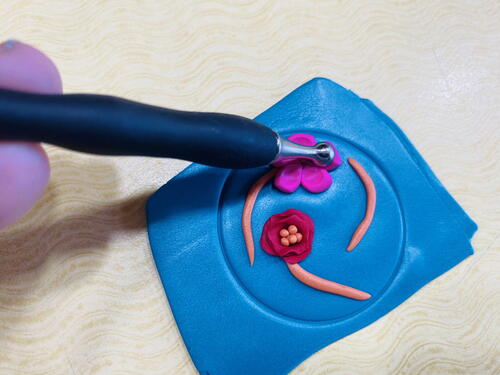
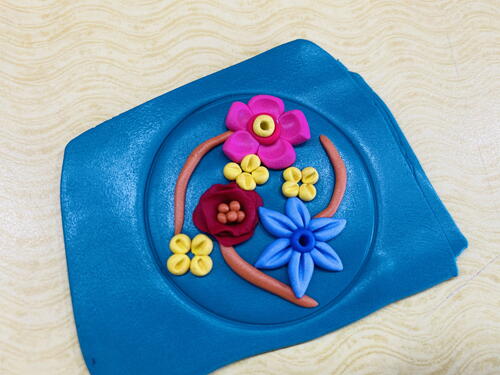
Next mix Raspberry with Igloo 1:1 to make Light Raspberry. Make five little triangular shaped petals and set them into place at the end of one of the stems. Use the Ball End Tool to texture each petal.
-
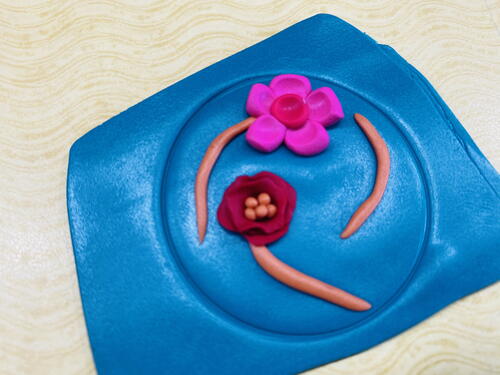
Set a ball of Raspberry in the center of the flower and make a divot in the center with the Ball End Tool.
-
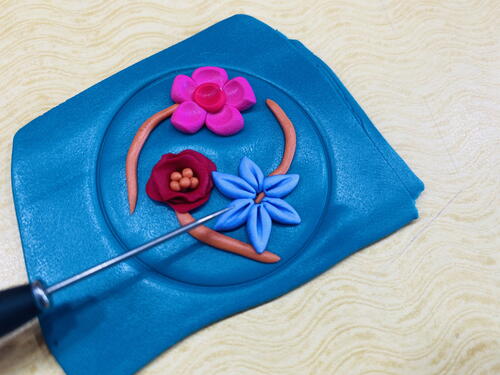
Mix Cornflower and Igloo 1:1 to make Light Cornflower. Make six tapered little petals and set them in place at the end of a stem. Score the petals with the Needle Tool.
-
Place a tiny ball of Cornflower in the center of the Light Cornflower flower.
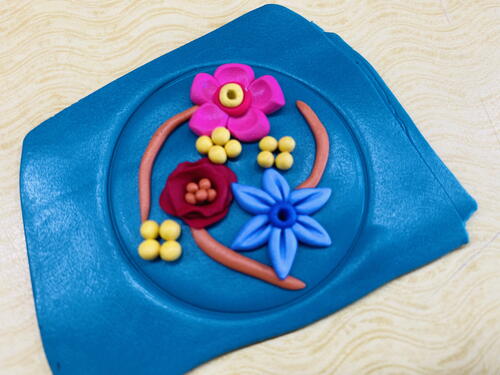
Add tiny balls of Canary in groupings of three in the empty spaces.
Place a tiny Canary center in the Raspberry flower. -
Poke a hole in the center of the Raspberry flower. Add divots in the Canary buds with the Blunt Point Tool.
-
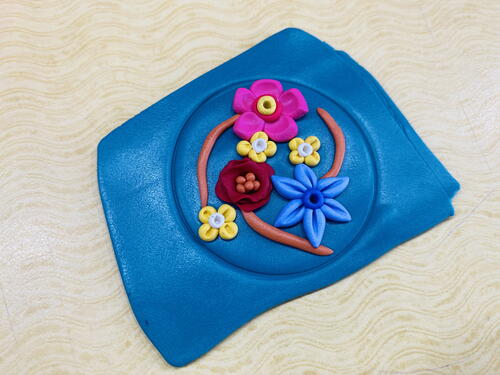
Add tiny Igloo centers to the Canary flowers and poke a hole in each one.
-
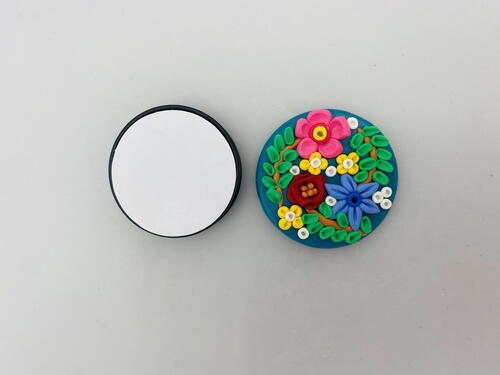
Add tiny oval shaped leaves on both sides of the stems in Jade. Texture them with the Blunt Point Tool.
Add White buds to fill the empty spaces and poke holes in each one. -
Cut out the circle shape using the Circle Cutter from Step 2. Bake the clay slab following the baking instructions for Sculpey Soufflé™. Allow to cool before placing onto the Pop Socket.
-
The clay piece can be adhered to the pop socket by removing the peel off backing from the pop socket or by using silicone glue.


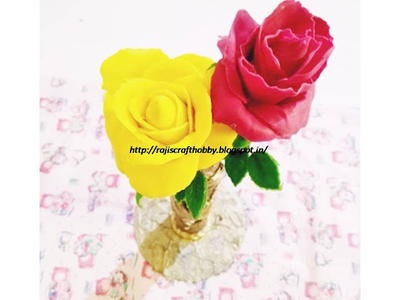
Read NextThai Clay Rose