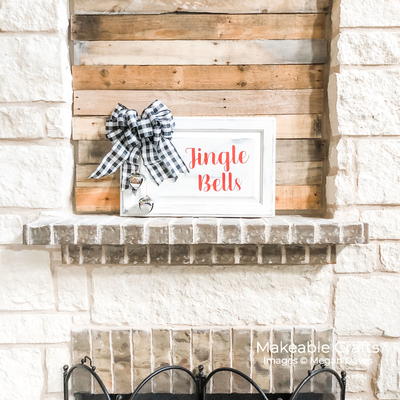
Repurposed Cabinet Door Jingle Bell Sign

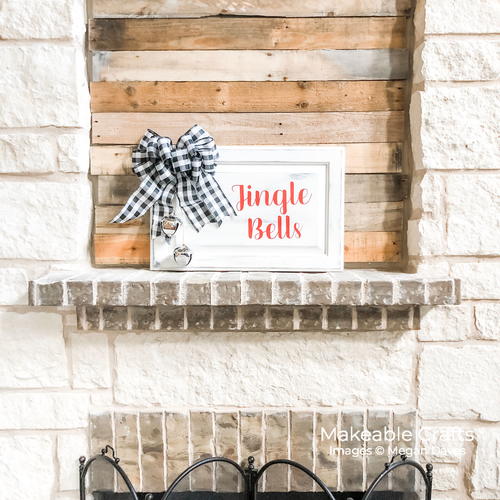
Make a gorgeous country chic Christmas sign using an old cabinet door and vinyl letters! The buffalo check ribbon is the perfect touch.
From the Designer: "There are few things as refreshing as taking something old and discarded and turning it into a decorative piece. This cabinet went from a salvage store to a holiday mantle centerpiece in three hours.
This is a project one where you get to use many crafting skills. We will be painting, distressing, making a bow, using our e-cutter on vinyl. The best news is, you can do this project for any holiday and with any size cabinet door, so finding your supplies is easy!
This project was first made by me, then “stolen” by my mother in law (we have such similar tastes for our home that many times when she visits, things wind up going home with her.) So this time when I made it I wanted to be sure to share it with you!"
Time to CompleteIn an evening
Main MaterialWood
HolidayChristmas
Project TypeMake a Project
Materials List
- Cabinet door
- Lamp (Ebony) Black Acrylic Paint from DecoArt
- Linen White Rustoleum Chalked Paint
- Paint Brushes
- Sanding Blocks
- Drill and Bits (optional)
- Silhouette Cameo 3
- Red Vinyl
- Transfer Tape
- Ribbon
- Zip Tie
- Pipe Cleaner (optional)
- Twine
- Large Jingle Bells
Instructions
-
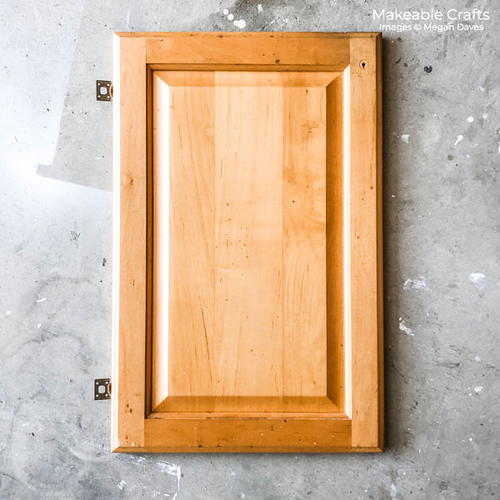
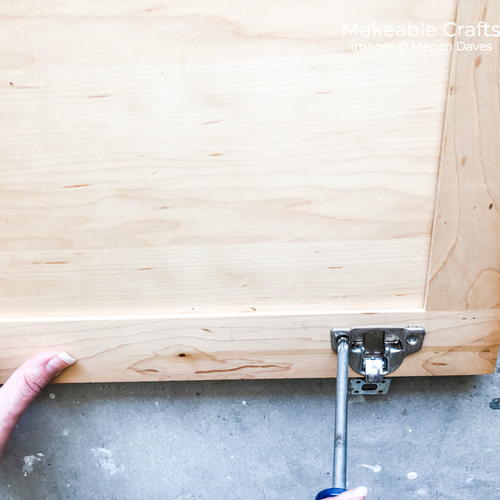
Start by cleaning and lightly sanding your cabinet. The one I used originally had a single hole for a cabinet knob. Later on, we will be adding a second hole. If you find one that had a handle, even better!
-
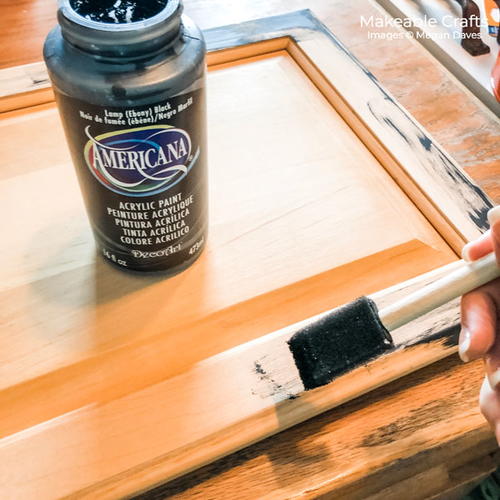
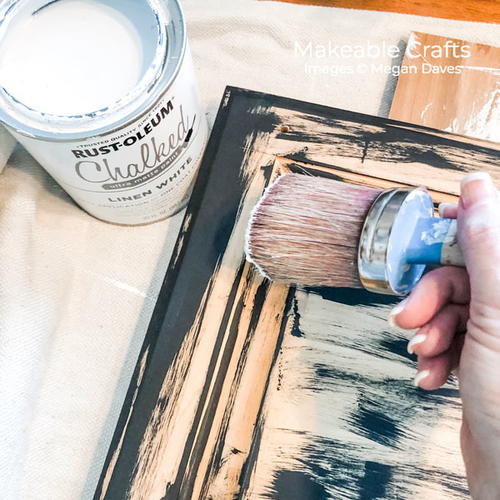
Next we move onto painting. Warning - this will look much worse before it looks better! We will start by applying paint to the cabinet to the corners and any area of the board that you want to distress. Choose whatever color you want to distress your project back to. Since I will be using a black ribbon, I wanted to distress it back to black.
-
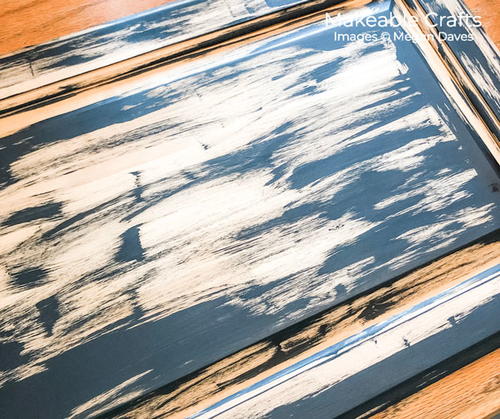
Once that is dry, it’s time to apply your Chalked Paint. Everyone has different opinions on how many coats of Chalked Paint you need. I like to add water to my project as I go to help get a smoother finish to projects like this. When you do that though, it will thin the paint. Because of that, I did two coats.
-
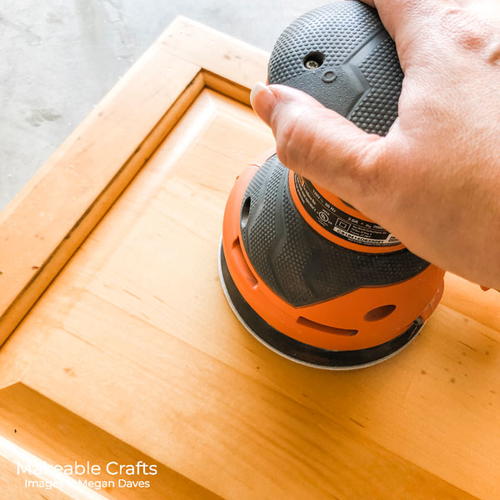
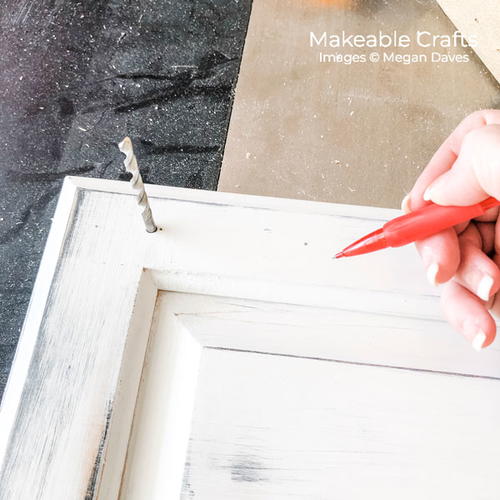
Head outside when that is dry and sand it back to the desired about of distressing you want. Make sure to get your corners and little crannies that your cabinet might have. At this time, if you want to add any other holes be sure to drill them now. I did this by matching up my drill bit to the same size hole as the one that was originally there, then make a mark about 3” over.
-
Next we will work on our bow.
-
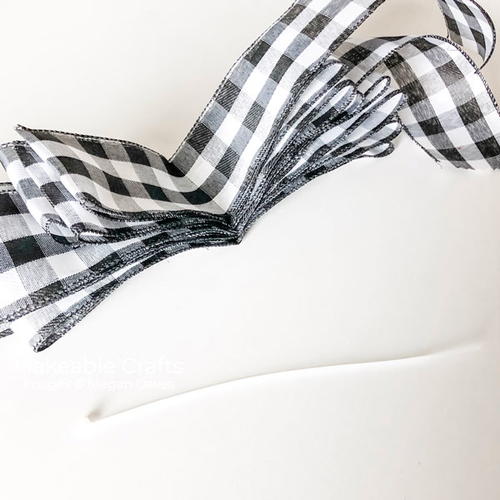
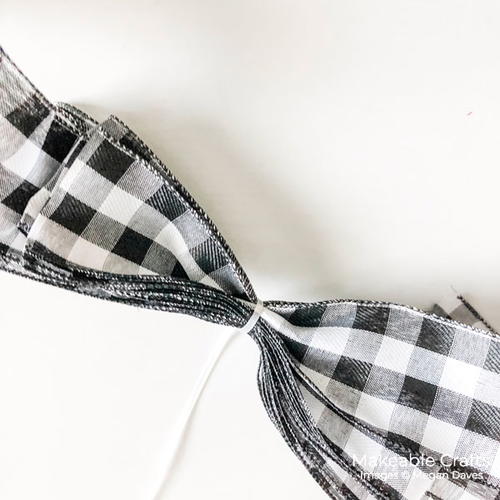
I like to use wired ribbon for my large bows. I wanted my bows to be 8” and 9” wide. For this I use two pieces of ribbon. For the 9” sections, start by laying out your ribbon leaving a longer tail on one end. Then accordion fold your ribbon leaving 4.5” on either side of your middle point and leave a longer tail at the top. Repeat this again leaving 4” on either side with your other ribbon. Grab a zip tie and tighten it around the middle of your bow.
-
When I make home decor projects that include a bow, I don’t like to store them with the bows attached. So I always look for a way to easily attach and remove the bow. For this project, I choose to attach it to the cabinet door using a pipe cleaner. If you want to hang yours as I did, be sure to add a pipe cleaner in your zip tie before you tighten it completely. Then trim off excess of your zip tie.
-
Grab some twine and your jingle bells. Thread the twine though your bells and tie off in a double not. You can add this twine to the back of your bow using your pipe cleaner to secure it to your bow.
-
I did the jingle bells as a separate piece from the bow as I also like to use my bows on different projects. I will use this same bow for Halloween projects and other things throughout the year, and having the jingle bells permanently attached doesn’t work well for year round decor :)
-
You want to have your bow made before planning your lettering as we don’t want the bow to cover up any of your wording. Hold your bow up to your cabinet and measure out how big you want your lettering to be.
-
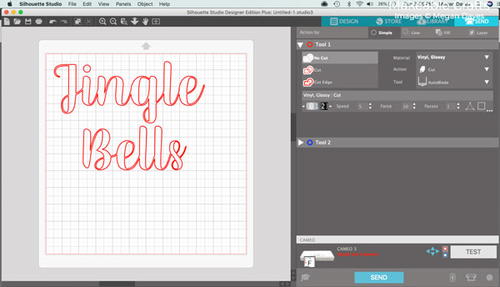
Since I use the Silhouette Cameo 3, I used the Silhouette Studio to plan my words.
-
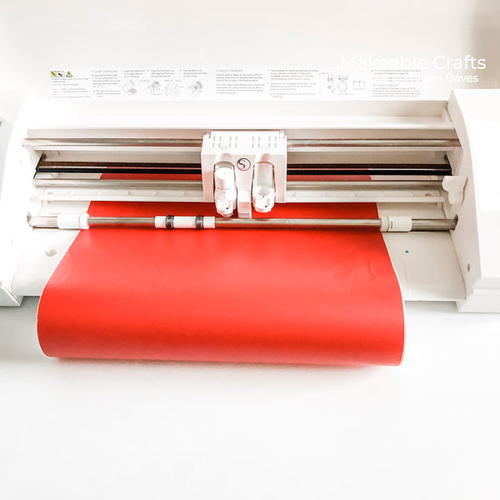
After you have it planned, it’s time to cut your vinyl.
-
Before removing it from your e-cutter, be sure to check and make sure you got a good cut. Then weed your excess vinyl.
-
Apply your transfer tape to the top of your vinyl and when the vinyl is onto your transfer tape well, then remove your vinyl backing.
-
Add your vinyl to the front of your cabinet door and remove transfer tape.
-
All that’s left is securing your bow to your cabinet door.
-
And there we have it! We have painted, distressed, made our bow, created our vinyl, applied it and finished the craft! Remember that this project also make a wonderful gift. The only thing I had to buy to make this project was the door, the bells, and the vinyl, everything else I had sitting around my craft room, as many of you do also :)
-
I hope you have enjoyed this project! It’s such a fun way to take an old and discarded cabinet door and turn it into a holiday decor piece worthy of your mantle.

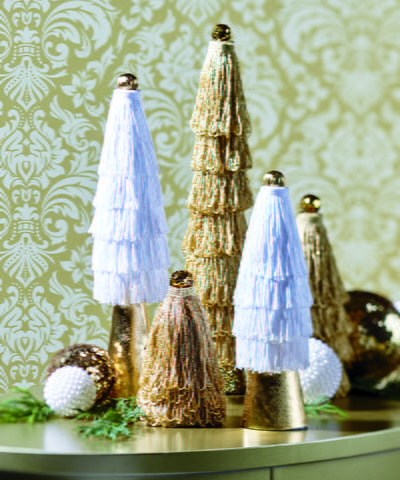
Read NextVintage Christmas Mini Trees