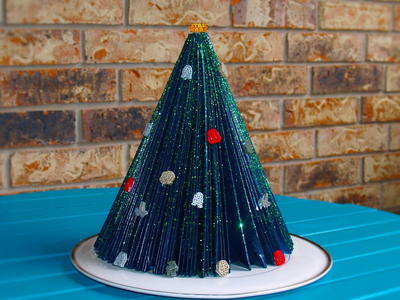
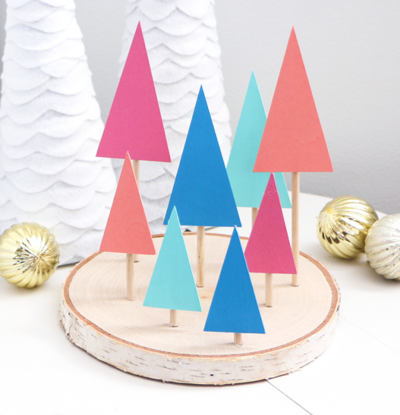
DIY Modern Christmas Forest Centerpiece

The DIY modern Christmas forest décor incorporates fun alternatives to traditional colors and is a simple project anyone can do. With a few supplies and trendy Americana Multi-Surface Acrylics, you too can quickly create this fun DIY modern Christmas forest décor.
HolidayChristmas
Project TypeMake a Project
Materials List
-
Americana Multi-Surface Satin Acrylics in Coral, Pink Tropics, Waterfront, Blue Lagoon, and Cotton Ball
- DecoArt Traditions - 1-inch Flat Brush and #3 Round Brush
- 1/16 basswood sheet
- Dowell rods
- 7-inch basswood round
- Cricut Maker
- Cutting mat
- Craft knife
- Hot glue gun and glue
Instructions
-
Either use a Cricut Maker or a craft knife and cutting mat to cut narrow triangles. You want 4 measuring 3.75x2 inches and 4 measuring 2.75x1.5 inches.
-
Begin painting the sides and front of your small and large triangles.
-
For the Pink Tropics paint, add some white paint and begin mixing the colors together. Then, paint the sides and front of the two remaining small and large triangles.
-
Cut down dowel rods so you have 4 rods that measure 2.5 inches and 4 that are 5 inches long.
-
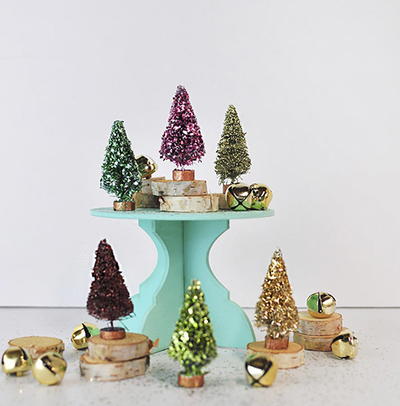
Add hot glue to the back of the trees and add the longer dowel rods to the back of the bigger trees and the smaller rods to the smaller trees.
-
Put glue on the bottom of the dowel rod and glue it to the wood slice. You’ll want to put the taller trees towards the back and the smaller ones toward the front. Repeat with all of the trees.
Your Recently Viewed Projects
Thanks for your comment. Don't forget to share!
Report Inappropriate Comment
Are you sure you would like to report this comment? It will be flagged for our moderators to take action.
Thank you for taking the time to improve the content on our site.