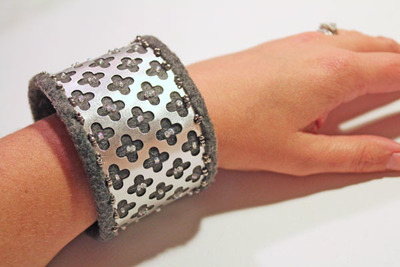
Scrappy Quilt Bracelets Fabric Craft
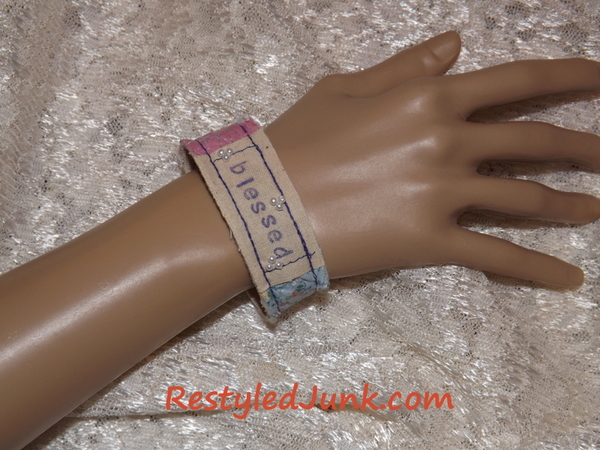
Use an old quilt to construct a beautiful and meaningful bracelet. This Scrappy Quilt Bracelet Fabric Craft is perfect for anyone who loves to sew. Fabric scrap crafts can help you clear out your stash and save on fabric. In fact, you may not have to take a trip to the craft store. Stitch up a bunch in an afternoon and give them to loved ones as presents. DIY bracelet ideas are often thought of as complicated, but this project is so quick and easy to make. If you're new to sewing or want to brush up on your skills, this is the perfect project to work on. You don't need a ton of expertise to complete your bracelet, but the results are sure to stun everyone.
Primary TechniqueSewing

Sewn byMachine
Materials:
- Cutter quilt scrap
- Ruler
- Scissors
- Sewing machine
- Thread colors to blend and contrast with quilt
- Muslin scrap
- 1/4-inch letter stamps
- Permanent ink pad
- Stick glue
- Assorted beads
- Hand-sewing needle and thread
- Elastic cord
- White or off white canvas fabric scrap
- Straight pins
- Shank button
Instructions:
- Choose a scrap from an old cutter quilt. To make it easy to work with, you will want a piece at least 4 inches wide by 9 inches long. This will be enough to make more than one bracelet.
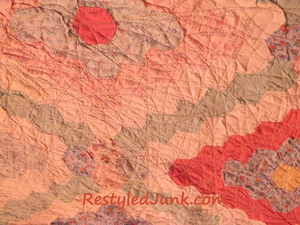
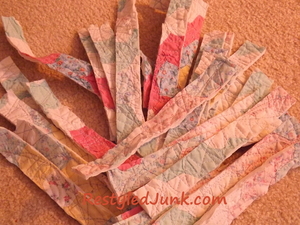
- Install a thread spool and bobbin on your sewing machine in colors that will blend with your cutter quilt scrap. Top stitch in a scribble pattern over the entire surface of the cut quilt. Continue until you are happy with the coverage. Note: My quilt piece was approximately 12 inches wide by 20 inches long. I emptied a whole bobbin.
- Cut a 1-inch-wide by 7 1/2-inch long strip from the quilt. Set the strip aside.
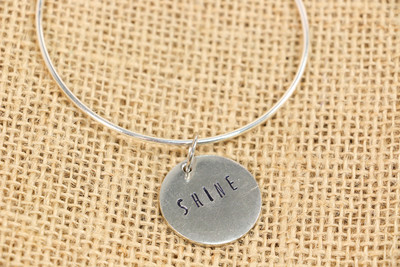
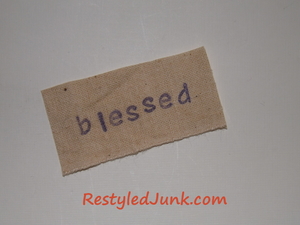
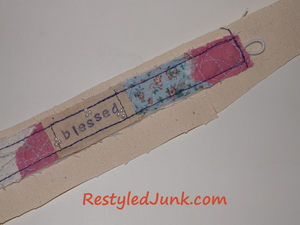
- Stamp a word or phrase on a scrap of muslin using 1/4-inch letter stamps and permanent ink. Cut 1/4 inch from each end of the word. This is the length. Center and cut the word in between a 1-inch width. To clarify, your stamped scrap will be the cut length by a 1-inch width.
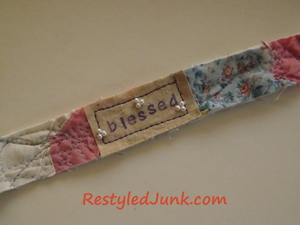
- Apply stick glue to the back of the stamped fabric. Center the fabric on the front of the quilt strip. Press with your fingers to adhere. Top stitch around the edges of the stamped fabric using a thread color that coordinates with your quilt. Note: These stitches do not need to be straight or even.
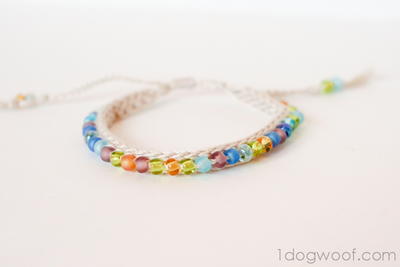
- Hand-stitch clusters of beads around the stamped word or words. The size, type and exact amount of beads that I used do not need to be the same. Dig through your stash and use what you have. When attaching the beads, keep in mind the placement should be far enough from the edge to prevent running over them with your sewing machine needle in upcoming steps.
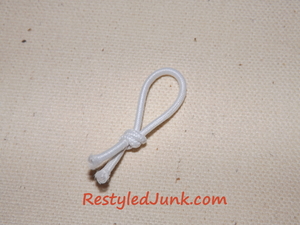
- Tie a 1-inch loop on the end of elastic cord. Cut the elastic below the knot.
- Lay the bracelet strip right side up on white or off white canvas fabric. Insert the knot of the elastic loop under the right-hand end. Pin the pieces together. Stitch around the edges of the bracelet strip two times. Do not match or stitch perfect lines. The loop is attached between the layers with this step.
- Trim away the excess canvas from the edges of the bracelet.

- Center a shank button on the bracelet, 1 inch from the left-hand edge. Hand-stitch the button in place.
Read NextT-Shirt DIY Friendship Bracelets