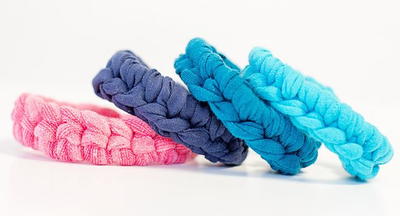
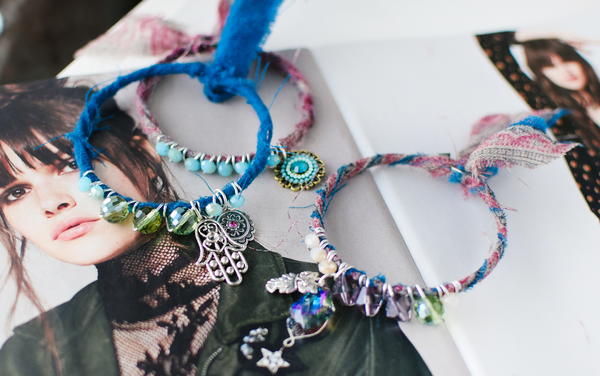
Sari Silk Ribbon DIY Bangles
This silk ribbon wrap bracelet tutorial makes your new favorite accessory.

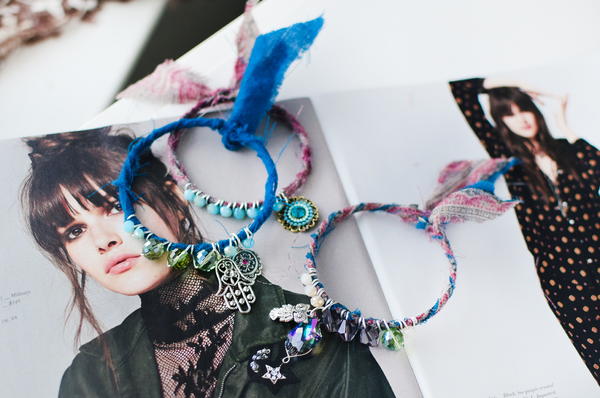
These DIY mixed media bangles combine boho style with casual glam! By using recycled fabric to wrap bangle bases, you can easily whip up a whole armful of these cute pieces. I love that these can be mixed and matched to create different looks – the mood all depends on what colors and fabrics you use!
This is a great craft to do with friends – set out a whole mix of materials and let everyone choose their supplies. These are definitely easy for beginners to make, and are great kid’s crafts as well.
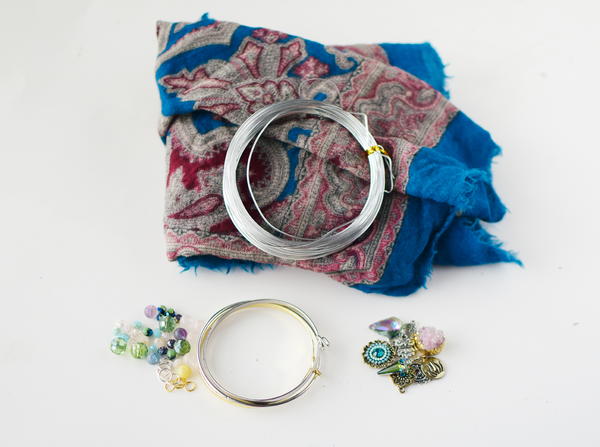
Step 1: Gather materials.
Needed are glass beads, large jumprings (10mm or 8mm), assorted charms, bangle bracelets, an old scarf or fabric piece and 20g aluminum wire.
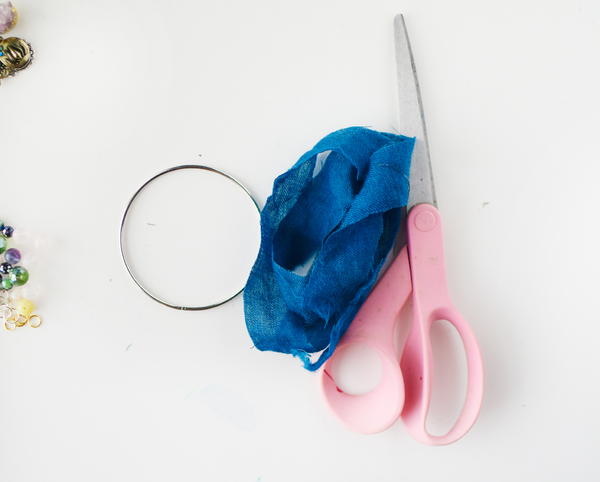
Step 2: Cut a strip of fabric approx. 1” wide and 24” long.
Leaving about 4” of fabric on one end, start wrapping the fabric around the bangle tightly.
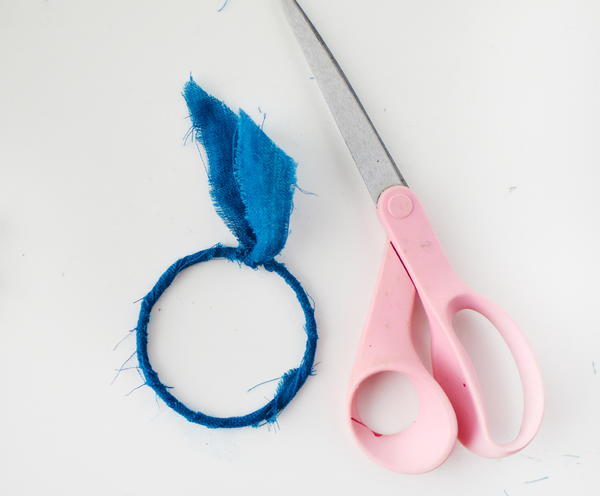
Step 3: Continue wrapping until you reach where you started.
Tie the ends together tightly and cut any excess fabric. It’s ok if your fabric frays, it adds to the bohemian look.
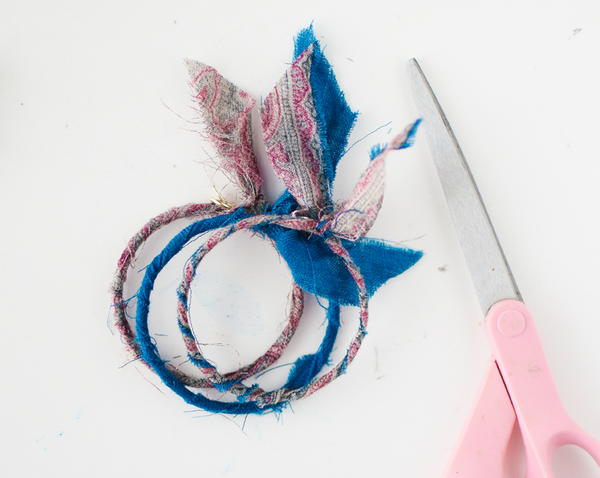
Step 4: Continue wrapping all bangles, using different parts of the fabric for different looks.
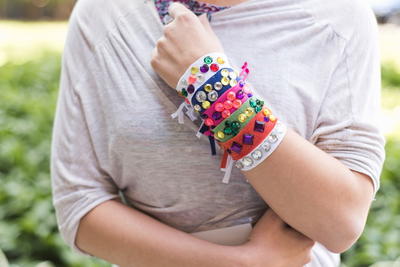
You can create as many as you’d like! Wear one or stack them all…..
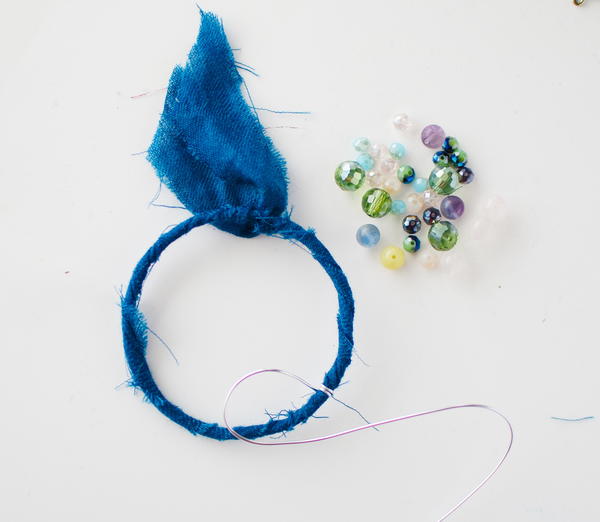
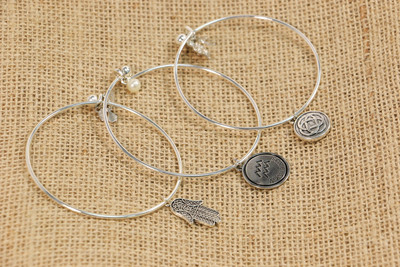
Step 5: Cut a 12” piece of aluminum wire, and wrap the end around the bangle.
Use a pliers to bend the end flush to the bangle, so the wire doesn’t scratch you.

Step 6: Wrap on beads or small crystals tightly to the bangle.
While wrapping, hold the beads up against the bangle and wrap twice in between each bead. At the end of the wire, bend flush against the bangle with a pliers.
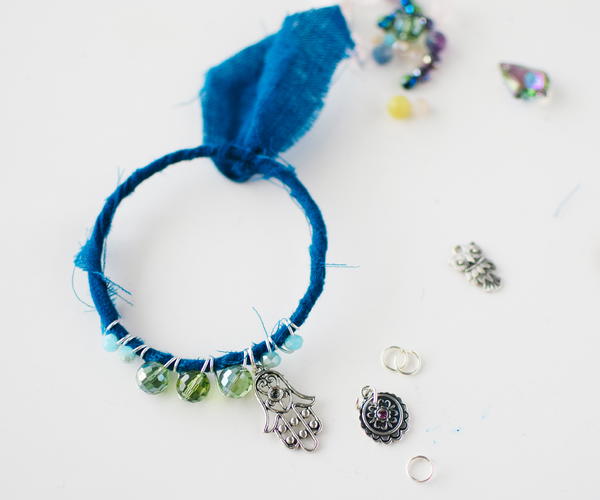
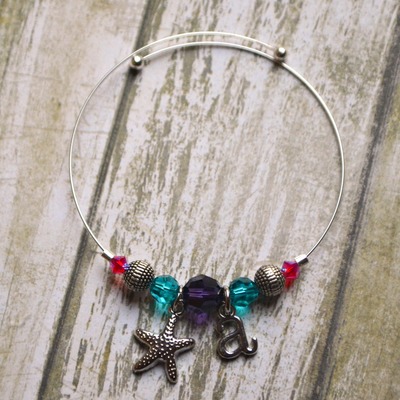
Step 7: Use large 8mm or 10mm jumprings to attach charms and/or bead drops to the bangle.
If you want an asymmetric look, add the charms a bit off-center.
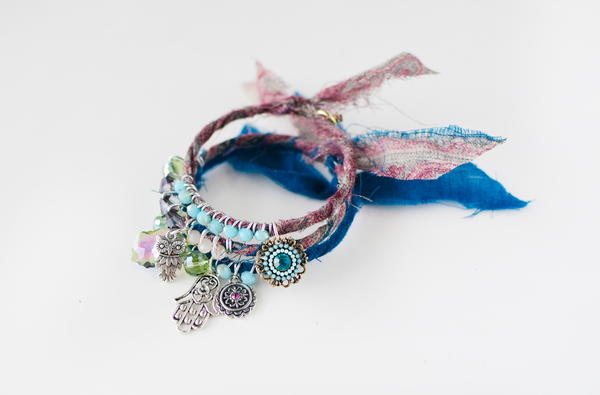
Step 8: Continue wrapping beads on each bangle and adding charms.
Keep the color scheme consistent for a cohesive look. I love mixing all cool colors together (like this stack here) or warm colors together for easy color schemes.
Hope you enjoyed this tutorial! You can catch more of my DIYs on my blog, quietlioncreations.com. Happy crafting!
Read Next81 Free Beaded Bracelet Patterns