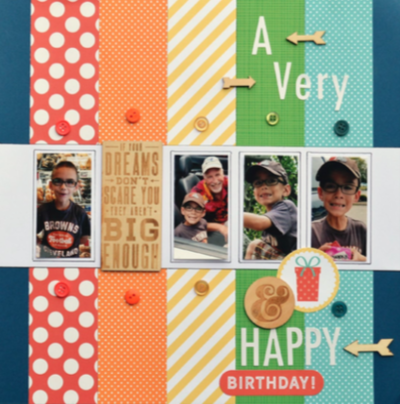
Happy Birthday Scrapbook Layout
Looking for birthday scrapbook ideas that don't fall flat? You'll stun with this brilliant rainbow birthday scrapbook design!

There's no day that makes you feel quite as special as your birthday, so why not put your favorite birthday memories on radiant display? This simple yet brilliant DIY scrapbook layout from Scrapbook Adhesives by 3L will dazzle you with a polychromatic outlay, vibrant patterns, and rainbow buttons. Out of all the free birthday scrapbook ideas, this one will catch your eye from the start. Its cheerful color assortment will compliment any photograph memory, whether it's blowing out birthday cake candles or opening a present. Good for kids and for adults, this quirky and fun birthday scrapbook layout will keep you singing "Happy Birthday" all year long!
Time to CompleteUnder an hour
Primary TechniquePaper Crafts
Project or Page Size8.5 inches x 11 inches
Type of Paper UsedScrapbook Paper

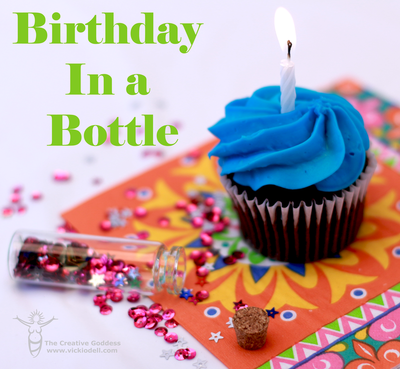
HolidayBirthdays
Project TypeMake a Project
Materials List
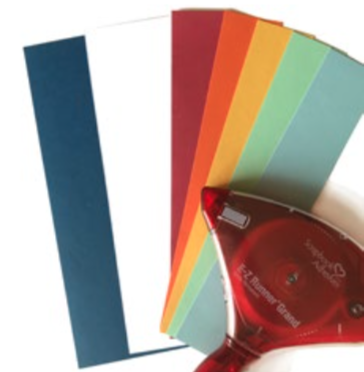
- Scrapbook Adhesives by 3L® E-Z Runner® Grand Refillable Dispenser
- Scrapbook Adhesives by 3L® E-Z Runner® Grand Ultra Strong Permanent Refill
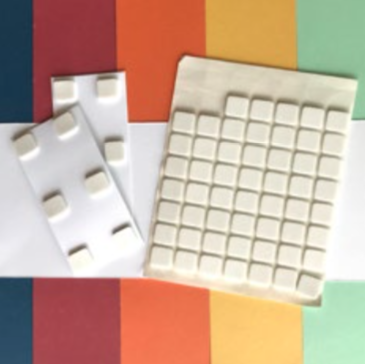
- Scrapbook Adhesives by 3L® Adhesive Dots Medium
- Scrapbook Adhesives by 3L® 3D Foam Squares White Regular
- Patterned Paper: Echo Park Paper, Red, Yellow; Doodlebug Design Orange, Green, Turquoise
- Letter Stickers: Doodlebug Design
- Wood Embellishments: American Crafts, Jillibean Soup
- Cardstock: Bazzill Basics Paper
- Buttons
Instructions
-
Cut 2 x 12-inch strips of patterned paper in red, orange, yellow, green and turquoise.
-
Center and adhere the strips with the E-Z Runner® Grand Permanent Strips onto 12 x 12-inch blue cardstock.
-
Cut one 12 x 4-inch strip of white cardstock.
-
Center it horizontally across the middle of the layout and adhere with the E-Z Runner® Grand Permanent Strips.
-
Trim four photos to 1 3⁄4 x 3 1⁄2-inches,
adhere one photo to each color column with 3D Foam Squares. Leave the orange column for the wood journaling piece. -
Outline the photos with a black pen.
-
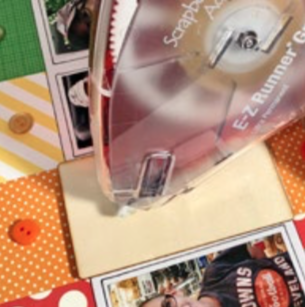
Switch the refill in your E-Z Runner® Grand Refillable Dispenser for the E-Z Runner® Grand Ultra Strong Permanent Refill. Use it to secure the wood journaling piece to the
orange column. -
Use stickers to create your title.
-
Use the E-Z Runner® Grand Ultra Strong Permanent Refill to secure the additional wood embellishments.
-
Add color coordinating buttons with Adhesive Dots Medium.

What birthday memory would you put in this scrapbook layout? Let us know below in the comments!
Read NextSucker Candy Bouquet