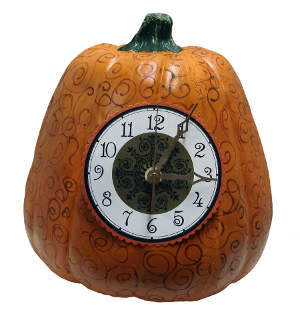
Pumpkin Clock
Make a real working clock set inside a decorative pumpkin for an autumn accent. Simply follow the instructions to create this beautiful fall table accent.
Materials:
- Walnut Hollow® #23906 Creative Versa-Tool™
- Walnut Hollow® #23906 Creative Versa-Tool™
- Walnut Hollow® #23850 3 pc. Clock Kit
- Walnut Hollow® #1116 4.5” Adhesive Arabic Clock Face
- One or Two Decorative Craft Pumpkins
- 1 Sheet Orange Cardstock
- Other Supplies: decorative edge paper scissors, pliers, electrical cord, tape
Instructions:
- Before using the Creative Versa-Tool™, read all instructions and follow all safety precautions. Attached the Hot Knife Point to Creative Versa-Tool™ and tighten with pliers. Use tape to secure stand to hard surface. Please Creative Versa-Tool™ on stand. Plug into electric outlet, press switch “ON”, and let heat 4 – 5 minutes.attached.
- Using Hot Knife Point, cut a hole in the bottom of pumpkin large enough for hand and shaft of clock movement to fit through. Cut another hole into middle of pumpkin large enough for clock movement to fit through.
- Attach Flow Point to the Creative Versa-Tool™ and tighten with pliers. Randomly “doodle” a swirl design onto pumpkin with Flow Point. Completely cover pumpkin with swirl lines. Unplug Creative Versa-Tool™ and let cool. When completely cool, remove the Point.
- Adhere Arabic Clock Face onto orange cardstock. Edge around clock face with decorative paper scissors.
- Place clock face onto front of pumpkin and attach clock movement through hole made with Hot Knife Point.
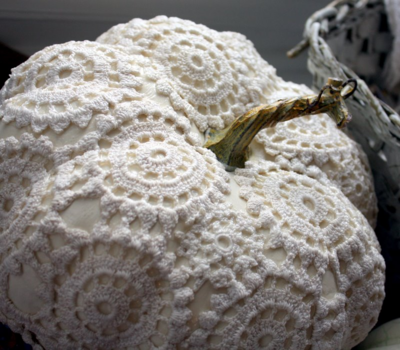
Read NextVintage Doily Pumpkins