This project was submitted by one of our readers, just like you.
Steampunk in a Box
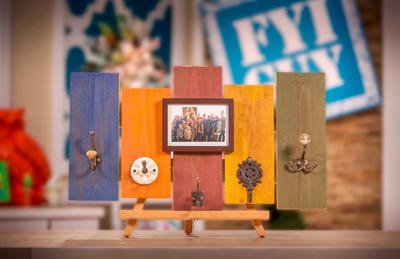
Learn how to turn an ordinary box into an extraordinary piece of art

Steampunk in a Box
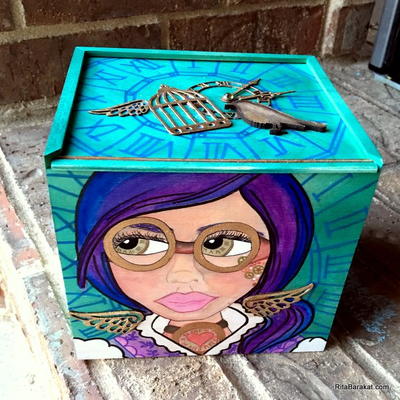
In the Designer's Words: "Here is a a box makeover steampunk style! Take an unfinished wooden box and adding various mixed media products to create a special creation all it's own! This project involves paint pens, layering colors, chipboard and lots of fun techniques! The Tint It spray paint has beautiful color that is also translucent so you can add color to areas that have already been painted or drawn in. The Deco Foil and enamel paint marker are both gorgeous gold colors, the shades are slightly different but complementary."
This Steampunk in a Box pulls out all the stops, if you have a crafting itch here is the project for you. This craft will show you have to use various materials and techniques to transform an ordinary box into an extraordinary piece of art that would be a beautiful decoration for your home or a gift for a friend. A surprisingly easy project that indulges in your creative side, combine ideas and see where this fun project leads you!
Estimated Cost$21-$30
Time to CompleteWeekend project

Project TypeMake a Project
Materials List
- Design Master Tint It spray paint
- Sakura Permapaque permanent markers
- Testors gold metallic paint marker
- Thermoweb Deco foil
- Walnut Hollow wood Box
- Faber-Castell Design Memory Craft Gelatos
- Faber -Castell Design Memory Craft PITT Pens (XS & S)
- Faber-Castell Design Memory Craft Gesso
- Sa Crafters chipboard
- 1 rhinestone
- Painters tape
- Pencil, eraser
- Paintbrush
- Repositionable adhesive
- Glue
Instructions
-
Draw designs on unfinished wood (I did not seal it)
-
Trace areas that are meant to be backgrounds with Permapque pens.
-
Cover entirely areas you want to paint (the girl) with painters tape
-
In a well ventilated area use the Tint it spray paint to add one layer of color over the entire box * make sure you cover the top so the paint doesn't get inside
-
Remove the tape and use Gelatos and a wet paintbrush to color the images, use gesso to get a solid white.
-
Use Testors gold enamel paint marker to color some of the chipboard and something on your painted section to make it pop.
-
ON some of the chipboard use repositionable glue, allow it to dry and add Thermowebs Deco Foil
-
Use glue to add the chipboard into place.

Read NextElegant Refurbished Entryway Cabinet