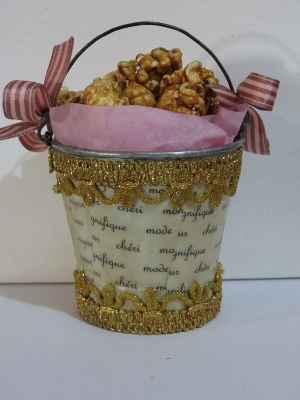
Popcorn Bucket
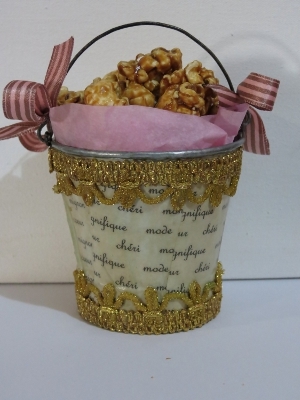
Are you planning a wedding in the near future? Thank guests for coming to your special day with this cute Popcorn Bucket. Made using simple decoupage techniques, this bucket is easy enough to make for a wedding favor or bridal shower. Fill it with popcorn, candy, or cookies for a little great that guests are sure to appreciate.
Materials:
- Galvanized mini tin bucket with a height of 2 7/8 inches
- Mod Podge
- 30” of matching ribbon
- 30” of matching gold lace
- One teaspoon coffee powder
- Half a cup of water
- Pink tissue paper
- Caramelized popcorn, candy, cookies or other filler
- 10/32” paint brush
- Standard scissors
- Computer and printer
Instructions:
-
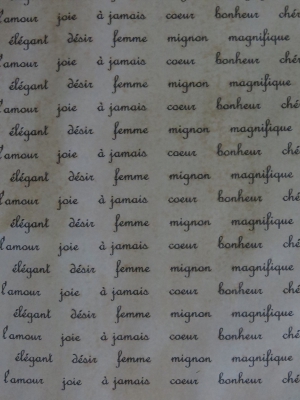
Choose 15-20 words that are associated with love, passion and French style. Use a free translator available on the internet to translate these words to French, and type the words in a suitable font, such as French Script. Copy the words until the page is full and print the page of words.
-
Dissolve the coffee into half a cup of water and paint the page with words with the coffee. Let it dry thoroughly.
-
Cut the page of words into small strips that would fit on the side of the bucket.
-
Paint an even layer of Mod Podge to the back of the first strip of words. Turn the strip around and put it in position on the side of the bucket, but do not press it down.
-
With the brush, spread Mod Podge to the front of the strip of words, lightly applying pressure so that it will stick to the side of the bucket.
-
Working from the middle of the strip of words, and from the inside towards the outside, rub out all the air bubbles and excess Modge Podge from the back of the strip of words. Use an old cloth to clear any excess Mod Podge from the bucket.
-
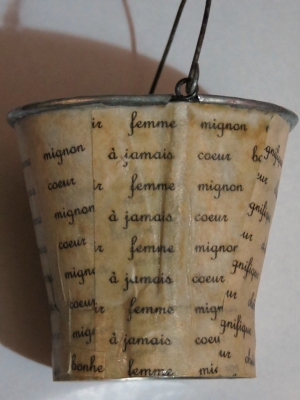
Continue gluing the rest of the strips in place, carefully ensuring that the strips are overlapping, so that one will not be able to see any part of the side of the bucket.
-
Dry the bucket thoroughly with the hairdryer, but do not use the highest heat setting on the hairdryer.
-
Cut off any small pieces of paper that may protrude beyond the edges of the bucket.
-
Paint a thin layer of Mod Podge over the side of the bucket and dry the bucket with the hairdryer.
-
Repeat step 10 ~ you need to apply at least 3 coats of Modge Podge, but remember that with every layer, the direction in which the Modge Podge is applied, must be changed from horizontal to vertical to horizontal, etc. Also, remember that after every layer of Mod Podge, the bucket must first be dried thoroughly with the hairdryer.
-
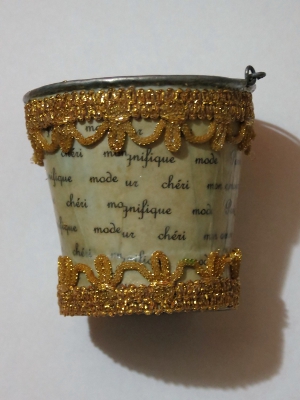
Spread Mod Podge to the back of the lace, and glue the lace in place around the top and bottom edges of the bucket. Once the lace has been glued in place, spread Modge Podge over the top of the lace too and dry it with the hairdryer.
-
Paint a layer of clear varnish over the side of the bucket and dry it thoroughly with the hairdryer.
-
Tie two small fabric bows to the sides of the bucket’s handle.
- Add the tissue paper and the caramelized popcorn.
Read NextPersonalized Message Tea Bags

